


Bread and Butter Pickles
If you’ve already made my garlic dill pickles, then consider these bread and butter pickles the sweeter side of the pickle shelf!
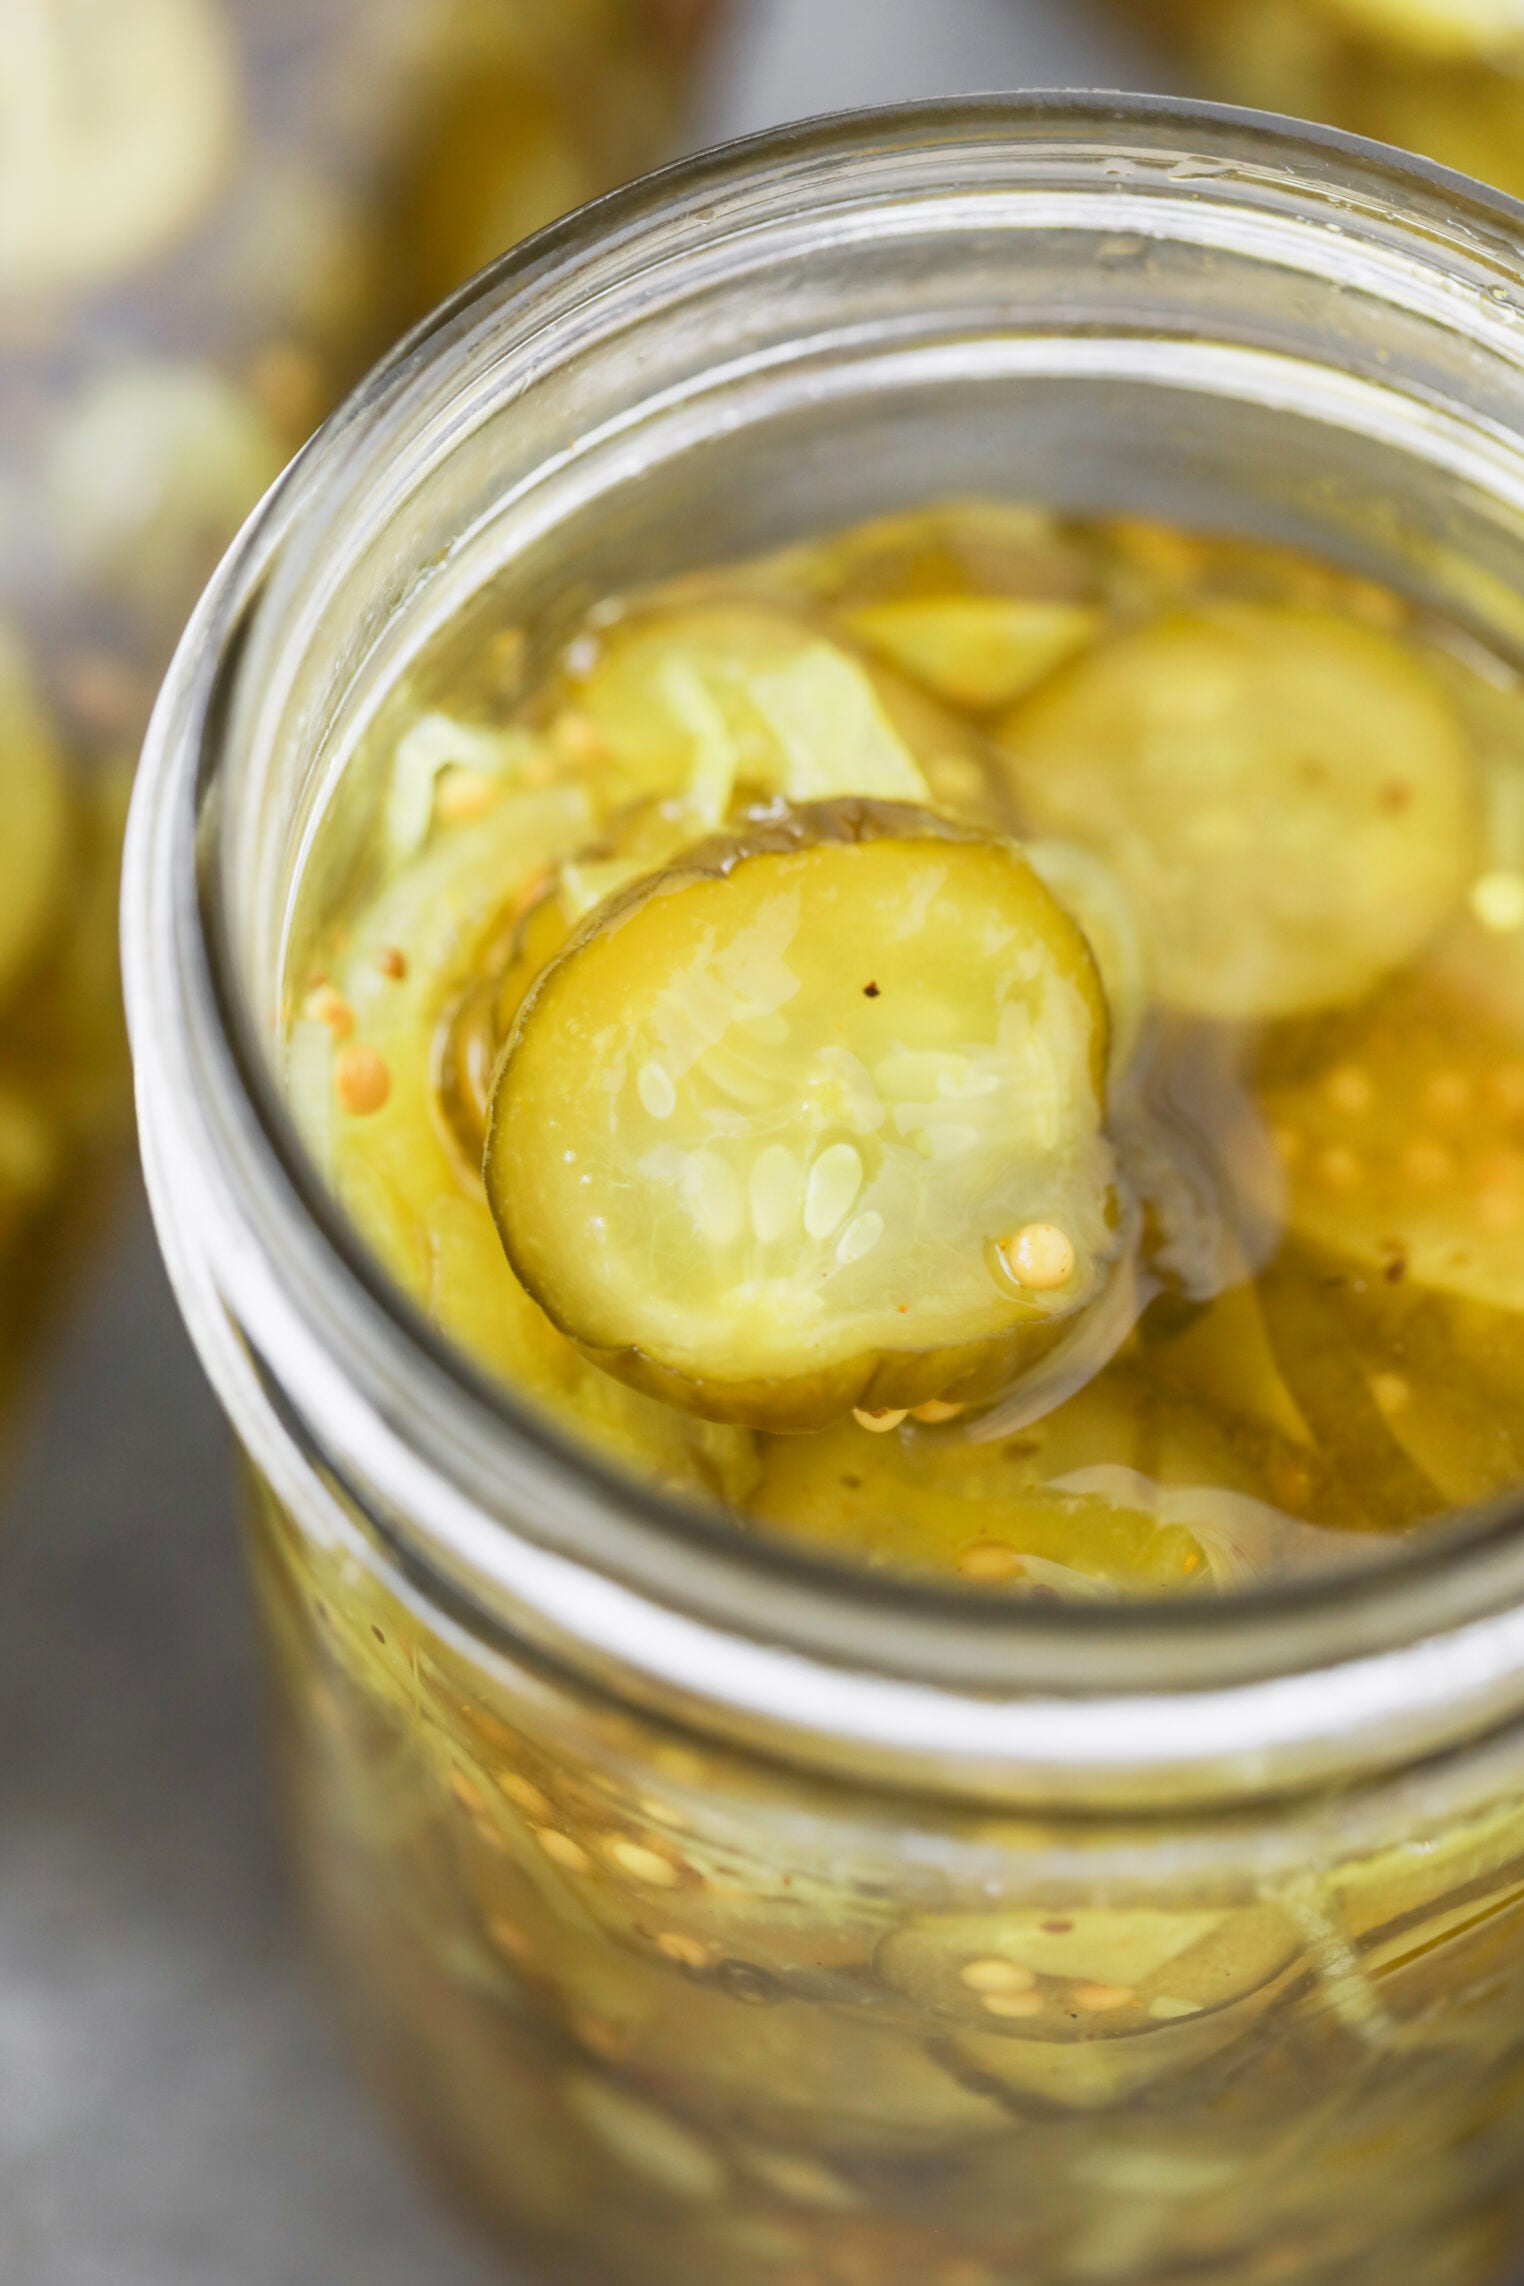
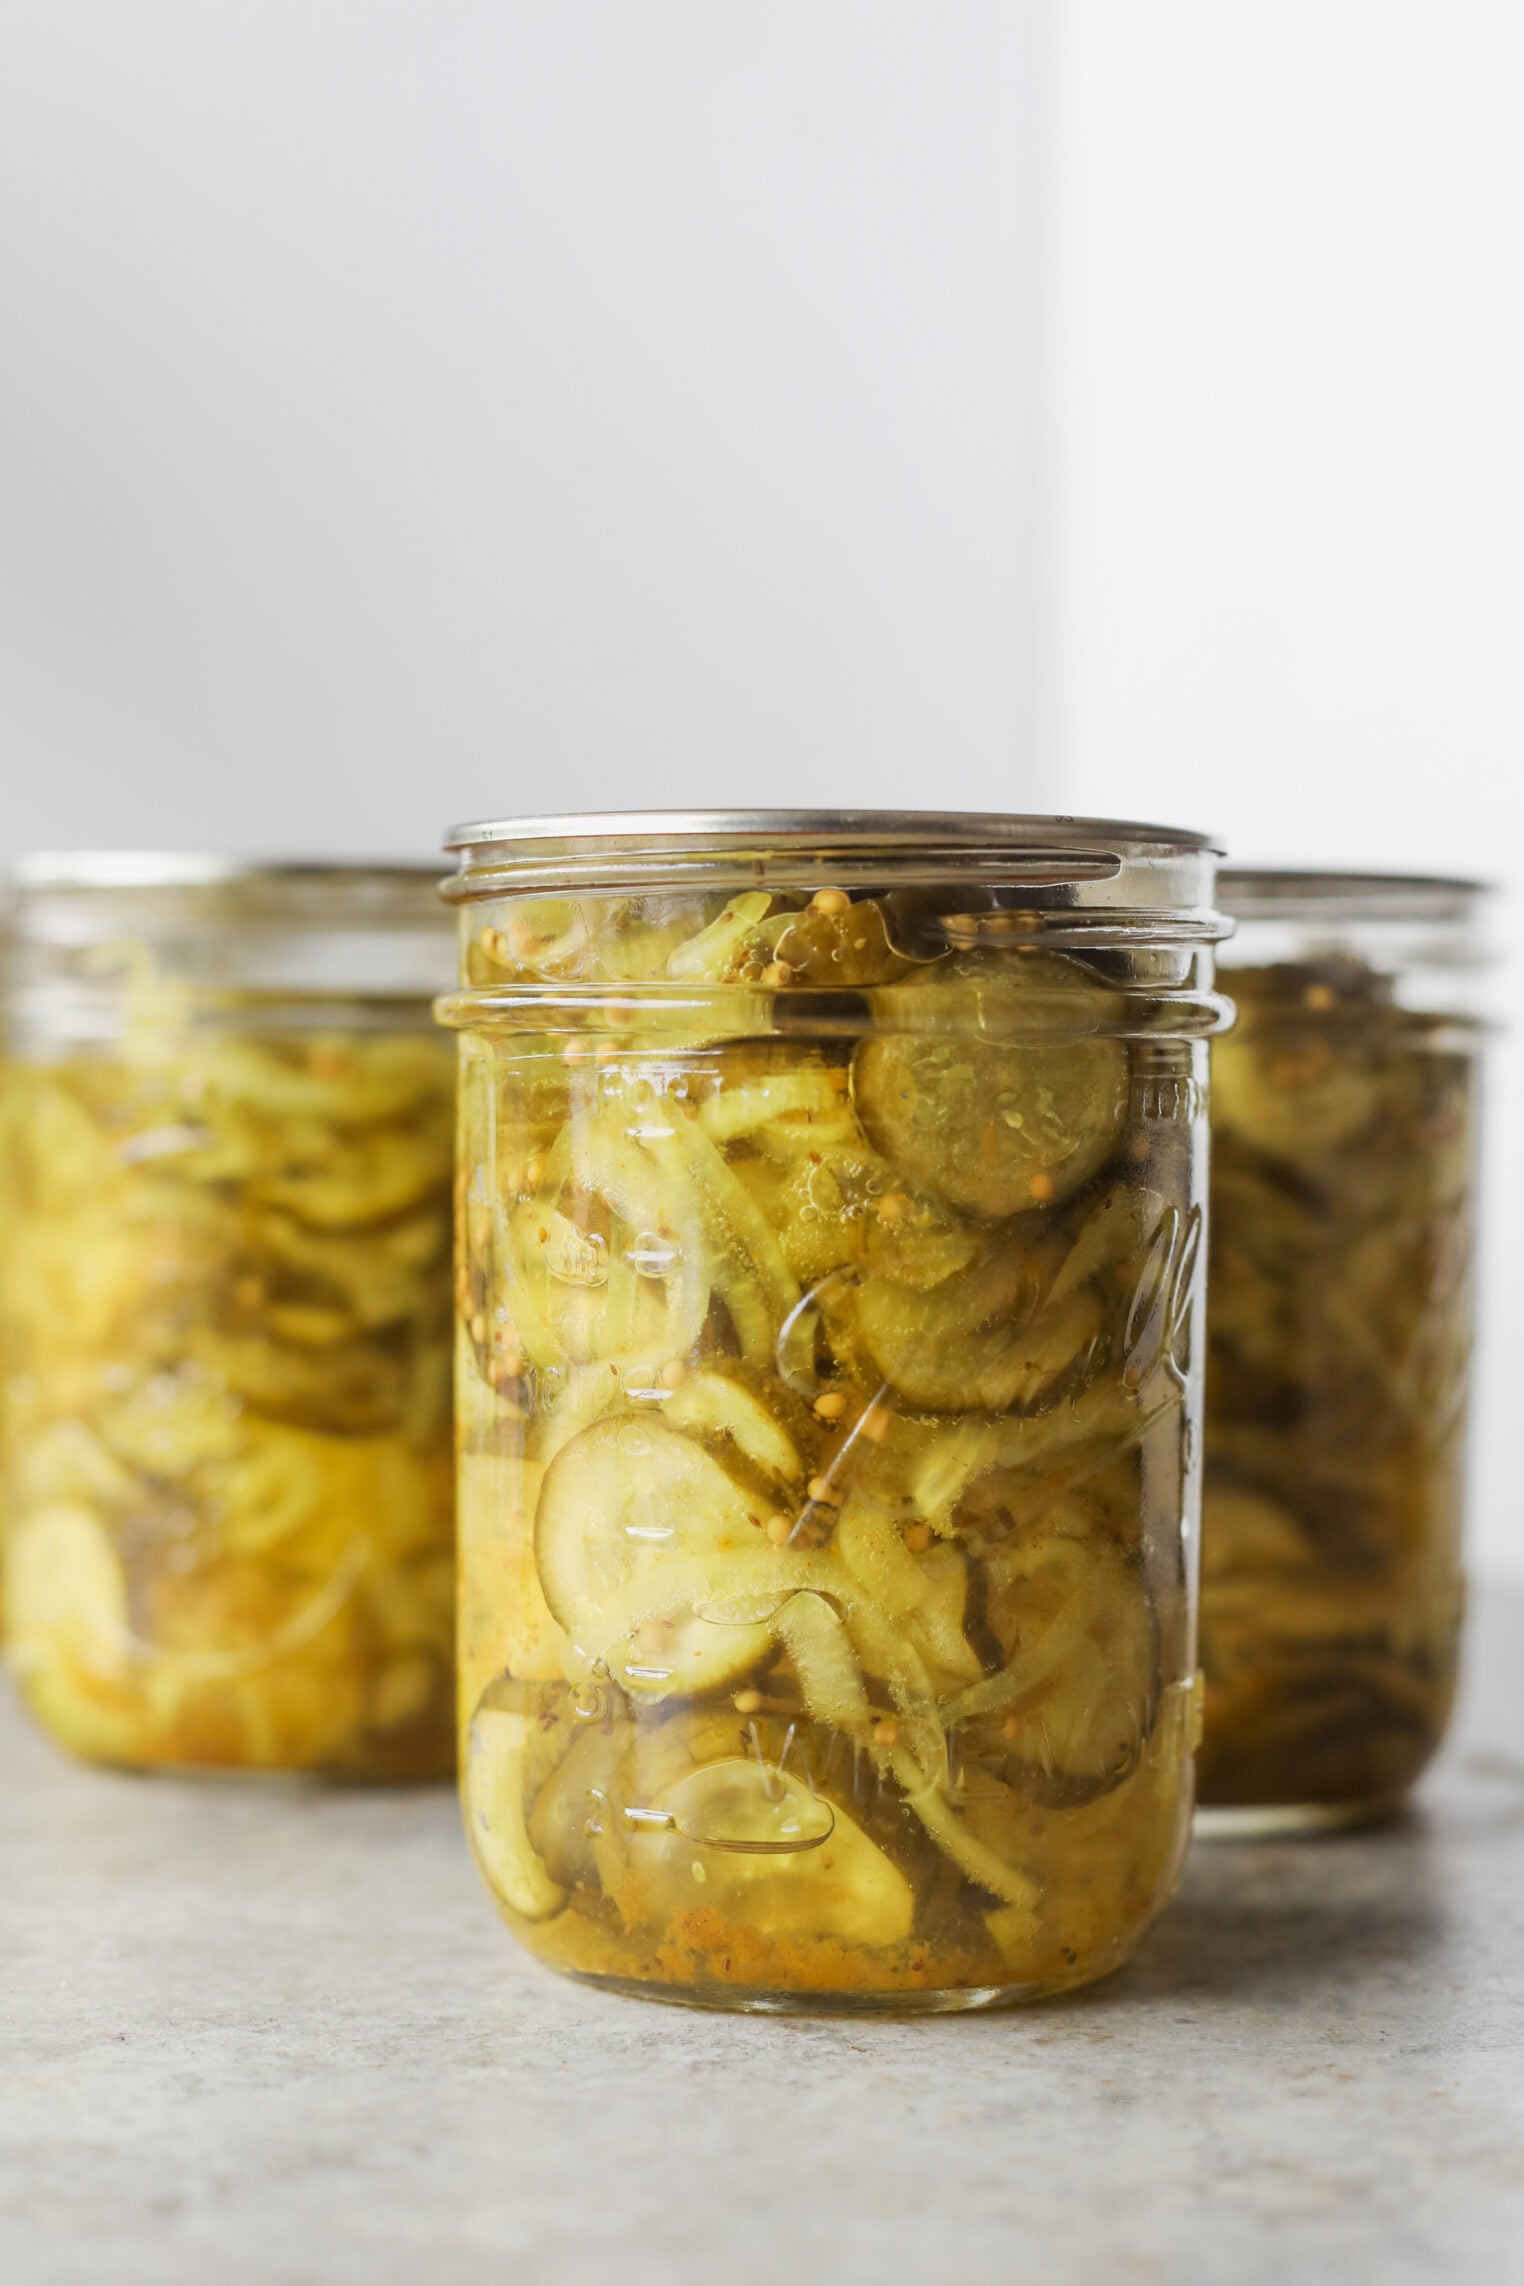
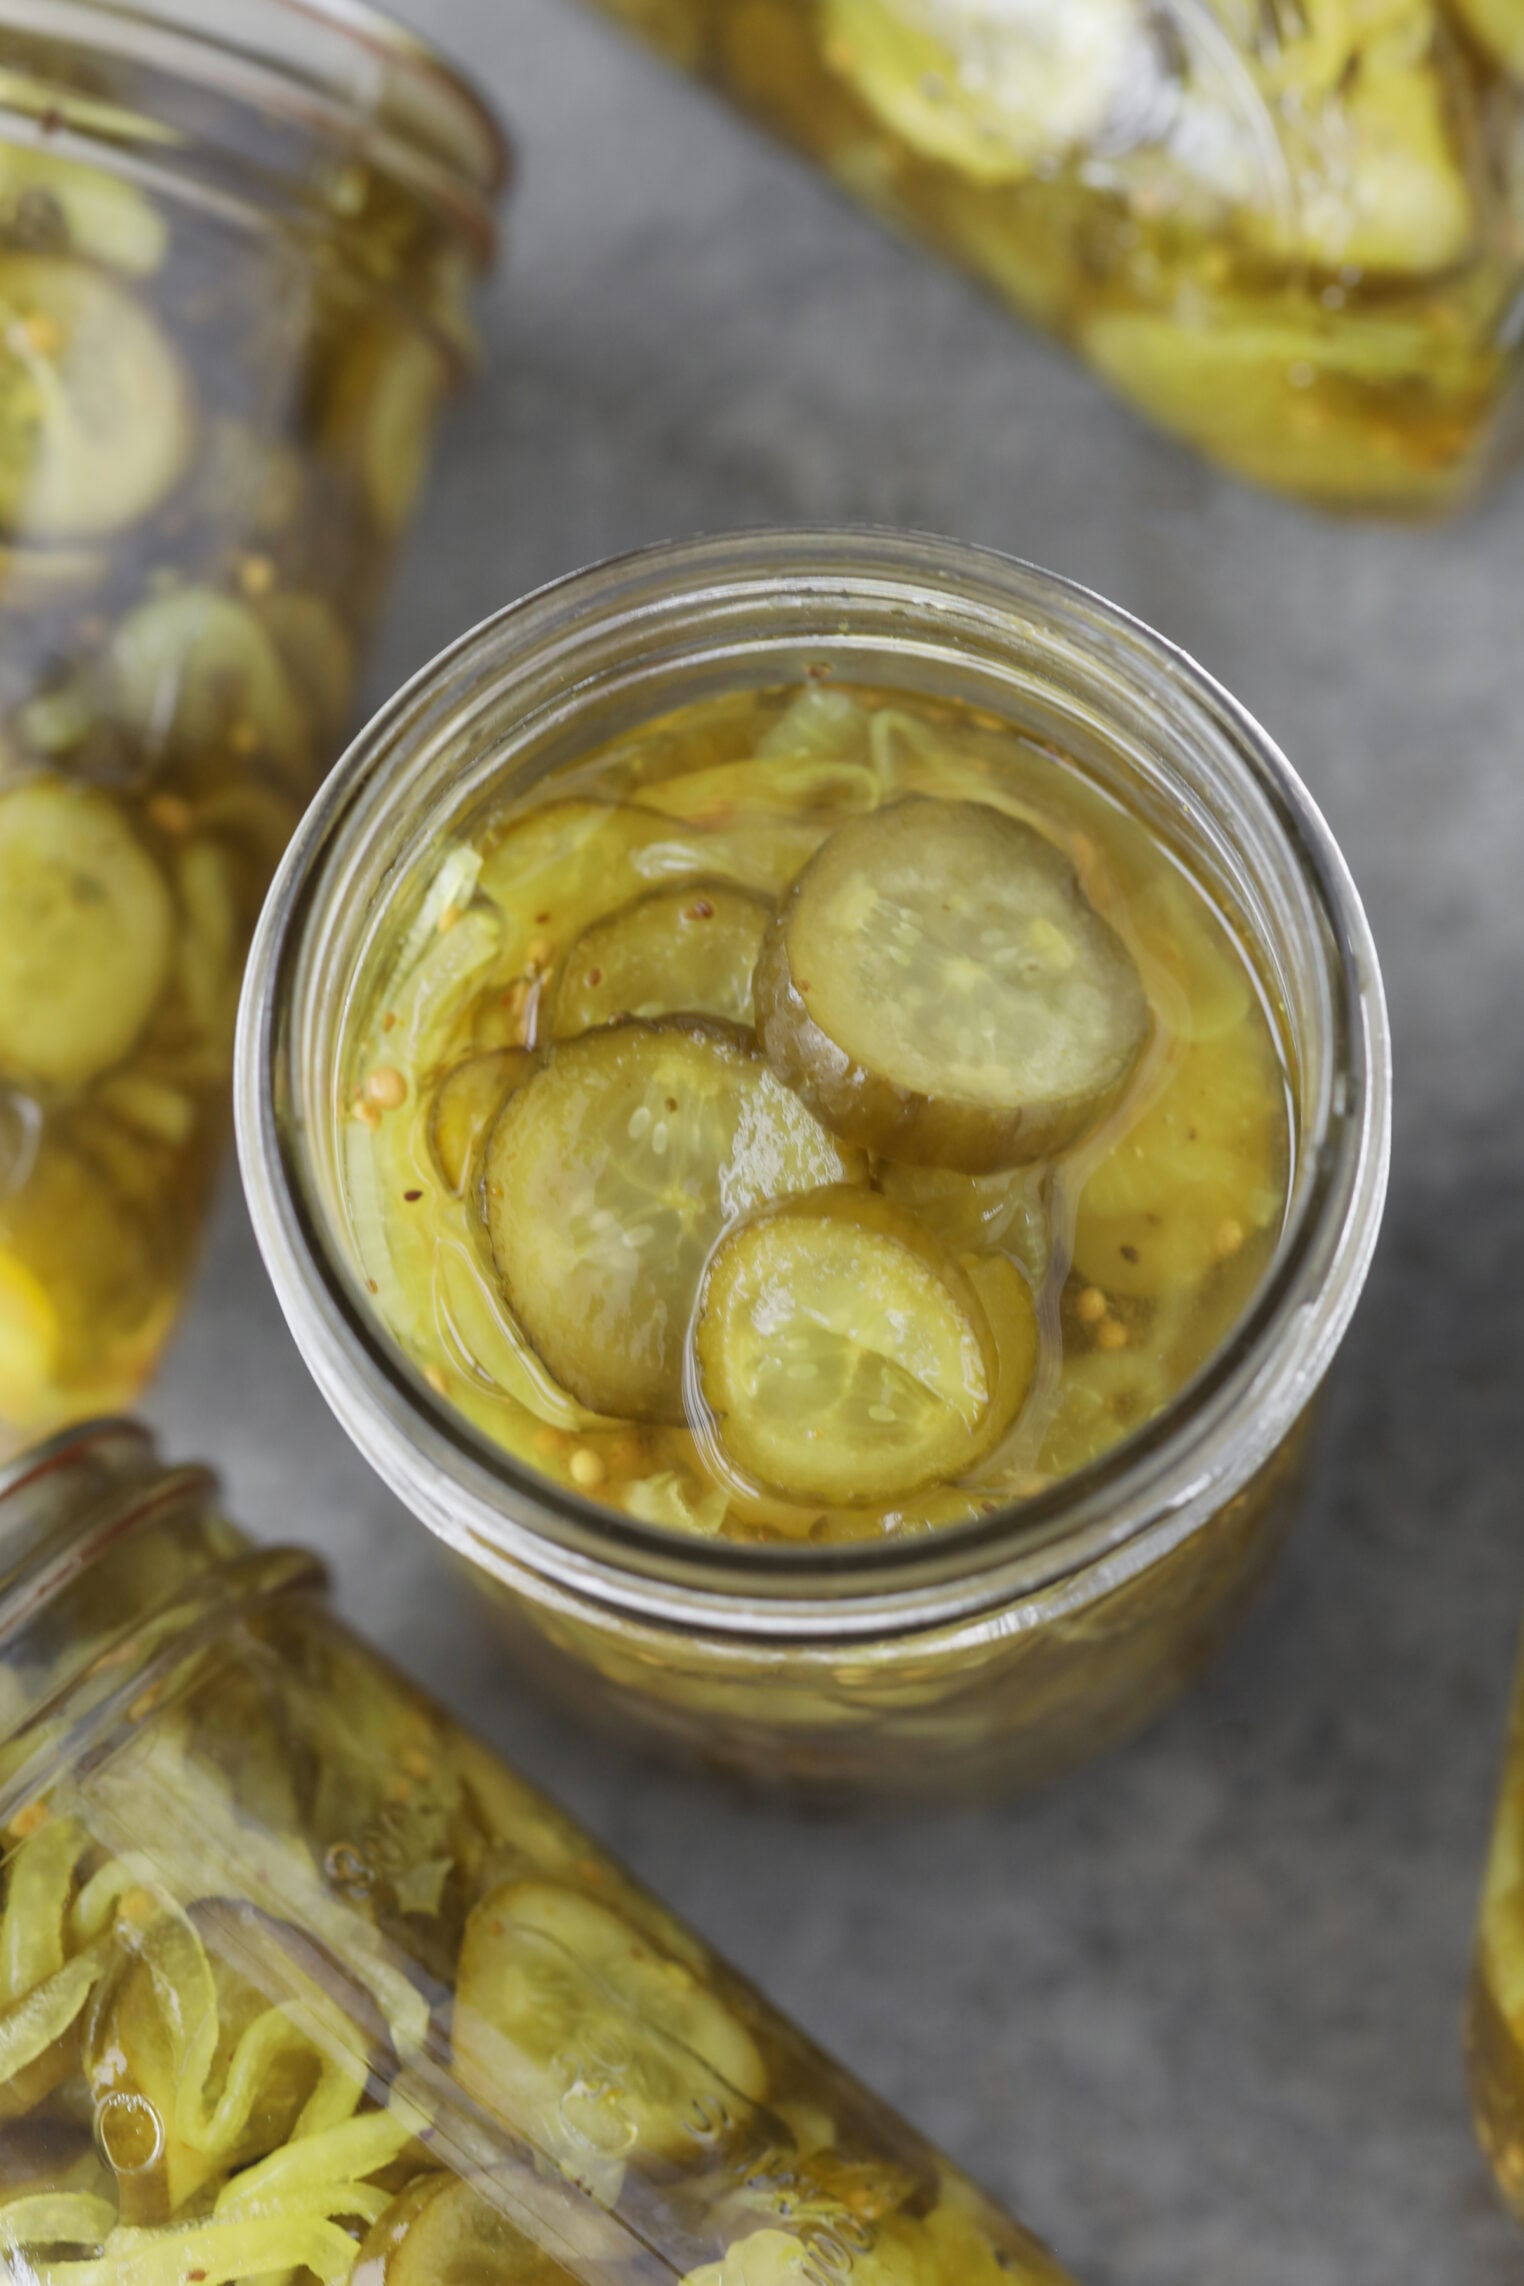
Bread and butter pickles are my kid pickles: thin little rounds of cucumber and onion in a golden, mustardy, sweet syrup. They are sharp enough to cut through a sandwich but sweet enough to eat them straight from the jar!
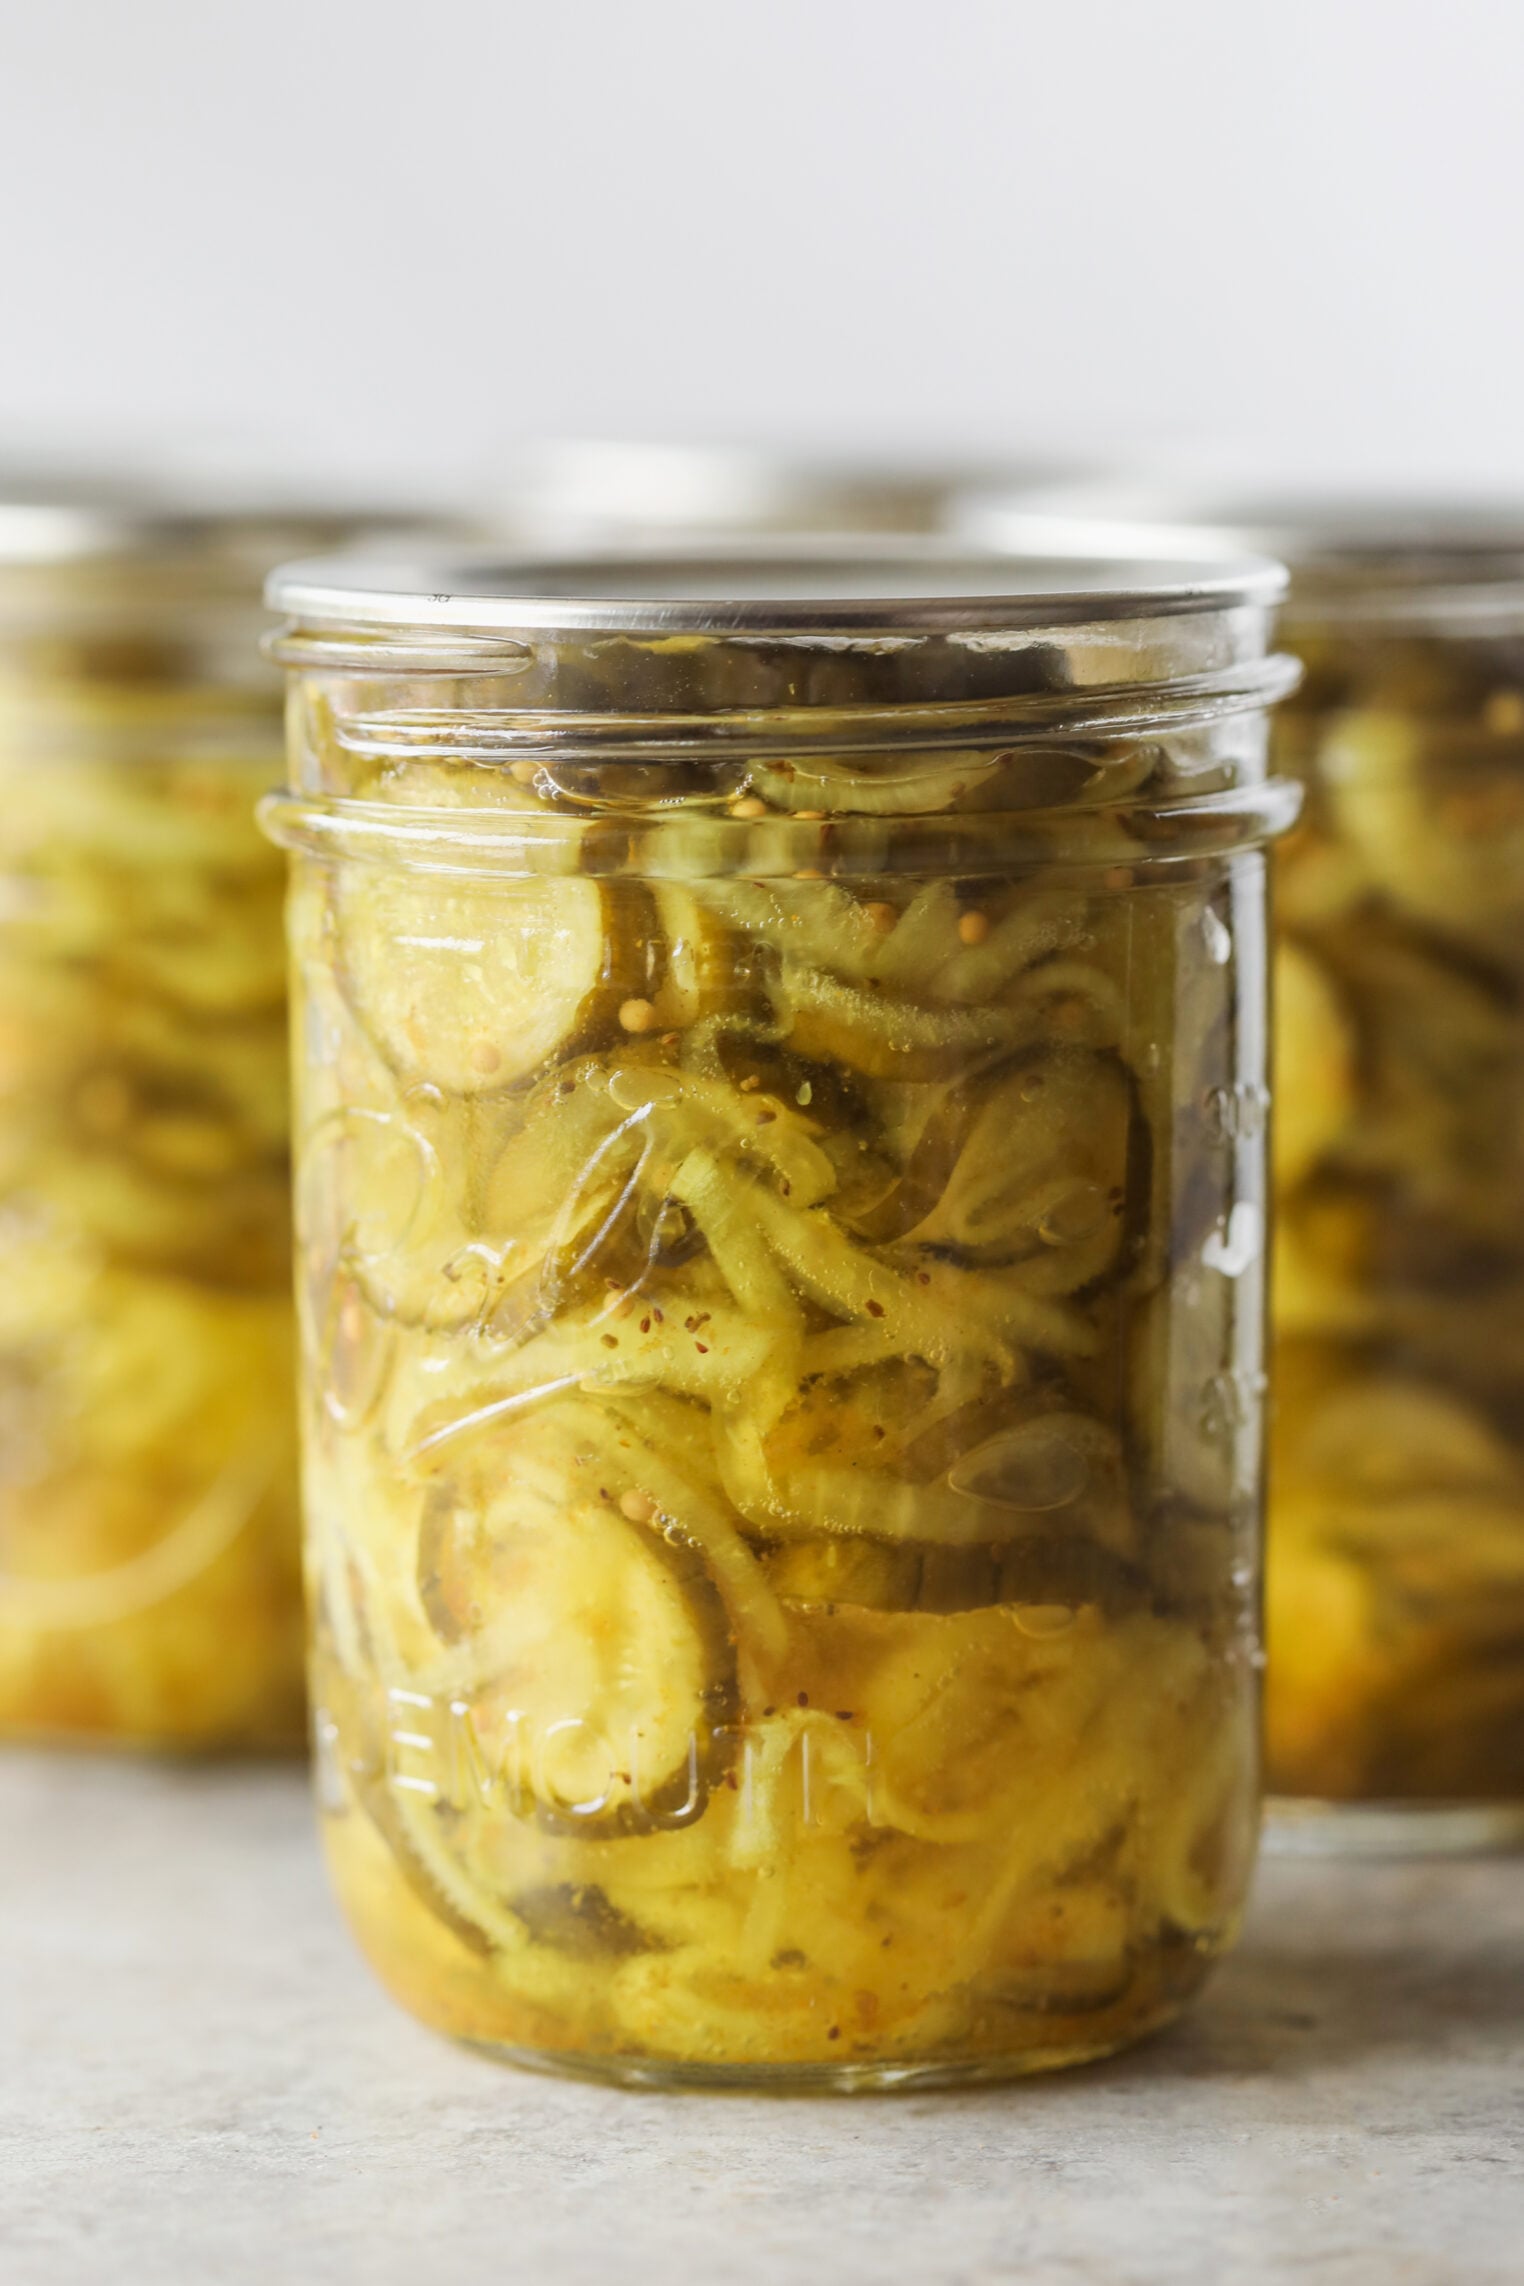
Bread and butter pickles are pickles for people who say they don’t like pickles!
This recipe makes eight pints and is based on the USDA-tested recipe from the National Center for Home Food Preservation, which means the cucumber-to-vinegar ratio, jar size, and processing time have all been tested and verified for safety. What I’ve changed is the spice blend, which is allowable to adapt (see more: safe substitutions in canning)
Why I love this recipe
I love pickles– I put pickles in every sandwich I make; they are a must on top of my smash burgers, and I love my dill pickle potato salad as a side dish.
But bread and butter pickles have such a unique taste, especially if you want a break from sharper dill ones. The tested recipe that these pickles are adapted from calls for mustard seed, celery seed, and turmeric. I cut the turmeric back slightly so these pickles are just slightly golden, and add a small bag of cloves, peppercorns, and coriander for a slightly floral, spiced note.
I also cut the onions down from the tested recipe; that one calls for 8 cups, and after making it that way, I found the onion taste overpowering, and I wanted a higher ratio of pickles. I reduced the onions to 4 cups, so they add background sweetness without so many onions.
If you love onions in your pickles, then you can go back up to the original 8 cups.
Ingredient Notes
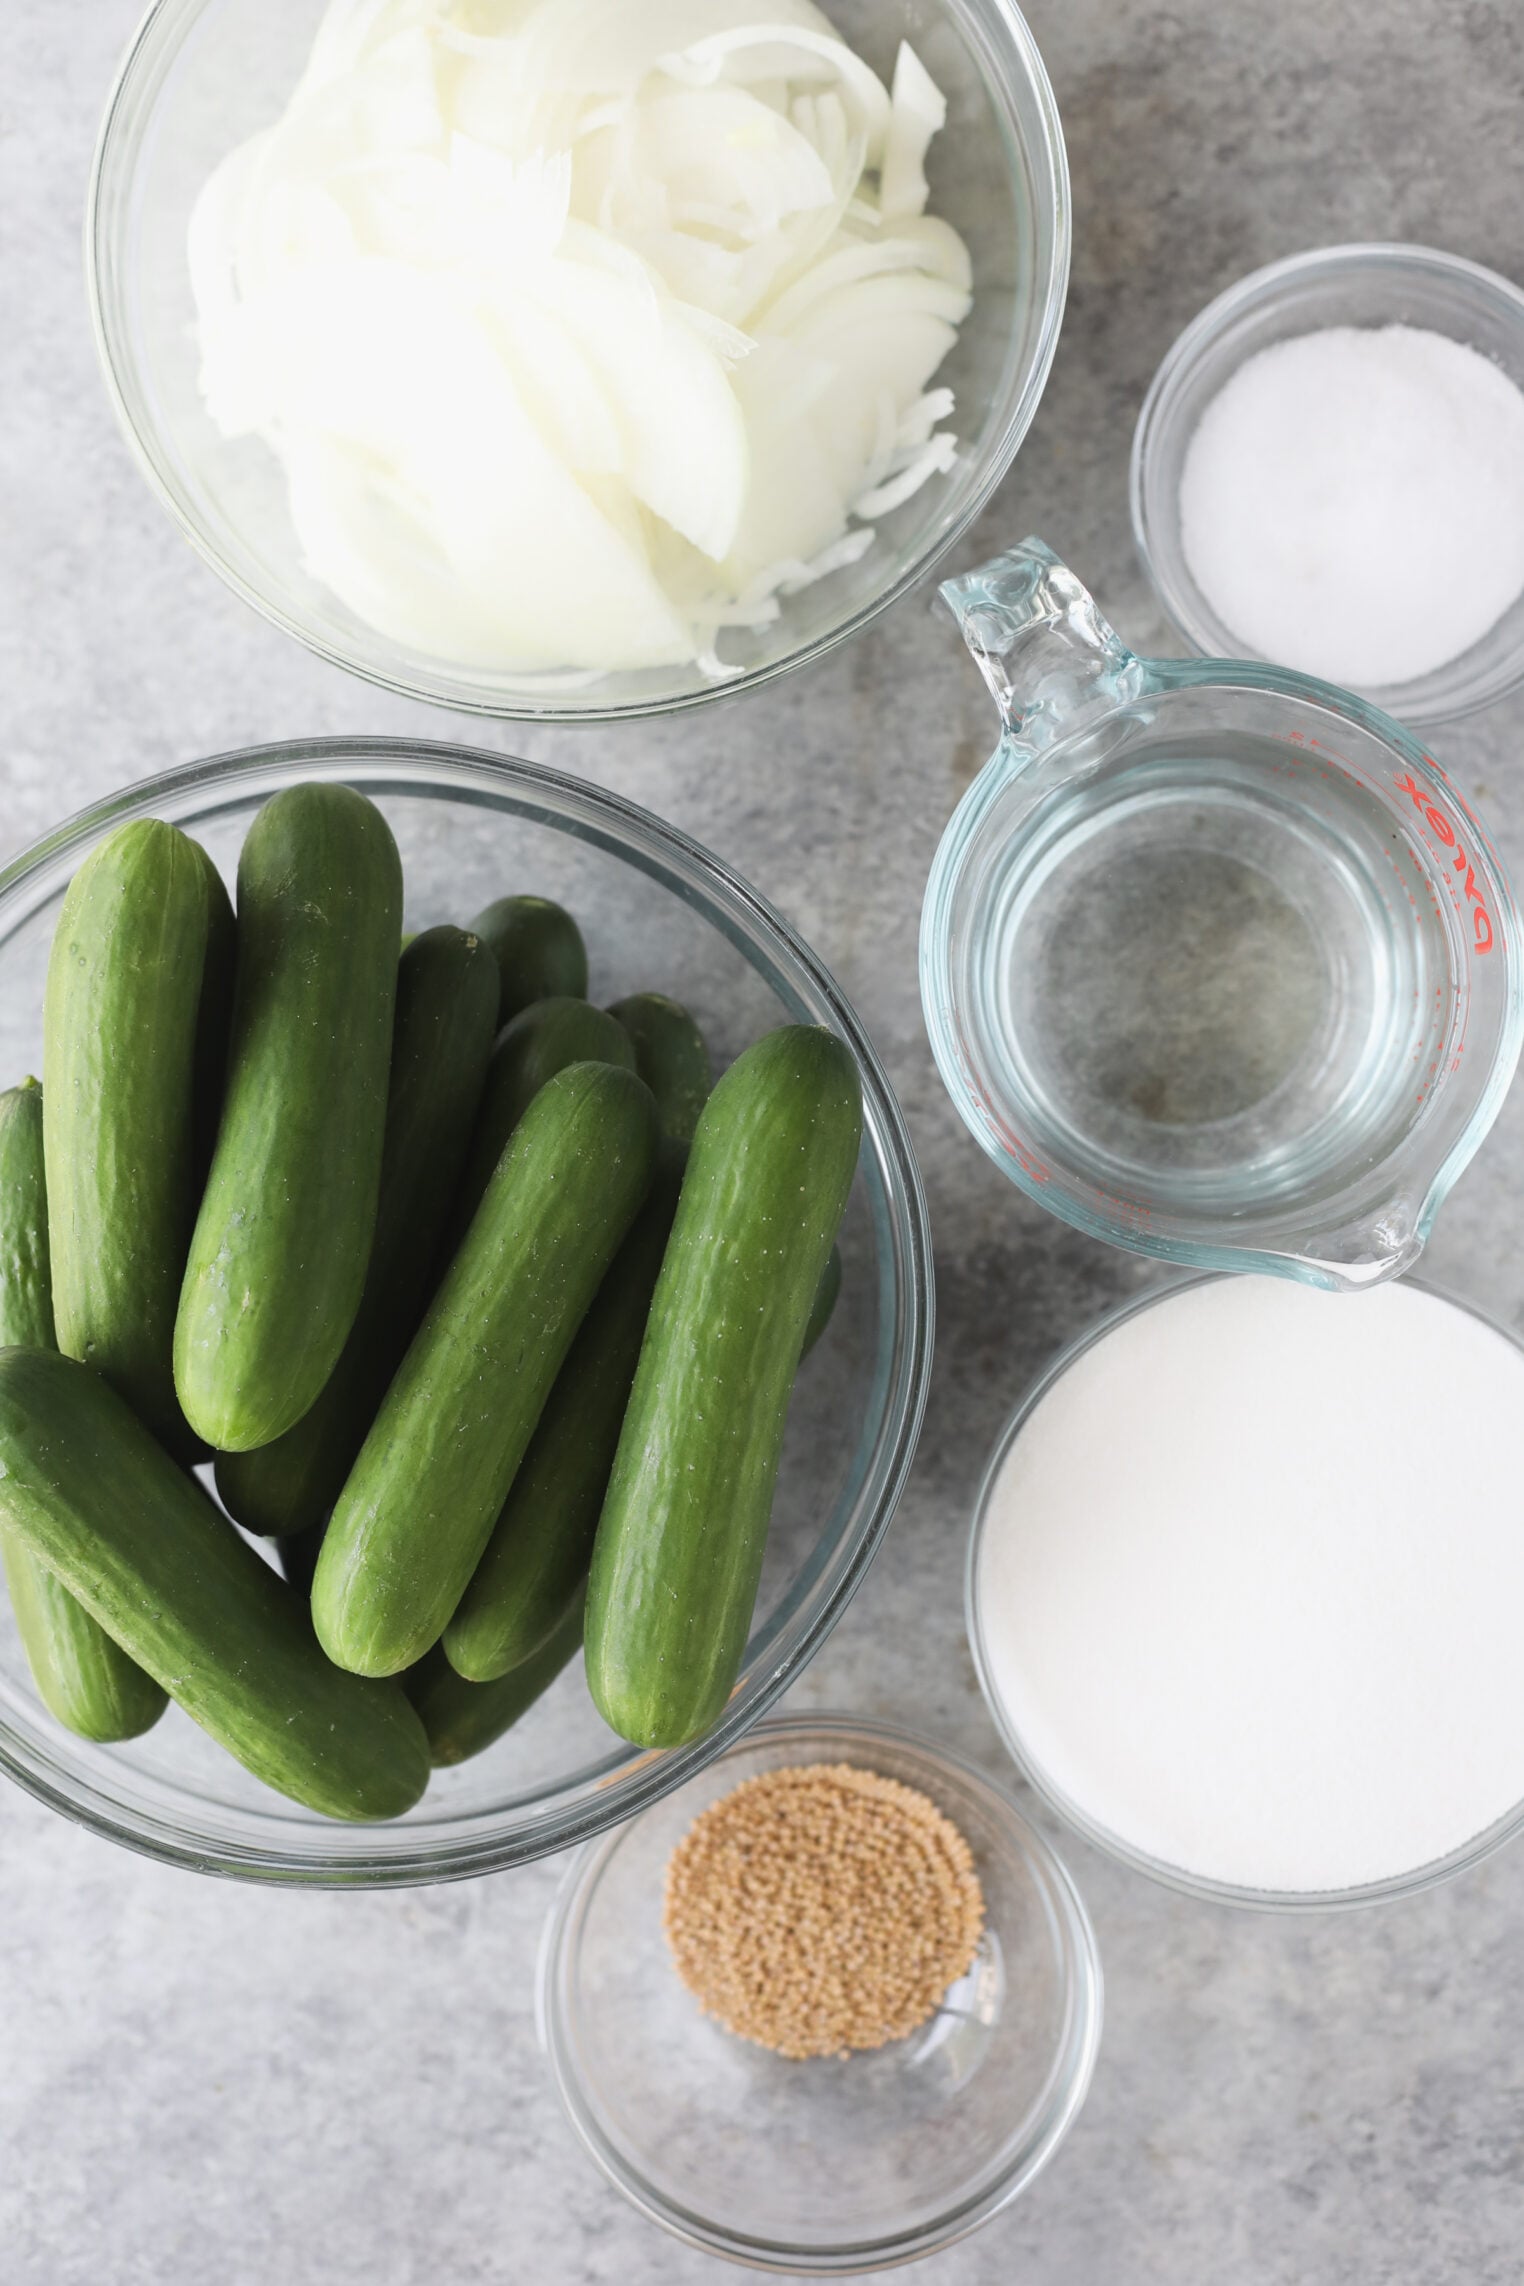
- Pickling Cucumbers: 6 lbs of 4-5 inch pickling cucumbers. Kirby or another pickling variety. You can use Persian cucumbers or other pickles, but you’ll get a better-textured pickle if you use Kirby or other pickling cucumbers!
- Onions: 4 cups of thinly sliced onions, about 1 1/2 lbs. Yellow, white, or red all work, though I like white for color.
- Canning or Pickling Salt: I recommend using canning salt and not iodized salt as iodized salt contains anti-caking agents and will cloud the brine and can darken the pickles.
- Sugar: This is what makes a bread-and-butter pickle a bread-and-butter pickle!
- Mustard: You can use yellow, brown, or half of either option. Don’t skip these, as they’re the backbone of the flavor.
- Celery Seed: The celery seeds also add a little savory note to these pickles
- Turmeric: This is where the classic golden color of bread and butter pickles comes from
- Other spices: Cloves, peppercorns, and coriander seeds all add nice flavor to these pickles
About the vinegar:
You’ll need to use vinegar labeled 5% acidity, and don’t dilute it or reduce the amount. In a quick-process pickle like this one, the vinegar helps keep these pickles below a pH of 4.6, which prevents Clostridium botulinum spores from germinating.
You can also use apple cider vinegar, but you’ll get a darker shade of pickles.
How to Make Bread and Butter Pickles (Step-by-Step Photos)
Trim and slice cucumbers
Wash the cucumbers well, then cut 1/16 inch off the blossom end of the cucumber. The blossom end contains enzymes that cause pickles to soften, so removing it helps your pickles stay slightly more crisp. The blossom end is opposite the stem.
Slice into thin rounds; you can use a sharp knife, or a mandoline makes this step fast, easy, and uniform for pickles!
Salt the Cucumbers and Onions
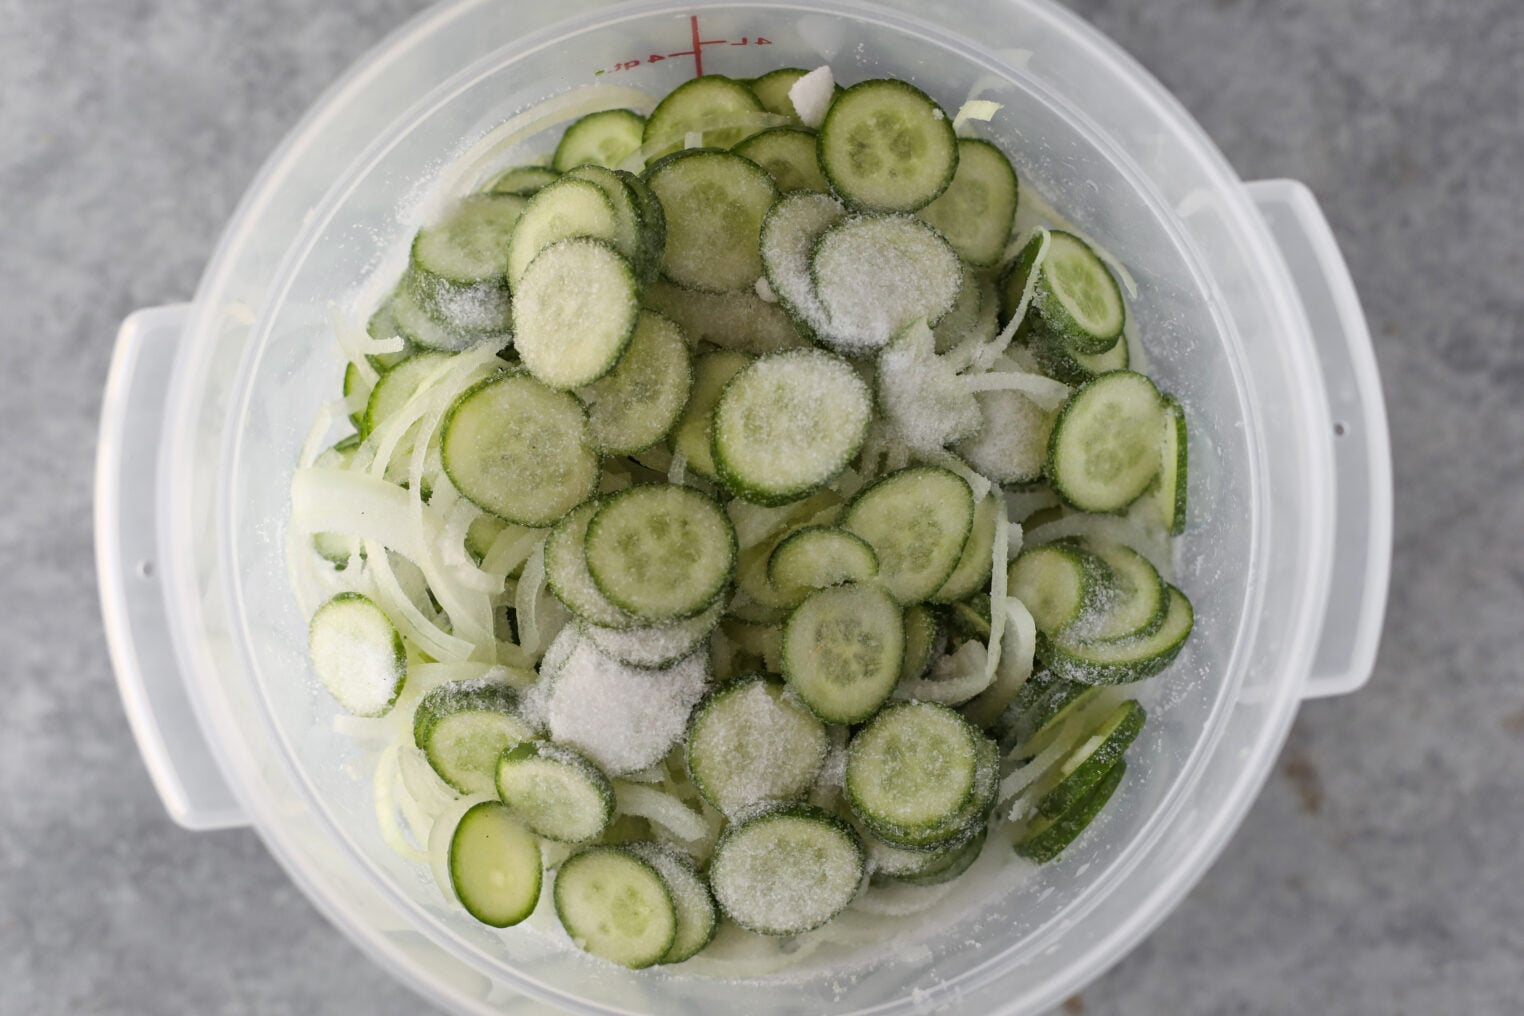
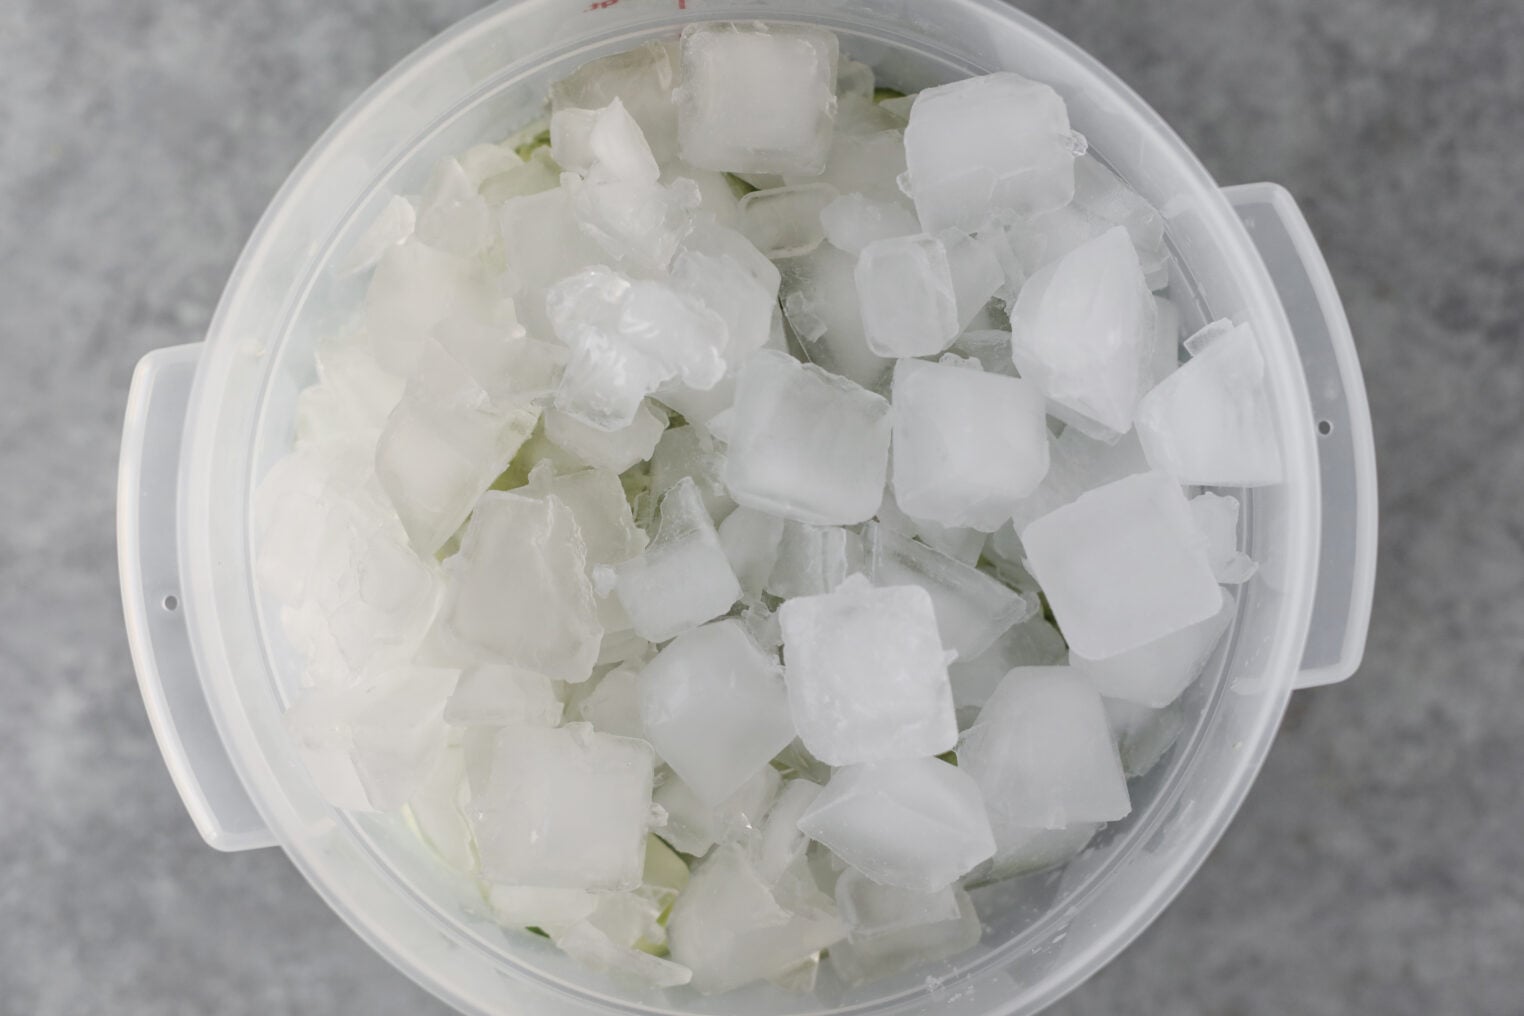
Add the sliced cucumbers and onions in a large bowl, then add the salt and toss together. Cover with 2 inches of crushed or cubed ice.
Place the bowl in the fridge, adding more ice as needed as it melts. This step draws water out of the cucumbers and helps firm them up. Drain well, removing any pieces of ice that remain.
Make the Syrup
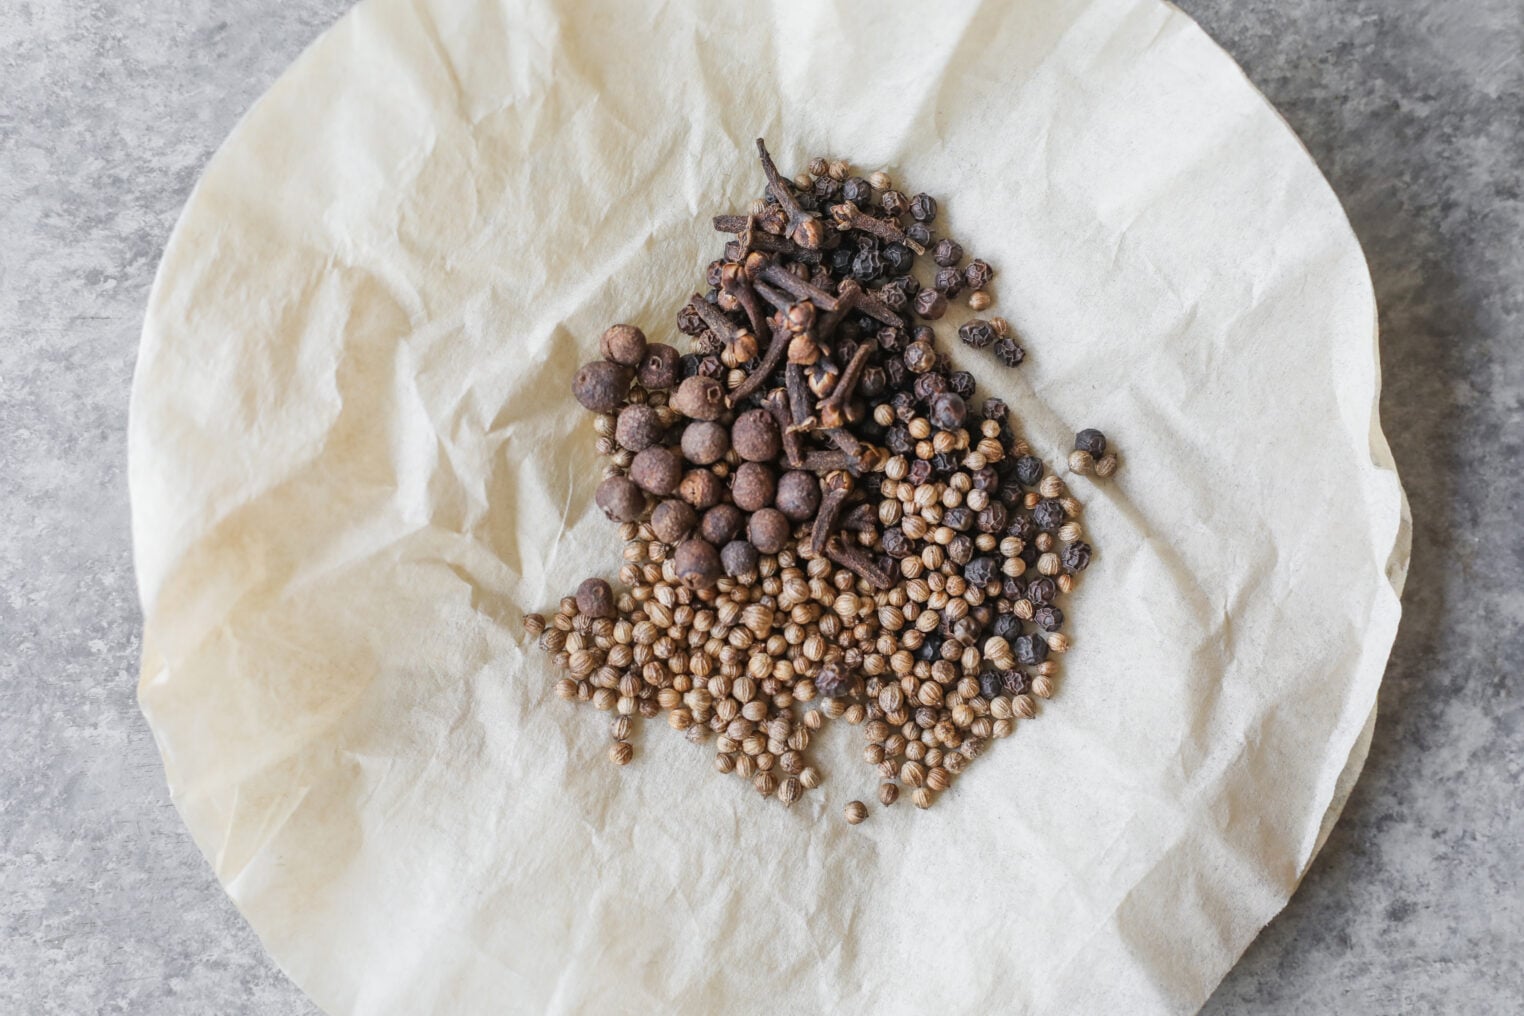
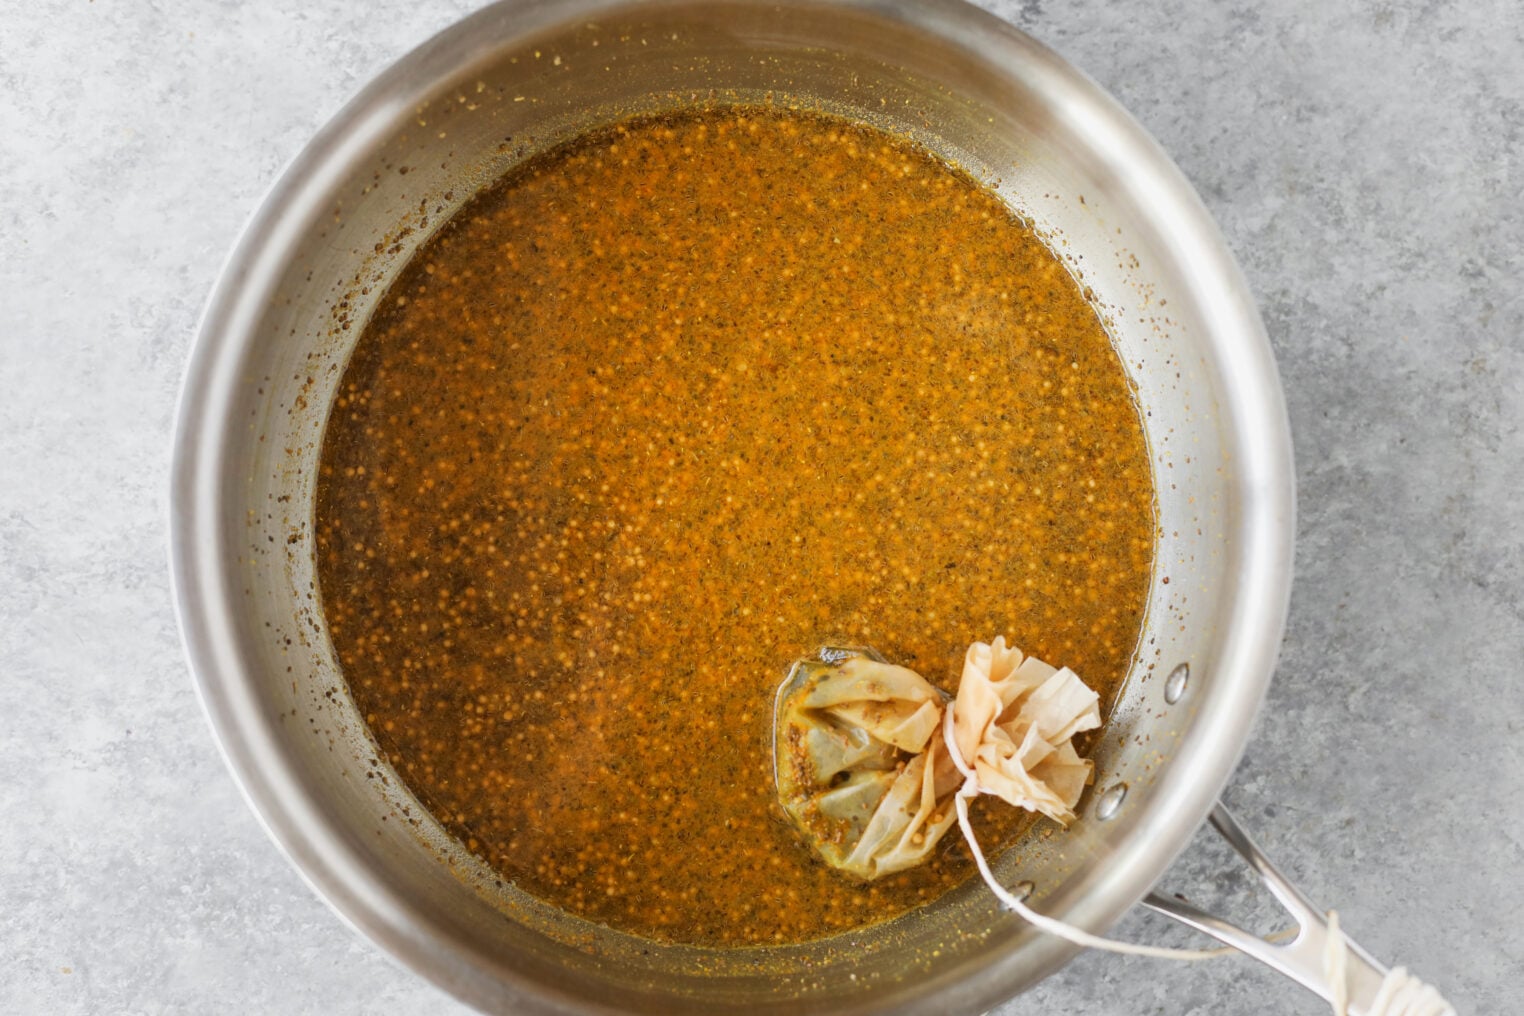
Combine the vinegar, sugar, mustard seed, celery seed, and turmeric in a large pot and bring to a boil, then add the cheesecloth spice bag. If you don’t have a cheesecloth, then use a coffee filter! Just add the spices to the coffee filter, tie it tight, then drop it into the pot.
Add the Cucumbers and Onions
Add the drained cucumbers and onions to the pot and slowly reheat to boiling. Remove the spice bag, as you’ve now gotten the flavor of the spices into the pot.
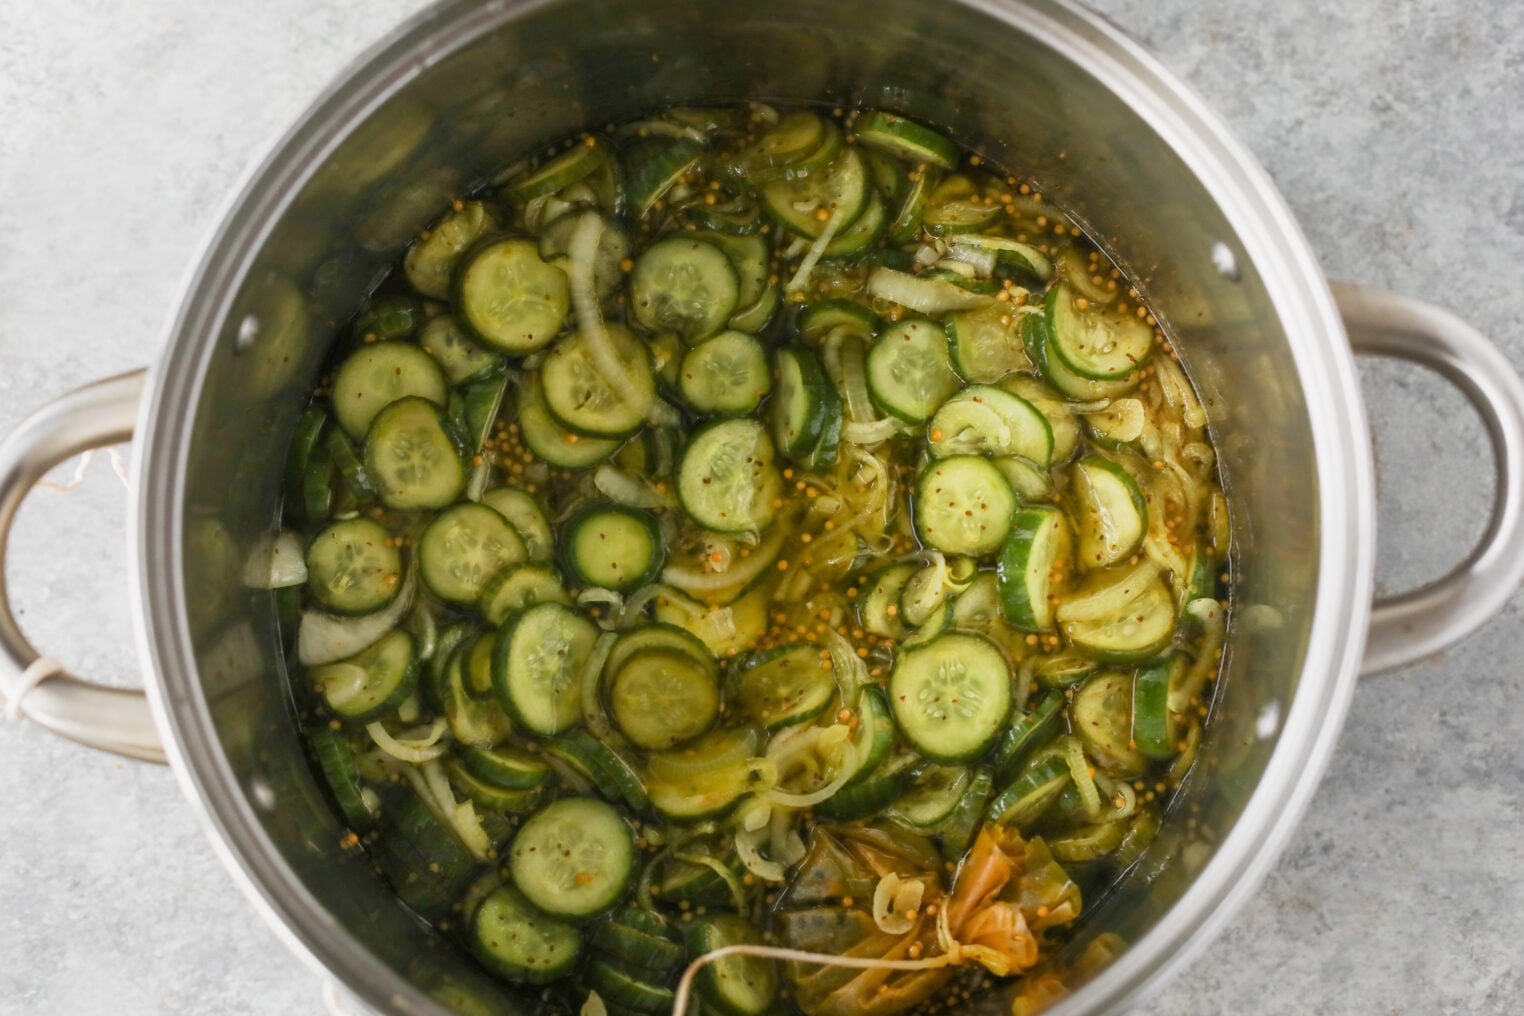
Fill the jars
Fill the hot, clean jars with the cucumber slices, onions, and cooking syrup, leaving 1/2 inch headspace at the top. Remove any air buddles, then wipe the rims clean as any syrup left on the lip will prevent proper sealing. Add the lids and bands, then place in a boiling water bath canner and process.
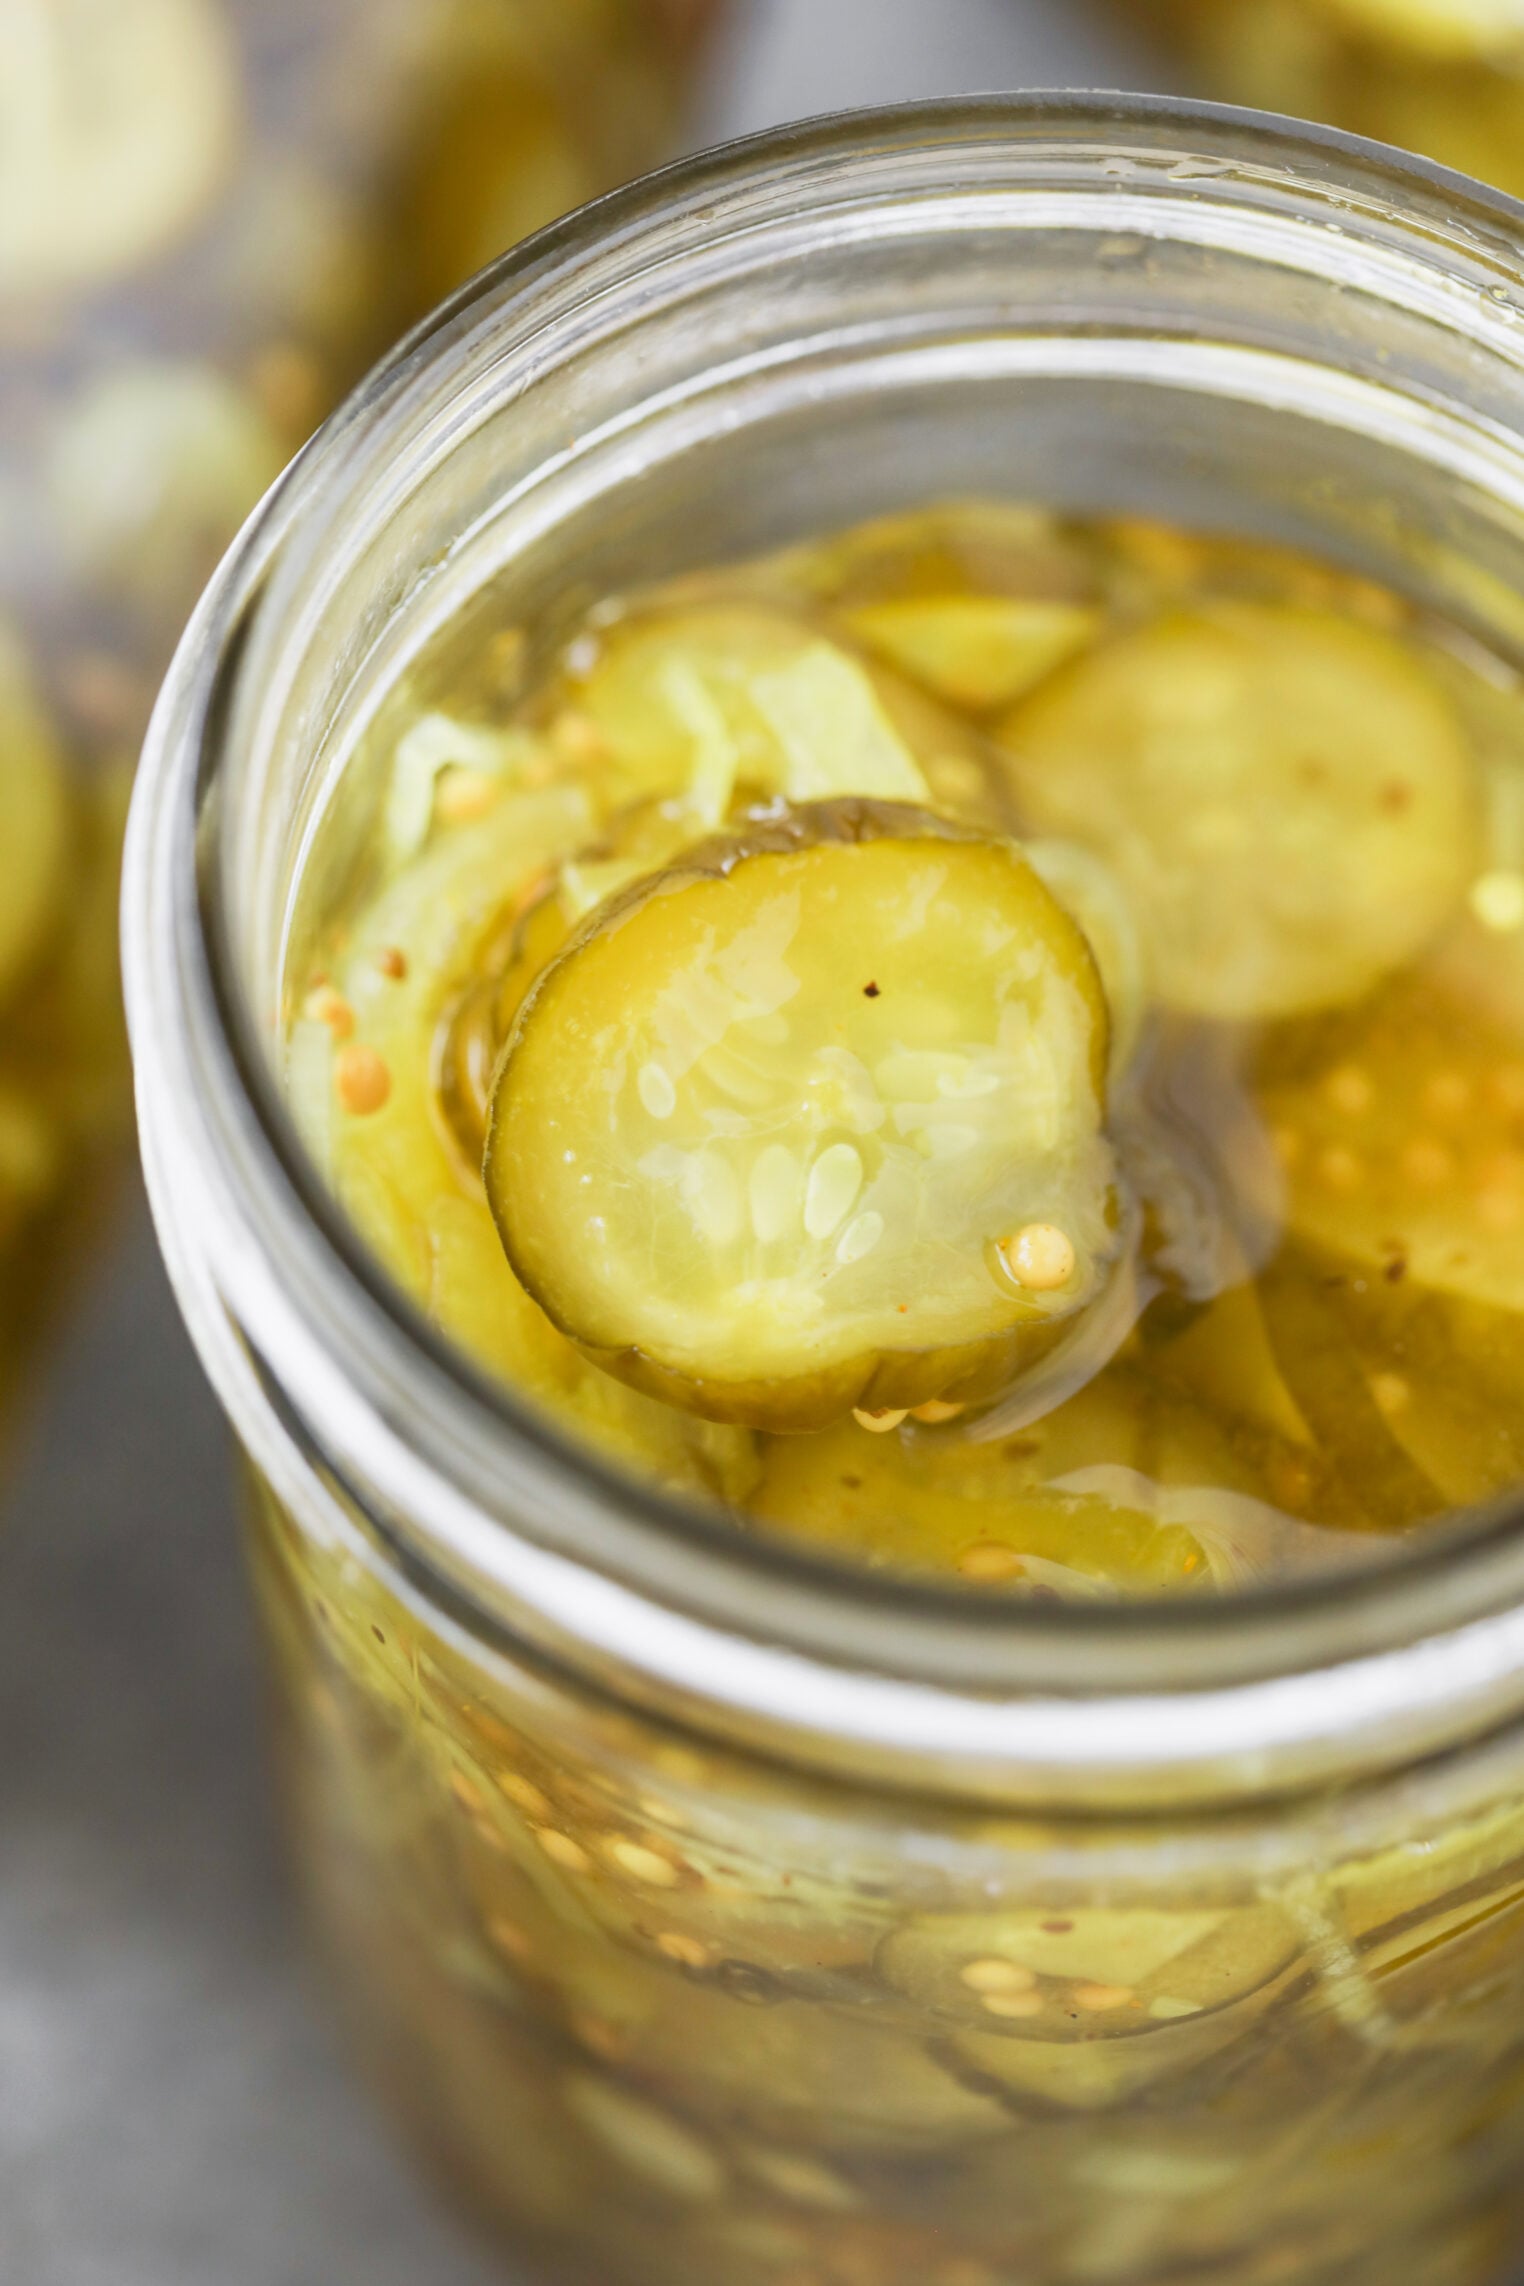
How to Can Using a Water Bath Canner
PS- If you are new to water bath canning, I’ve got a full in-depth tutorial here with everything you need to know on canning safely.
Make sure your canner is ready, and your jars are warm before you start filling. You want the water ready and the jars warm so they don’t crack when you add them to the pot.
Ladle the hot pickles and syrup into the hot jars, leaving 1/2 inch of headspace. Slide a bubble remover or thin spatula around the inside of each jar to release the trapped air, then check the headspace again as it can drop once the bubbles are out.
Wipe the rims with a clean damp cloth; then center the lids and screw the bands on fingertip tight.
Add into the water bath, making sure the jars are fully submerged for 10 minutes, adjusting for altitude (see below). Turn off the heat, and let the jars stand 5 minutes before removing them. Cool for 12 to 24 hours, then check the seals. Place any jars that didn’t seal in the fridge and enojoy!
Altitude Adjustment
| Altitude | Processing Time |
|---|---|
| 0-1001 feet | 10 minutes |
| 1001-6000 feet | 15 minutes |
| Above 6000 feet | 20 minutes |
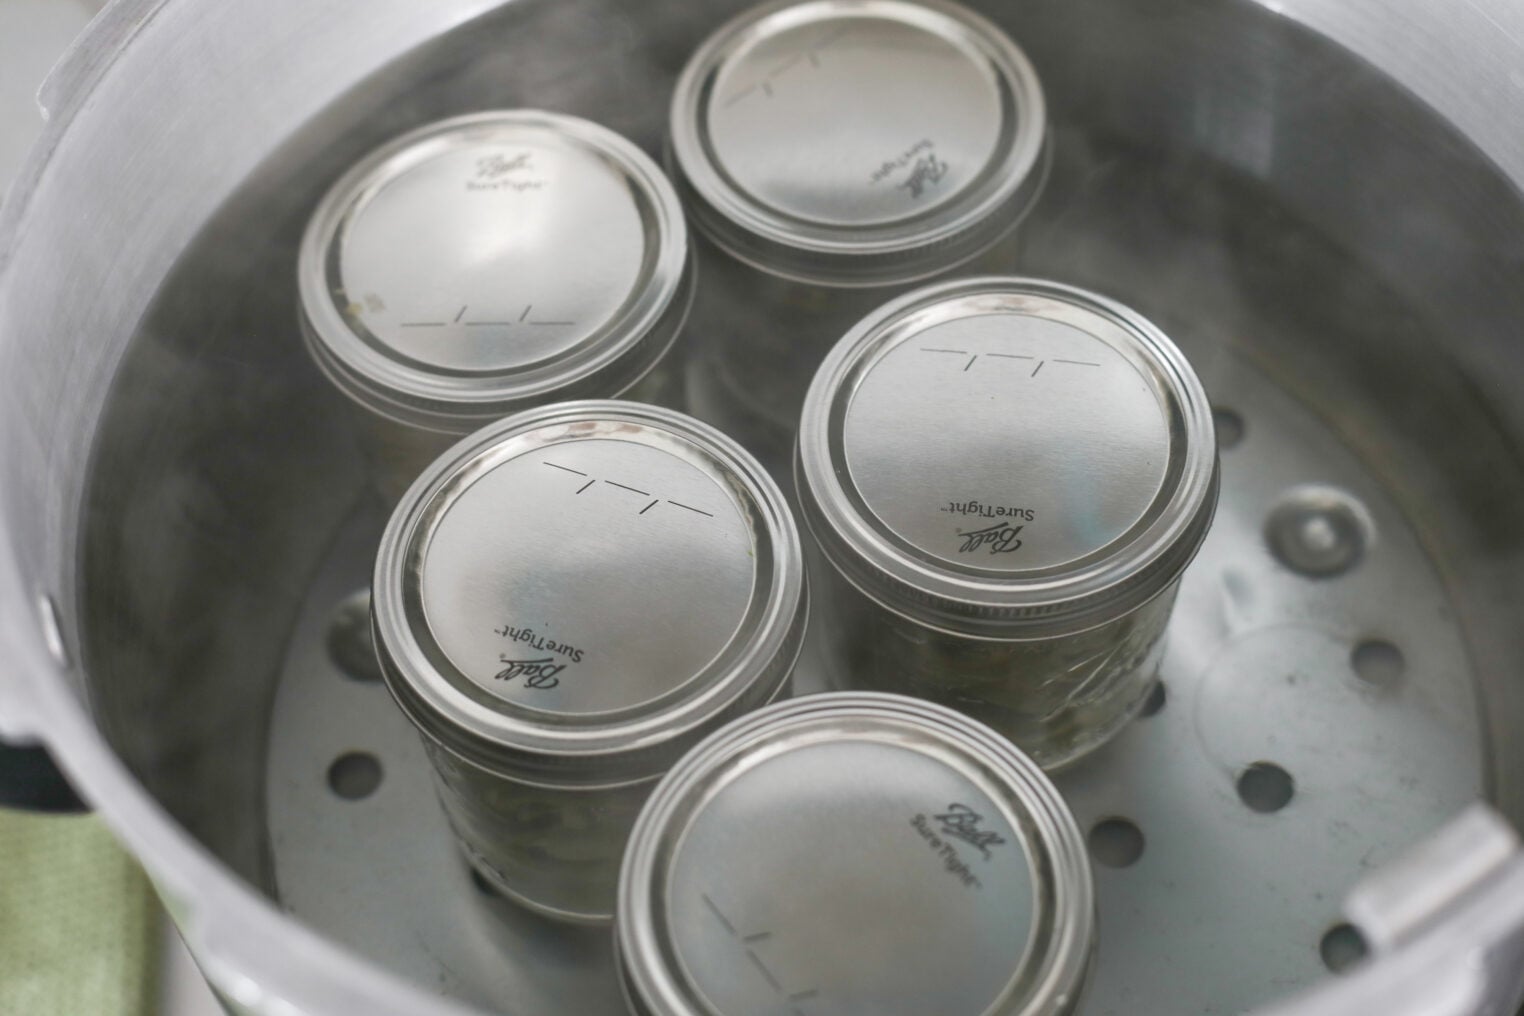
How do I make my pickles more crisp?
If you want crisper pickles, there is a second approved processing method called low-temperature pasteruziation and will give a crisper texture.
To do this, place the jars in a canner filled halfway with warm water (120 degrees to 140 degrees), then add hot water to a level 1 inch above the jars. Hold the water at 180 to 185 degrees F for 30 minutes.
Two important things: you need a candy or jelly thermometer to verifiy the water stays at least 180 degrees F the entire time, and temperatures above 185 degrees F will soften the pickles. This method requires careful management to avoid spoilage, so it isn’t the one I usually recommend for a first-time canner, but if you are comfortable with canning and want the crispest result, do this.
Expert Tips for Success
- Wait: Store the sealed jars for 4-5 weeks before eating to let the flavor fully develop. I know this is hard! But these taste better a month after making them.
- Cut the blossom end: Make sure to remove the blossom end of the cucumbers before slicing to the cucumbers stay as crisp as possible.
- Slice evenly: Uneven slices mean some pickles are limp and some are barely pickled. I don’t use a mandoline, but if you have one it makes it easier!
- Drain: Make sure to drain the cucumbers thoroughly after the ice bath, as water left on the cucumbers will dilute the syrup
- For extra-firm pickles: You can add 1/8 teaspoon of calcium chloride (sold as Pickle Crisp) per pint jar. Or use the lime variation built into the tested recipe: mix 1 cup pickling lime and ½ cup salt into 1 gallon of water, soak the cucumber slices 12 to 24 hours, then rinse and soak 1 hour in fresh cold water and repeat that rinse-and-soak twice more. Handle the slices gently afterward, since they’ll be brittle. Don’t lime the onions, and don’t skip any of the three rinses. Avoid inhaling the lime dust while you’re mixing it.
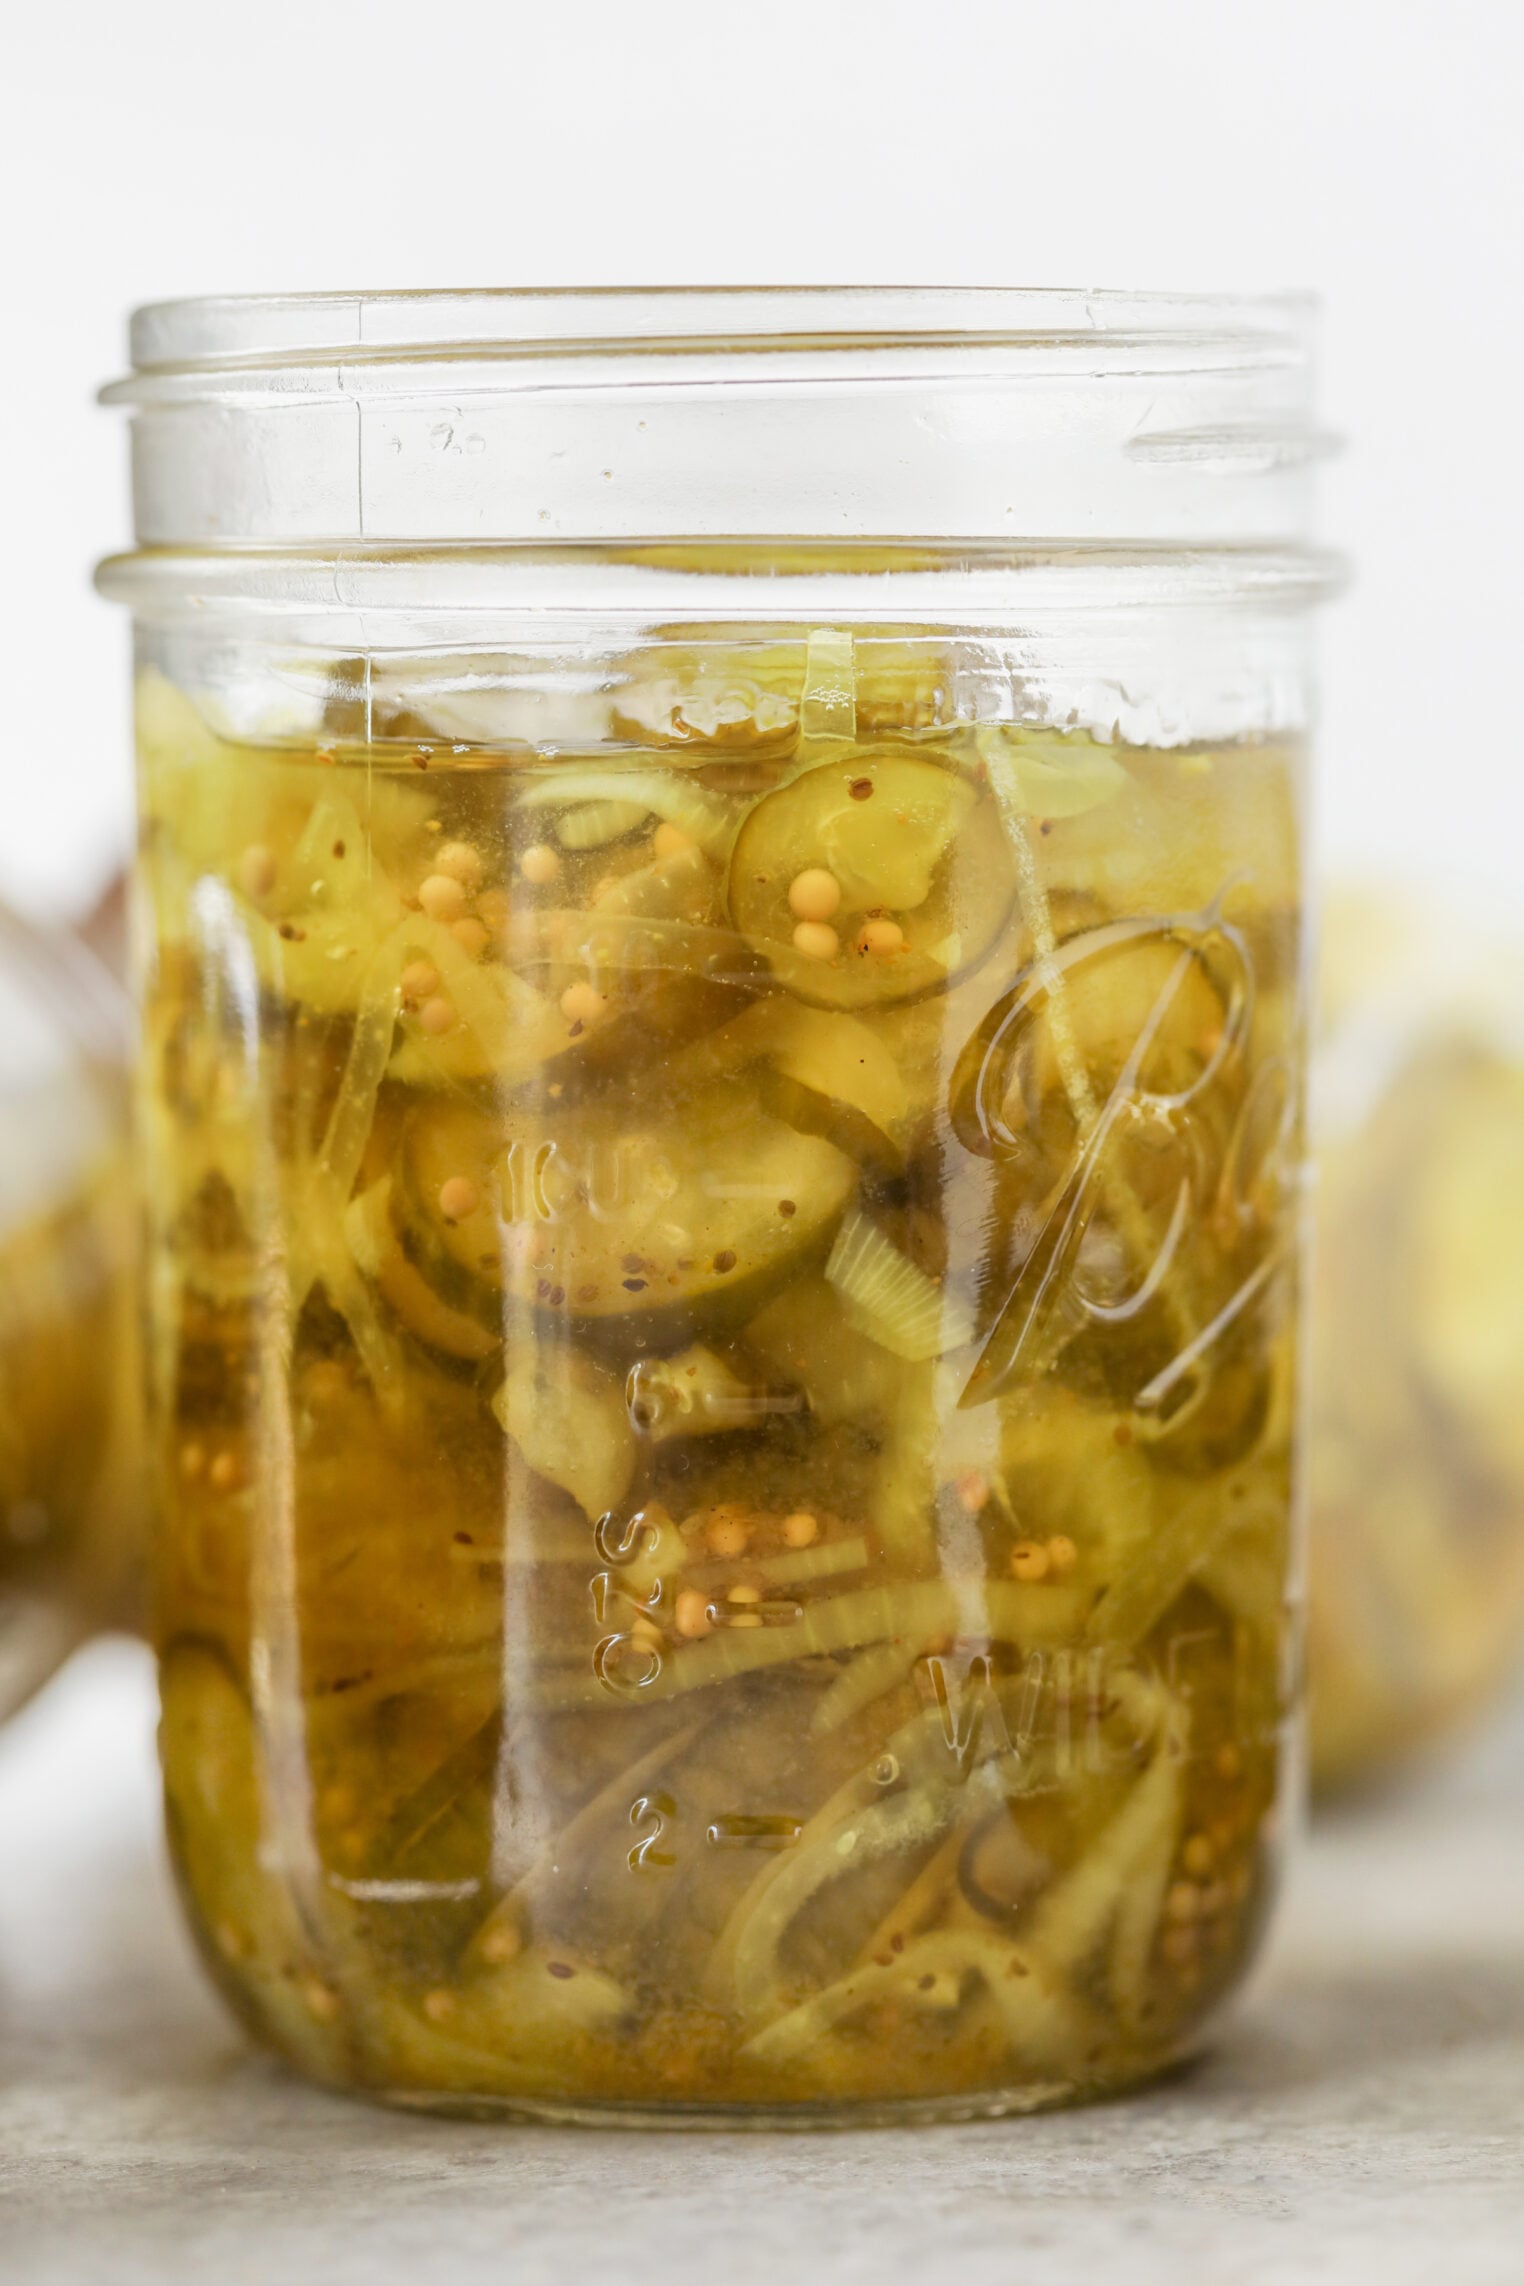
Safe Substitutions
Some things are safe to change, and some aren’t! With pickles, the dividing line is acidity: anything that dilutes the acid is unsafe. For the full framework, see my guide to safe substitutions in canning.
Safe to Change
- Spice Blend: The types and amounts of dried spices and herbs can be changed in this tested recipe. You can add coriander, swap cloves for allspice, double the mustard seed, or skip the celery seed if you hate it. You get the point.
- Reduce Turmeric: I used 2 teaspoons instead of the tablespoon that the tested recipe calls for. Reducing a dried spice is always safe; the result is a warmer gold rather than a fluorescent yellow.
- Cider Vinegar: You can use either cider vinegar or white vinegar, as long as both at 5% acidity.
- Onion: You can use red, white, or yellow onions as long as they are used measure for measure.
- Low Onion: You can also decrease the onion, as reducing a low-acid vegetable is always safe. Penn State Extension says it’s fine to decrease vegetables in a tested recipe; increasing them isn’t. I use 4 cups where the tested recipe calls for 8, and anywhere between those two numbers works. Fewer onions means slightly less volume in the pot, so expect closer to 6 or 7 pints than 8, and possibly a little syrup left over.
- Smaller Jars: Half-pints are fine to use, but process them for the entire pint time.
Not Safe to Change
- Don’t Reduce: Don’t reduce the vinegar or dilute it with water as the vinegar is the safety ingredient.
- Don’t reduce the salt: In many quick-process pickles, salt is for flavor only, but in this recipe it also adds texture in the ice-water step by drawing water out of the cucumbers. If you want a low-sodium pickle recipe, then use a recipe that’s written for that. NCHFP has tested reduced-sodium sweet and dill pickle recipes.
- Don’t use bigger jars: Don’t size up beyond what this recipe calls for as the processing time has been tested for the volume by jar.
- Don’t add fresh herbs: That may adjust the acidity of these pickles. If you want dill pickles, try my dill pickling canning recipe.
Ways to Enjoy these Bread and Butter Pickles
I love these pickles on a burger! Especially my Impossible Smash Burgers which are my favorite burgers to make. They are also great chopped into potato salad or egg salad.
The syrup is also really delicious to use in salad dressings or in coleslaw.
Frequently Asked Questions
Why do you cut off the blossom end of the cucumber?
The blossom end contains enzymes that cause pickles to soften. Trimming the 1/16th end off will help to create crisp pickles.
Can I use fewer onions?
Yes. Reducing a low-acid vegetable in a tested canning recipe is always safe, because it raises the ratio of acid to vegetable rather than diluting it. The tested recipe calls for 8 cups and I used 4 because I felt like 8 was too many onions.
Can I reduce the sugar in these bread and butter pickles?
You can reduce sugar in a tested quick-process pickle recipe without a safety problem, but 4½ cups is what makes these taste like bread and butter pickles rather than sweetened dills.
Can I use this recipe for zucchini?
Yes, this tested recipe includes a squash variation: you can substitute zucchini or summer squash.

Bread and Butter Pickles (for Canning)
Ingredients
- 6 lbs 4- to 5-inch pickling cucumbers
- 4 cups thinly sliced onions, about 1½ lbs
- ½ cup canning or pickling salt
- 4 cups vinegar, 5% acidity
- 4½ cups sugar
- 2 tablespoons mustard seed, half yellow, half brown
- 1½ tablespoons celery seed
- 2 teaspoons ground turmeric
- ½ teaspoon whole cloves
- 1 tablespoon black peppercorns
- 1 tablespoon coriander seed
- Crushed or cubed ice
Instructions
- Prepare the cucumbers: Wash the cucumbers and cut 1/16 inch off the blossom end and discard. Cut into 3/16-inch slices using a sharp knife or a mandoline. Combine cucumbers and onions in a large bowl or container, large enough that you can cover with ice. Add the salt and toss, then cover with 2 inches of crushed or cubed ice. Refrigerate 3 to 4 hours, adding more ice as needed. When ready, drain very well.
- Make the spice bag: Tie the cloves, peppercorns, and coriander seed in a square of cheesecloth.
- Prepare the pickles: Combine the vinegar, sugar, mustard seed, celery seed, and turmeric in a large pot and add the spice bag. Boil for 10 minutes, then add the drained cucumbers and onions and slowly reheat to boiling. Remove and discard the spice bag.
- Fill the jars: Fill hot jars with slices and cooking syrup, leaving ½-inch headspace. Remove air bubbles, re-check headspace, and wipe the rims clean. Center lids and apply bands fingertip tight.
- Process: Place the filled jars in a boiling water canner for 10 minutes, adjusting for altitude (15 minutes at 1,001–6,000 ft; 20 minutes above 6,000 ft). Turn off the heat, remove the canner lid, and let jars stand 5 minutes. Remove, then let cool for 12 to 24 hours. Refrigerate any unsealed jars and store the sealed ones in a cool place.
Notes
Nutrition
More Canning Recipes:
- Simple Canning Recipe for Dill Pickles
- Candied Jalapenos
- The Best Homemade Low Sugar Strawberry Jam
- Best Homemade Salsa for Canning
- How to Can Tomatoes
If you try this recipe, let me know! Leave a comment, rate it, and tag your Instagram photos with #delishknowledge. I absolutely love seeing your creations.