


Water Bath Canning for Beginners
I started canning almost 20 years ago, when I was a grad student studying nutrition and looking for ways to stretch my food budget. Hundreds of sessions later, I now teach safe canning, and really, water bath canning is easier than you think!
If you’ve got more tomatoes than you can eat, a flat of berries or peaches going soft on the counter, or a garden bursting with tomatoes, then water bath canning is the skill that makes all of that fresh produce keep!
It’s the method behind my most popular canning recipes: homemade salsa for canning, dill pickles, and every jam. I also know that water bath canning is the thing that most people are nervous about, but as long as you follow a few safety notes, you don’t have to fear it.
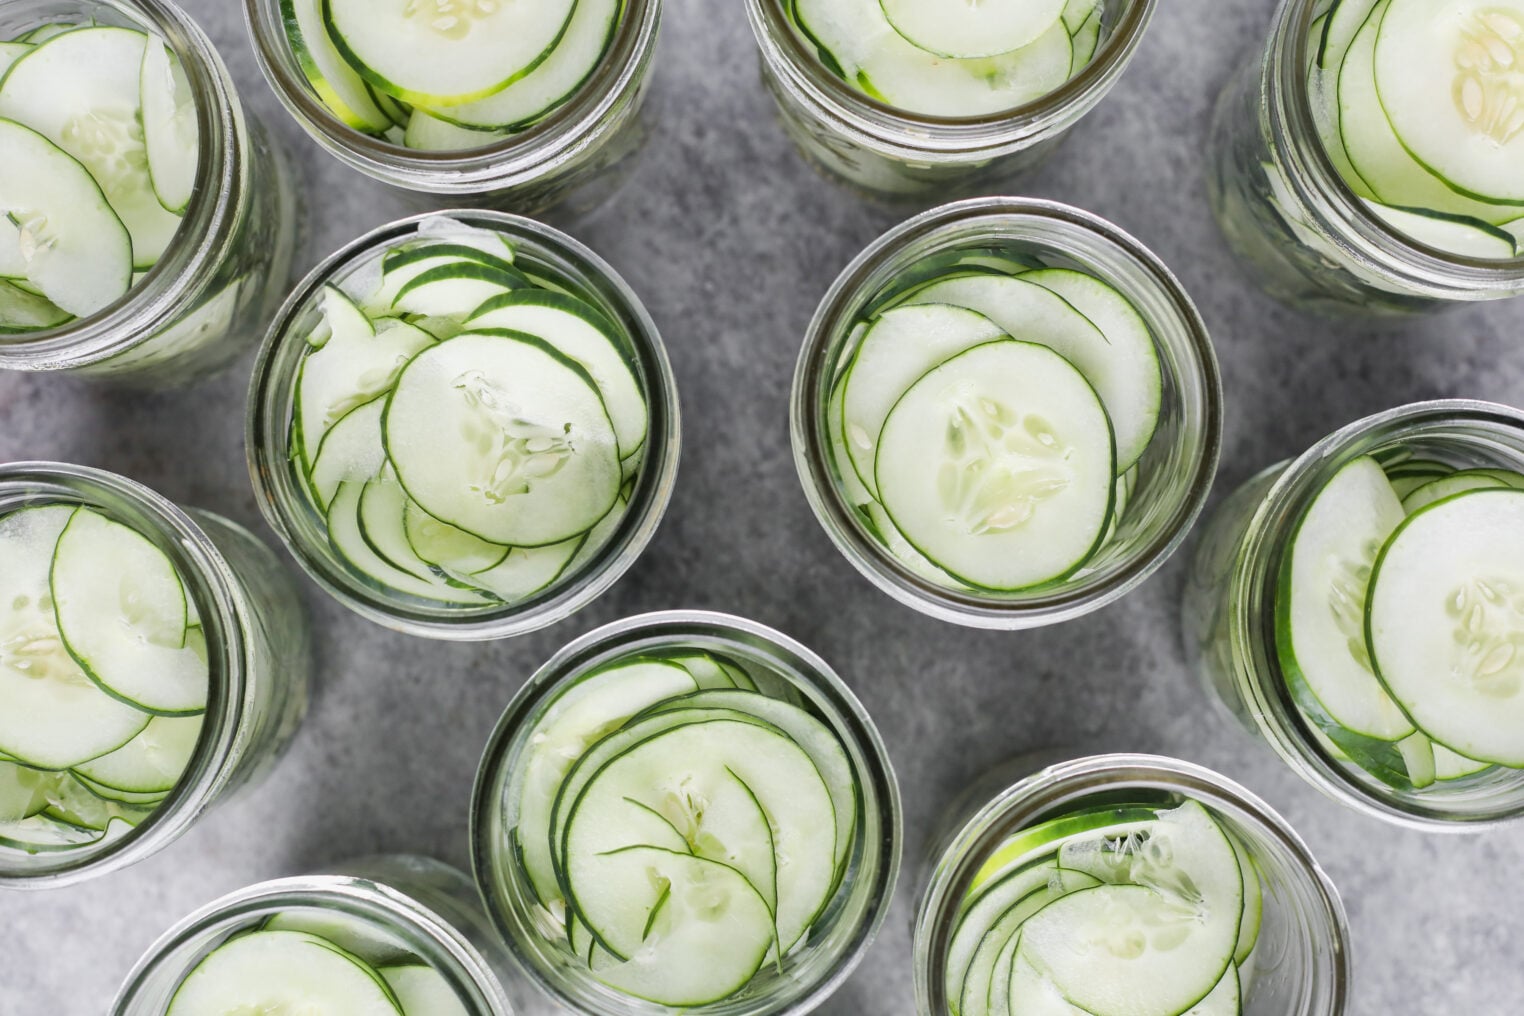
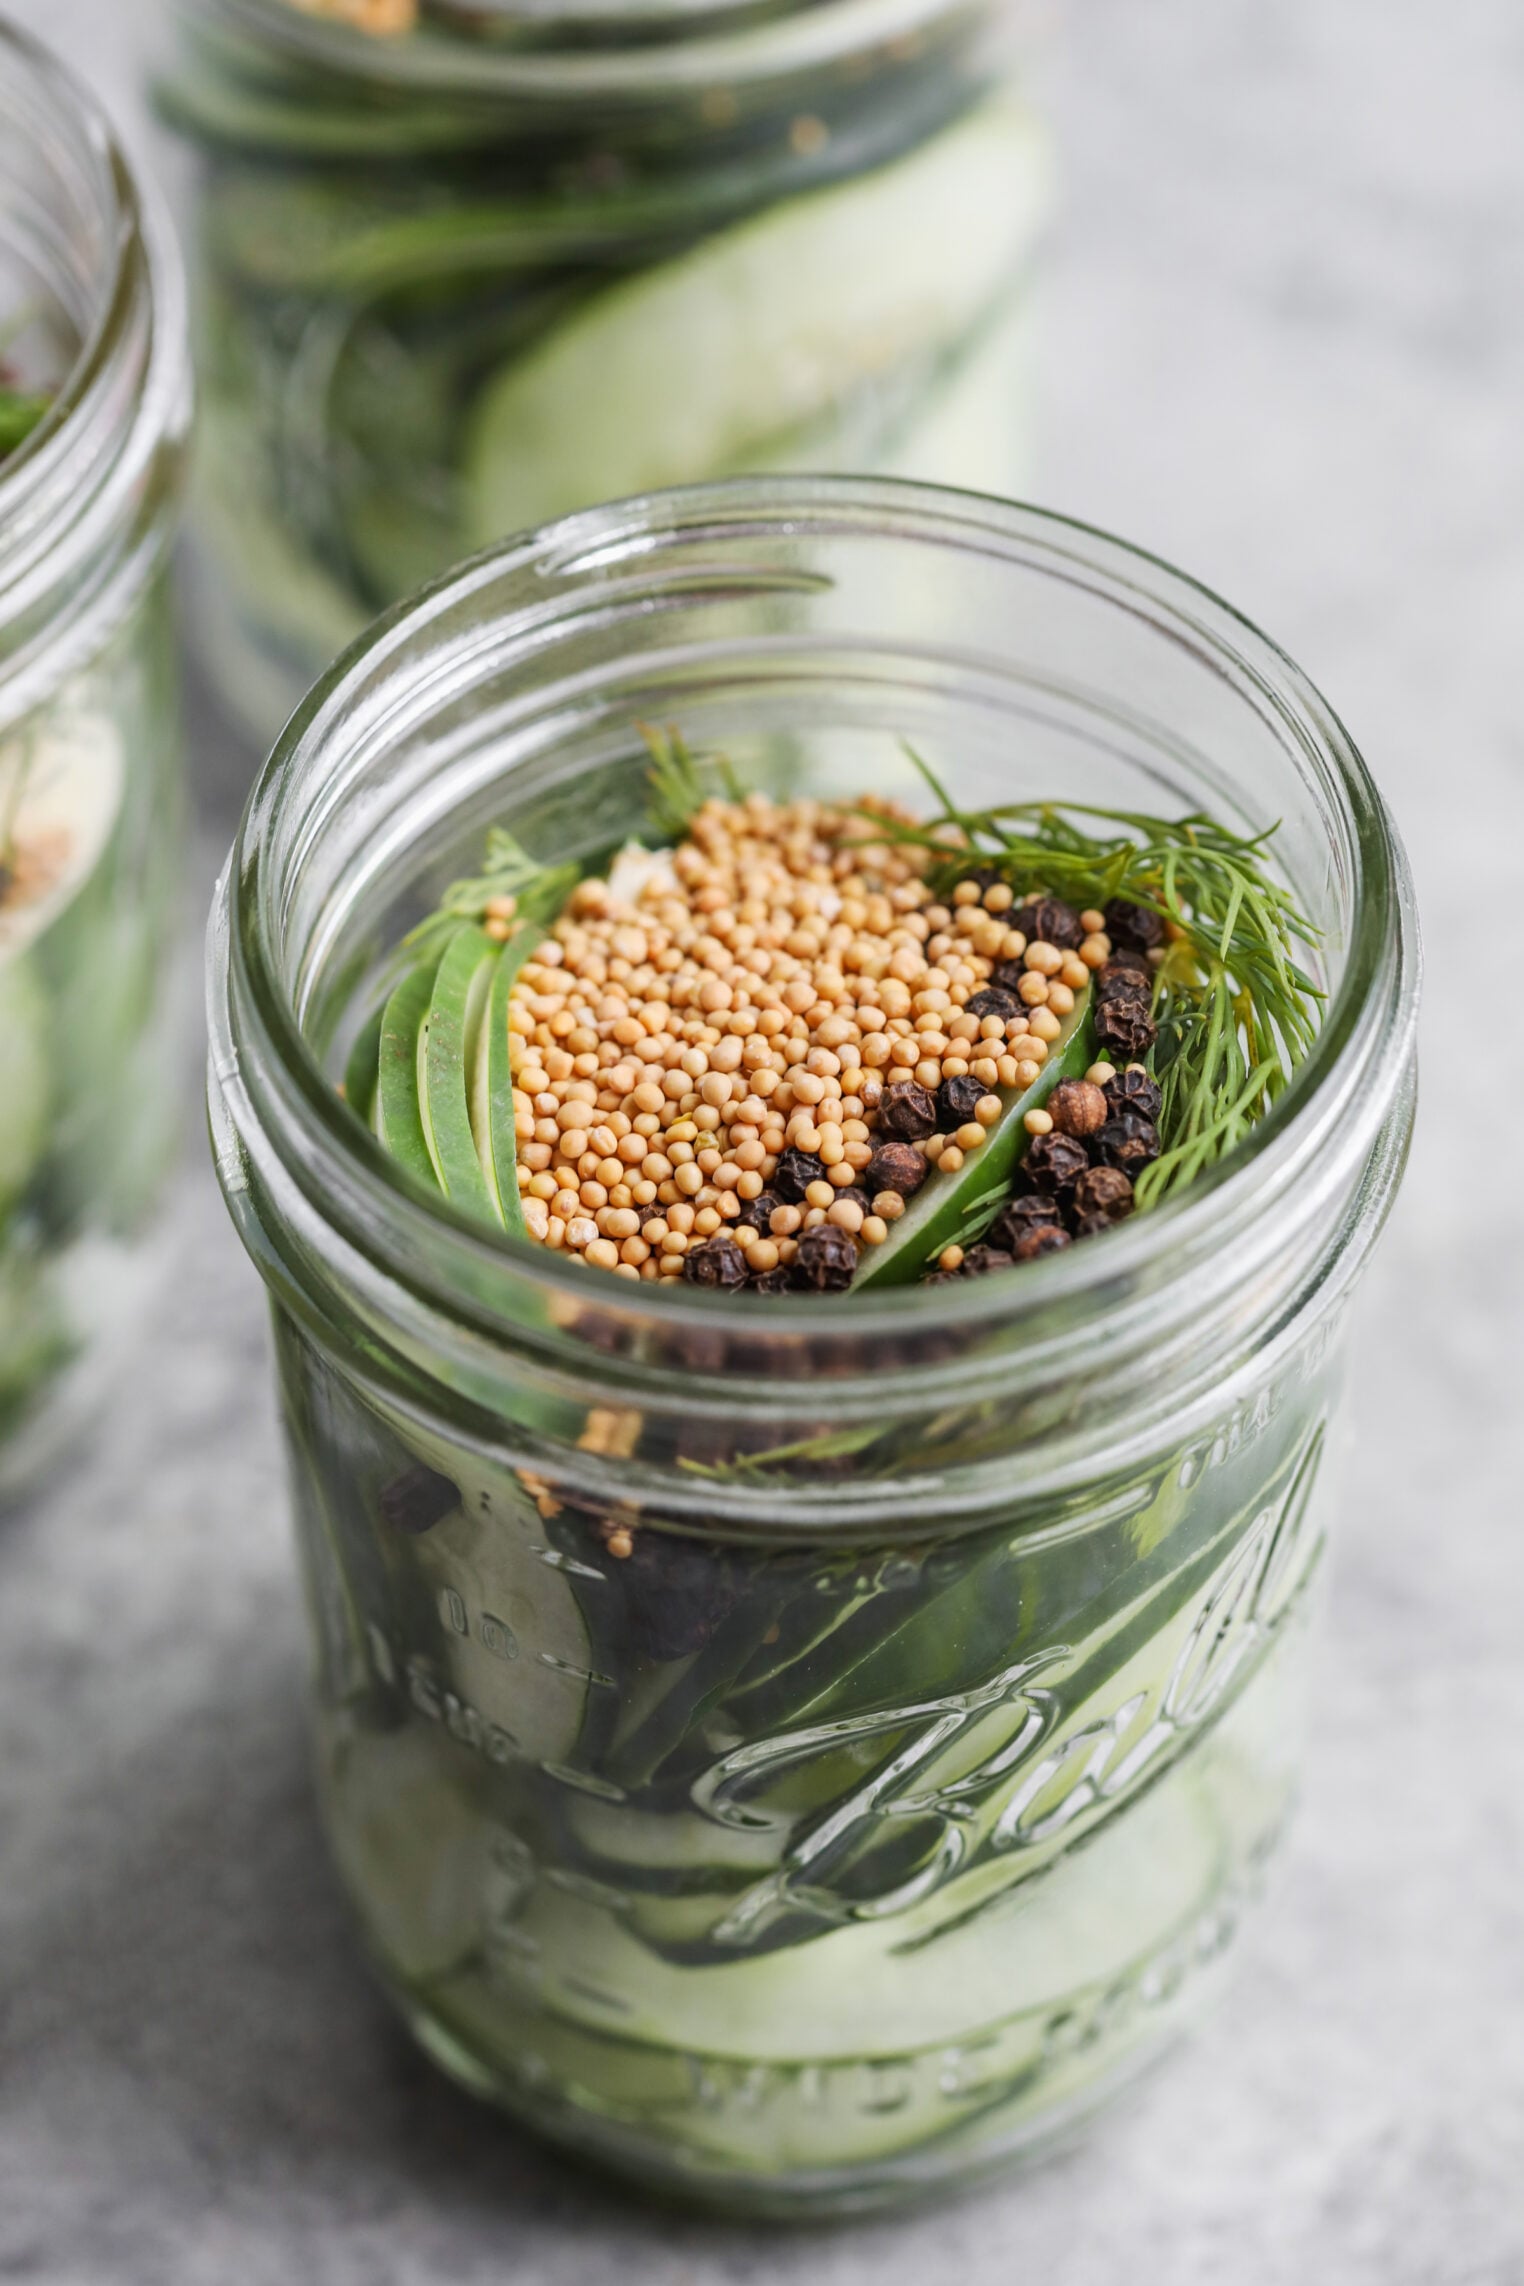
Is home canning actually safe?
Yes! As long as you follow a tested recipe and don’t improvise the parts that keep it safe.
This is what I tell my students at the beginning of all my canning classes: water bath canning isn’t dangerous. Improvising a water bath recipe is dangerous. Those are two very different things, and the difference is the entire skill.
Here’s why. Clostridium botulinum is a bacterium whose spores are everywhere– in soil, on produce, in your kitchen, etc. In an acidic environment, those spores can’t grow. However, in a low-acid, oxygen-free environment, like an improperly canned jar of green beans, they can, and they then produce the toxin that causes botulism.
The key is to ensure that any water-bath-canned item has a pH below 4.6. Foods below it are high-acid and safe for a boiling water bath. Foods above it are low-acid and require a pressure canner, which reaches temperatures that boiling water cannot.
Water bath or pressure canner: which do I need?
A water bath canner is just a big pot of boiling water. You don’t need a special canner for this; when we say water bath canning, that’s all we mean: boiling water. At sea level, boiling water is 212°F, which is hot enough to kill the molds, yeasts, and bacteria that spoil high-acid food, and to force air out of the jar so it can seal properly.
A pressure canner traps steam, raising the temperature above 240°F, which is the temperature required to destroy botulism spores. That’s why low-acid foods don’t have a water bath option, as boiling water can’t reach high enough temperatures to kill botulism in low-acid foods.
I know that pH scales can be confusing, as the lower the number, the more acidic the food. High-acid foods have a pH of 4.6 or lower; low-acid foods have a pH above 4.6.
What you can water bath can
- Fruit and fruit juices
- Jams, jellies, preserves, and fruit butters
- Pickles and anything else preserved in a vinegar brine
- Tomatoes and salsas with added acid (more on that below)
- Chutneys, relishes and pie fillings from tested recipes
What you cannot water bath can
- Plain vegetables: green beans, corn, carrots, potatoes, beets
- Anything with beans, meat, poultry or seafood in it
- Soups, stocks and broths
- Pumpkin or winter squash puree, in any form
- Plain onions, peppers or mushrooms
- White-flesh peaches, which can naturally exceed pH 4.6
If a recipe you found online tells you to water bath any of the above, don’t! This is the single most common way that well-meaning canning content gets people hurt.
The trickiness of tomatoes
Tomatoes are confusing when it comes to pH, as tomatoes sit right around the 4.6 line, and some modern varieties are bred to be lower in acid than the ones that old family recipes were written for. That’s why every tested tomato recipe calls for added acid– like bottled lemon juice or citric acid– and why my tomatoes and my salsa both specify an exact amount that can’t be reduced.
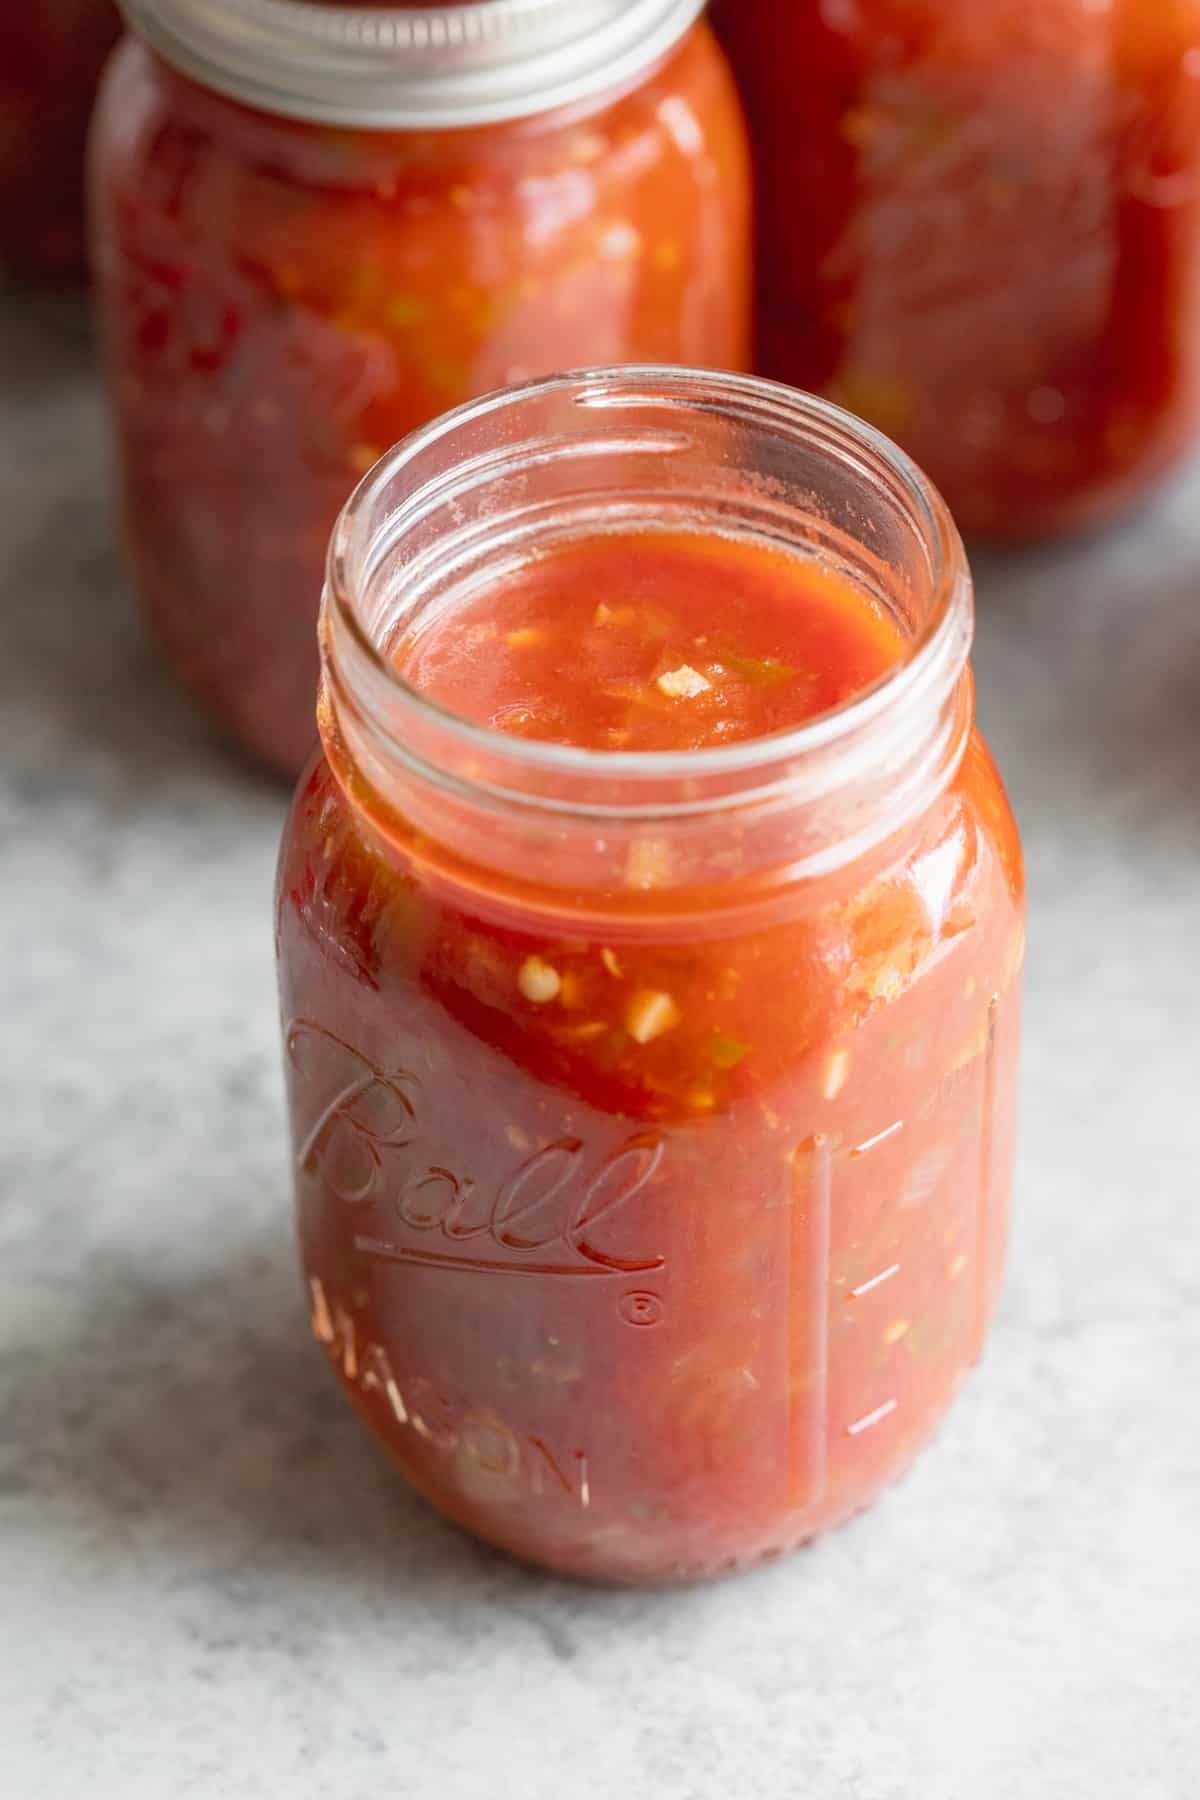
Vinegar, lemon, lime or citric acid: which one and when?
When it comes to the acid used in the recipe, it’s best to stick to what’s recommended based on both acidity and flavor. But, there are a few exceptions to that! The answer to this depends on what the acid is going in your jar.
In pickles, like my canning dill pickle recipe, the vinegar is the preserving medium. The brine is most of what’s in the jar, and it’s what makes low-acid cucumbers safe for canning. In an acidified tomato product, like canned tomatoes, salsa, or canned tomato sauce, the acid is a small correction added to a food that’s sitting right at the safe pH line.
Vinegar
Use vinegar that’s labeled as 5% acidity, sometimes printed as 50 grain. That is what both standard distilled white and cider vinegar are in the US, and it’s what every tested recipe assumes. Artisanal and specialty vinegars are not the same, many of those are bottled at 4% of lower, which isn’t enough.
Never dilute vinegar with water to soften the flavor. If a pickle is too sharp for your tastes, then add in sugar or a different spice blend, but don’t dilute the vinegar.
White vinegar and cider vinegar are interchangeable for safety at the same acidity, but they don’t behave the same in the jar. Cider vinegar darkens light-colored produce and brings its own flavor; I like cider vinegar with apples and beets, but not with cucumbers, where you want the brine to stay pale and crisp. Those are preference calls, though, not safety ones.
Bottled Lemon and Bottled Lime Juice
Both bottled lemon and bottled lime juice are standardized, which is why you want to use those over fresh lemon or fresh lime. Bottled lime juice runs slightly more acidic than bottled lemon, so in a recipe calling for bottled lemon you can use bottled lime instead as you’ll end up with more acid, not less.
It doesn’t work in reverse, though; if a recipe specifically calls for bottled lime juice, then don’t swap in lemon. And in both cases, you can’t use fresh lime juice or lemon juice, as they aren’t pH-standardized.
Citric Acid
Citric acid has a neutral taste, so it acidifies tomatoes without adding flavor, which is why I use it when I can tomatoes and I don’t want an off-taste, like lemon or vinegar. I can tomatoes to use in recipes like my vegetarian bean chili, where I wouldn’t want the finished chili to have a background taste of lemon!
How much acid for tomatoes
| Acid | Per Quart | Per Pint |
|---|---|---|
| Bottled lemon juice | 2 Tablespoons | 1 Tablespoon |
| Citric Acid | 1/2 teaspoon | 1/4 teaspoon |
| 5% vinegar | 1/4 cup | 2 Tablespoons |
Vinegar works for tomatoes, but at that quantity you will taste it, which is why citric acid is the usual recommendation, with bottled lemon juice a close second.
Where you can swap, and where you can’t
The rule to remember is that you can move toward more acid, but not less.
- Safe: bottled lime juice in place of bottled lemon as it’s slightly more acidic
- Safe: A higher-acidity vinegar in place of 5%
- Safe: Any swap your recipe allows. For example, my salsa recipe is tested to work with a cup of white vinegar or a cup of bottled lemon juice
- Not Safe: bottled lemon juice when the recipe calls for lime
- Not Safe: Fresh lemon juice in place of bottled
- Not Safe: reducing the amount of acid because it tastes sharp, or because your tomatoes seem acidic enough
- Not Safe: Swapping acids in a recipe that doesn’t say you can. All safe recipes are verified and tested, so if a recipe was tested with a certain acid and didn’t require a swap, then the final pH was measured with that acid.
If you want to change the acid in a recipe that doesn’t offer the option, then the move is to find a tested recipe built around the acid you’d rather use, not to adapt one.
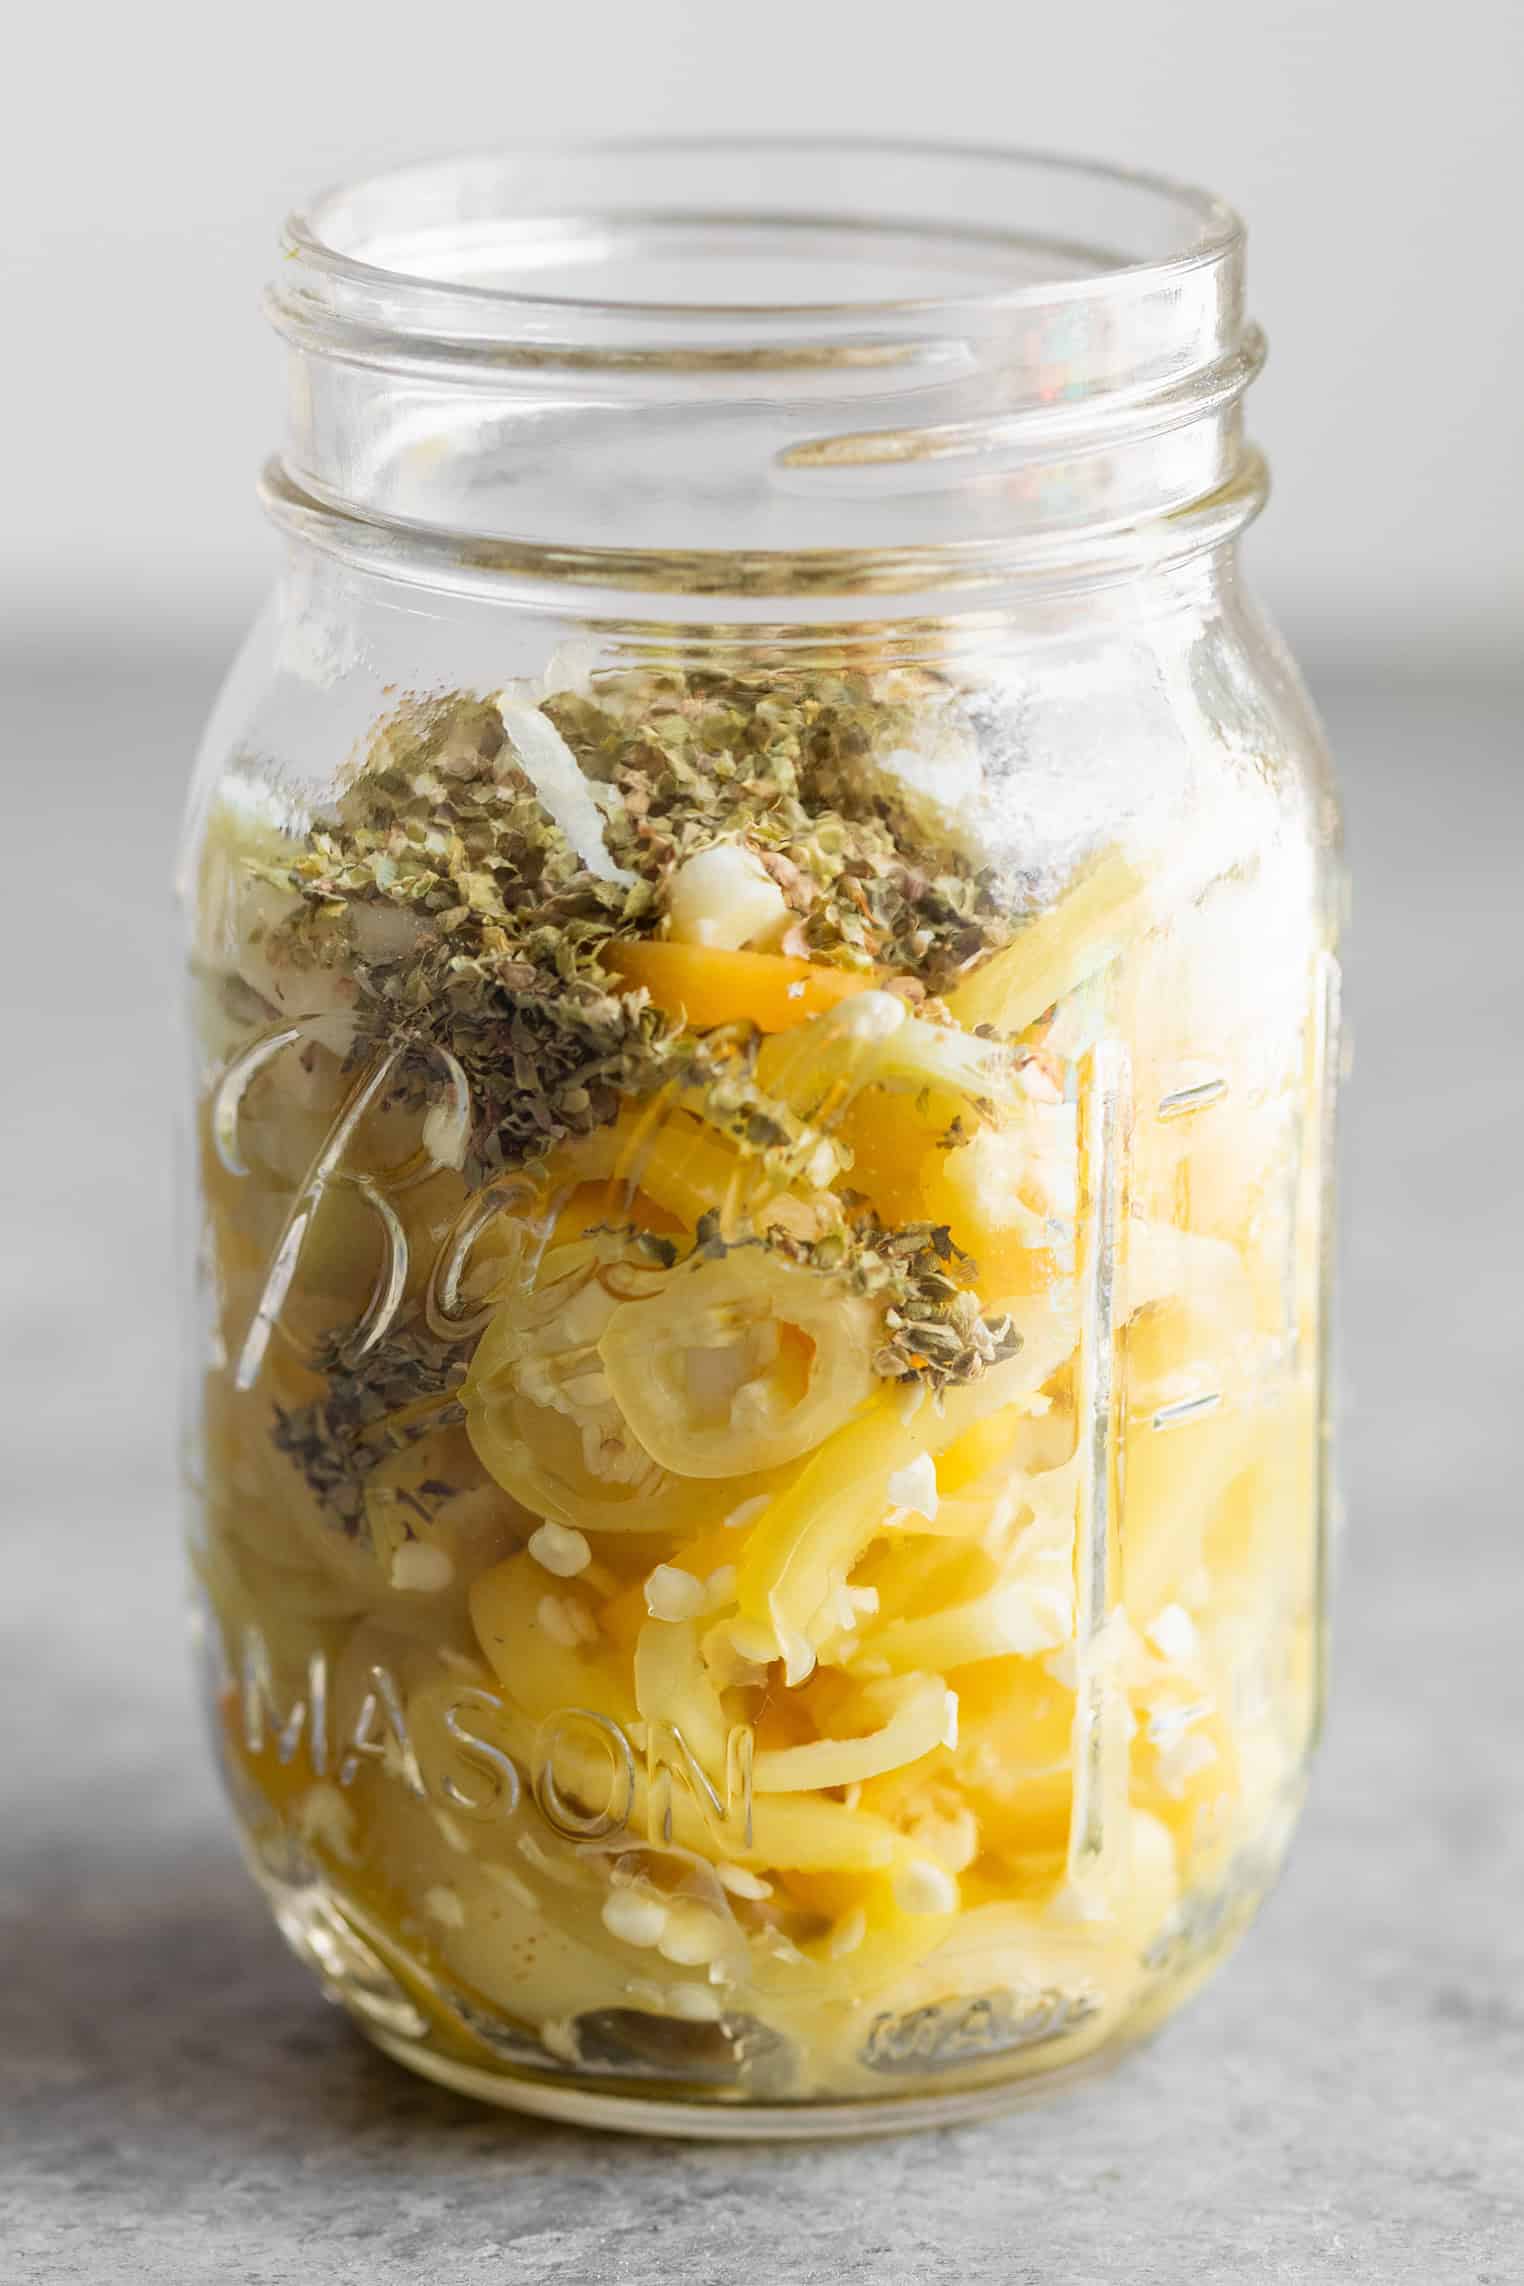
What you need to get started
You really don’t need fancy equipment to get started, but there are some helpful tools you may want, especially if you plan to water bath can often.
- A large, deep pot with a rack: A dedicated water bath canner is nice, but a stockpot works as long as it’s deep enough to cover your jars with an inch of water, leaving room to boil. The rack does matter, as jars sitting directly on the bottom of your pot can crack. I use my Instant Pot rack, or you can grab a water bath canner with a rack.
- Mason jars: Check the rims for nicks before every use, as a chipped rim won’t seal.
- New lids, every single time: The sealing compound only compresses once. Bands are reusable, but lids are not!
- A jar lifter: These are SO nice to have, as tongs will drop a hot jar. These are only a couple of dollars and often come with a water bath canner. I own a few!
Helpful, but optional: a canning funnel is nice, but you can use another funnel or just carefully ladle your filling in, then wipe clean. A bubble remover (or a chopstick) and a magnetic lid wand are nice, but I rarely use mine.
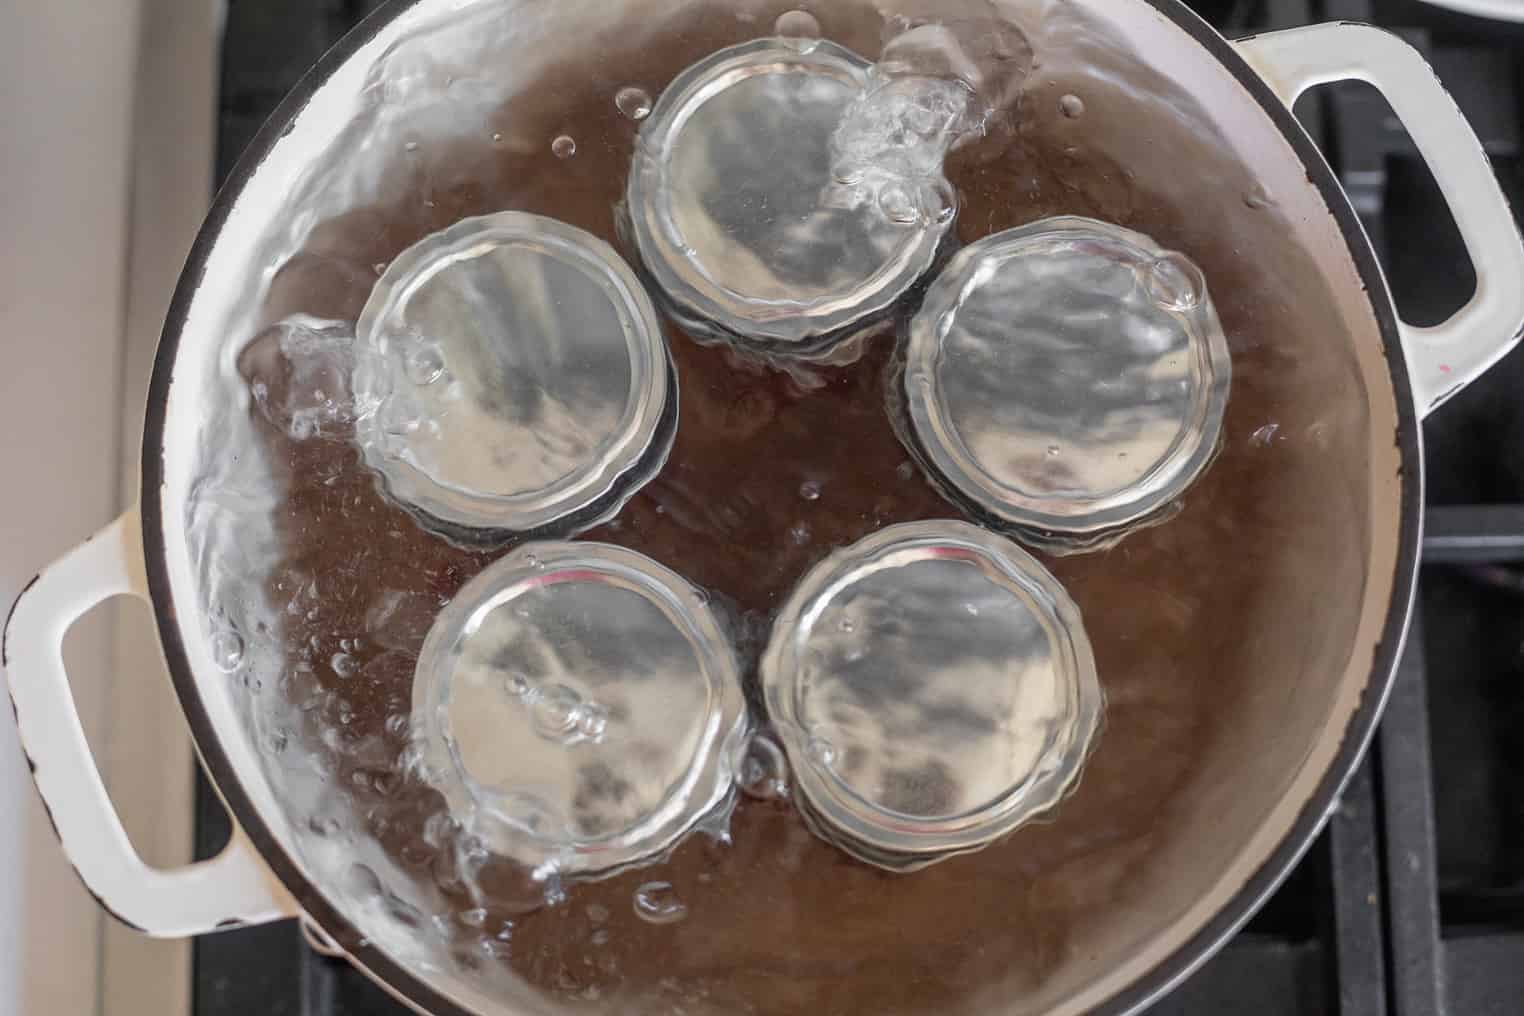
How to water bath can, step-by-step
Step 1: Read your recipe all the way through
Canning is an exercise in timing, and most recipes will have you moving quickly to can and process the filling once it’s made. Some recipes, like my canned hot peppers in oil, need an overnight brine soak.
Step 2: Wash your jars
Wash your jars in hot soapy water and keep them warm until you fill them as hot food in a cold jar can crack the glass. I use my dishwasher to keep the jars hot– after I wash them (yes, even new ones, you’d be surprised how much dust and debris I’ve found in new jars) I place them in my dishwasher without anything else and run a sanitize run. This keeps the jars warm and clean while I prep my filling.
Step 3: Fill Your Canner
Depending on what you are making, it’s a good idea to fill your water bath canner with water and then bring it to a simmer. Especially if you are making something quick, like a brine or jam, where the filling will take as much time as it does to bring a large pot to a simmer.
Step 4: Fill your Jars
Fill your jars, leaving the headspace that your recipe specifies. Too little space and the food can bubble out and ruin the seal; too much and there’s air left that keeps the jar from sealing at all.
Step 5: Remove air bubbles and wipe rim
Remove any potential air bubbles by running a chopstick or bubble remover around the inside of the jar. Trapped air throws off your headspace and can leave food above the liquid line, where it darkens. Wipe the rims with a clean, damp cloth. A smear of jam on the rim is the most common reason that a jar doesn’t seal!
Step 6: Apply lids and bands
Add the lids and bands to the jar, tightening only to fingertip-tight. Air needs to escape during processing, so you want the bands to only be just tight. If the bands are cranked down too hard, then the air is trapped. Add the jars into the canner, making sure they’re covered by at least an inch of water. Bring it to a full rolling boil, then start your timer.
Step 7: Process
Process for the time specified in your recipe, making any adjustments as needed for your altitude. Turn off the heat, remove the lid, and wait five minutes, then lift the jars out. Going straight from boiling water to a cold counter can cause siphoning.
Step 8: Cool
Cool the jars on a towel on the counter for 12 to 24 hours. Don’t press the lids, retighten the bands, etc. You will start to hear the lids ping as they seal! This is normal; just let them be.
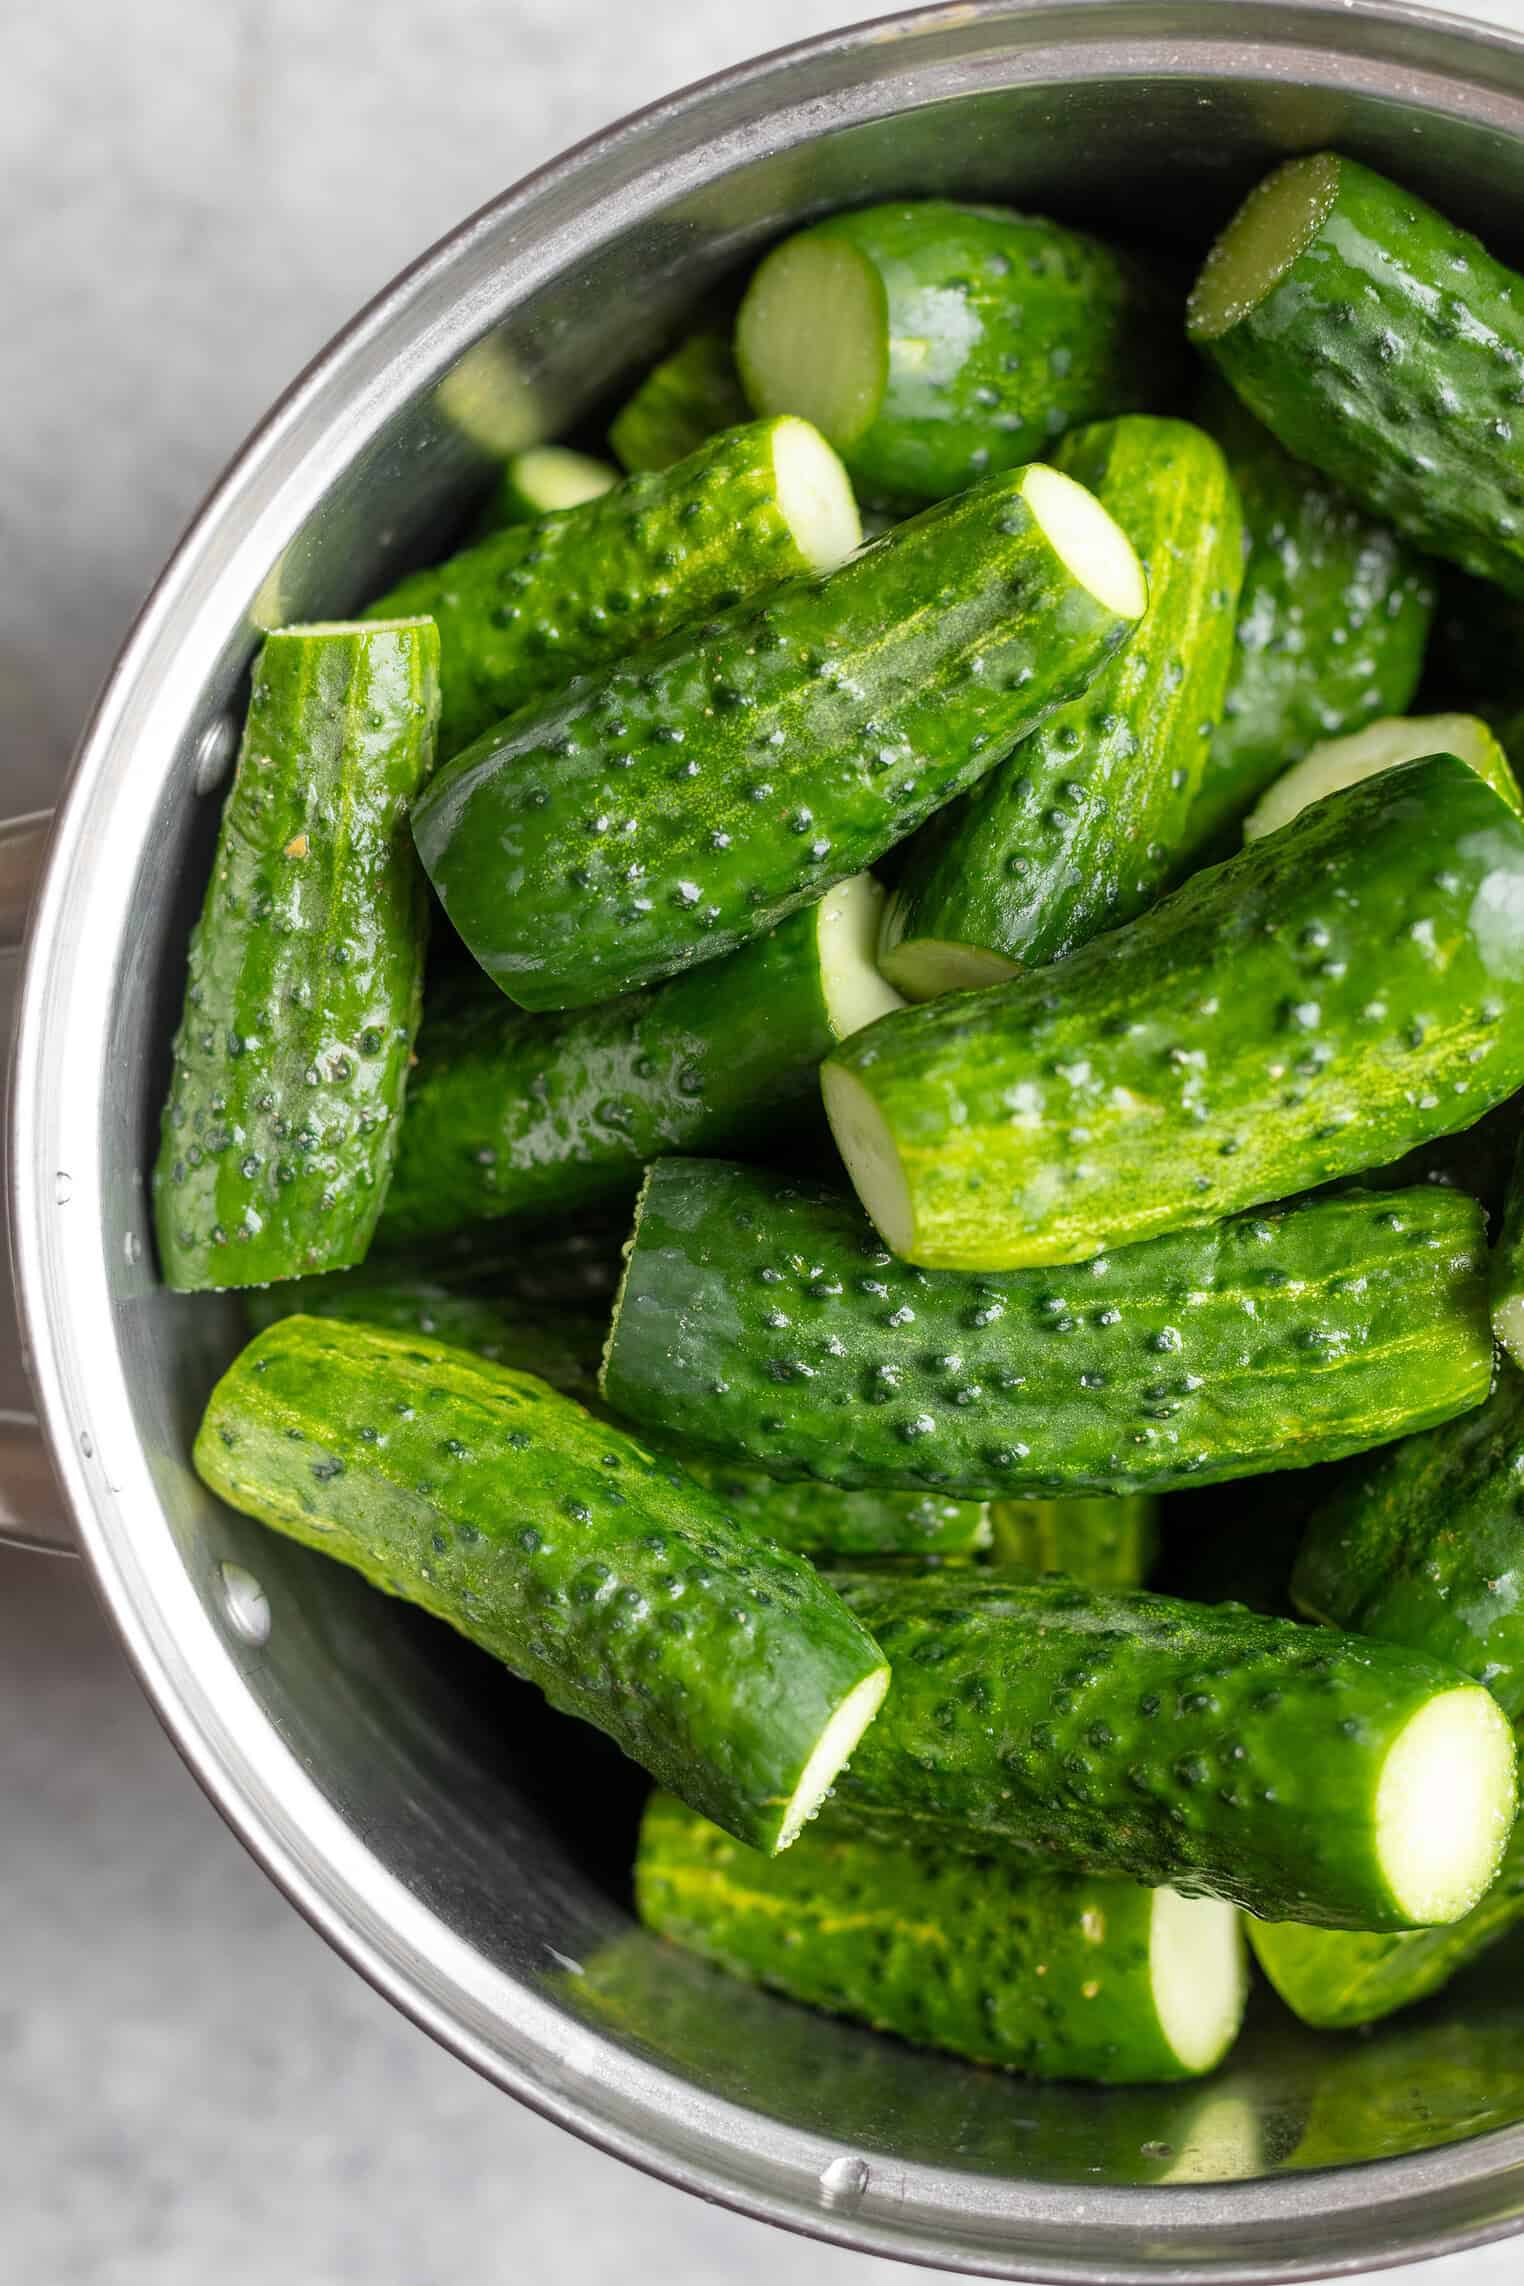
What adjustments are needed for higher altitudes?
Water boils at a lower temperature the higher in altitude that you go, so your jars need longer in the canner to reach the same result as sea level. This isn’t optional; if you live at altitude, usually classified as over 1,000 feet, then you’re often adding a meaningful amount of time.
If you don’t know your elevation, you can Google your town and elevation to find out.
Altitude Adjustments for Boiling Water Canner
| Altitude in Feet | Increase in Processing Time |
|---|---|
| 1,001 to 3,000 | 5 minutes |
| 3,001 to 6,000 | 10 minutes |
| 6,001 to 8,000 | 15 minutes |
| 8,001 to 10,000 | 20 minutes |
How do I know if the jar sealed?
After 12 to 24 hours, take the band off and check three things. The lid should be concave, curved slightly down in the center. It shouldn’t flex or pop when you press it. And the jar should hold its own weight when you lift it by the lid alone.
If the jar didn’t seal, it’s ok! Refrigerate it and use it within a week, or reprocess it within 24 hours with a brand new lid. Store sealed lids with the bands off. It feels wrong the first time, but a band left on can hold a failed lid in place and hide a broken seal.
Frequently Asked Questions
Why did the liquid drop in my jars?
Jars pulled out of the canner too fast can cause siphoning, which is almost always related to temperature shock. The food is still safe as long as the jar is sealed, though anything that’s above the liquid line may darken over time.
My pickle brine is cloudy.
Table salt with anti-caking agents, hard water, or even using ground spices can cause a cloudy pickle brine. This doesn’t affect safety, but it can affect how it looks. Next time, use pickling salt and whole spices. However!! If you have cloudiness AND a bulging lid, or the smell is off, then throw it out.
Can I cut the sugar in a jam recipe?
In canning, sugar is there for flavor and texture, not safety, which is why you can reduce the sugar in my low sugar strawberry jam and my low sugar blackberry jam. Both of those recipes use a fraction of what traditional recipes call for. However, you do need to use a pectin for low-sugar recipes, as classic pectin needs a high sugar concentration to set.
Do I need to sterilize my jars?
I sterilize all jars for safety, especially as I’ve seen plenty of debris in even new jars, and I prefer to do it this way. However, if your recipe processes for 10 minutes or longer, then washing in hot soapy water first is enough, as the processing time will sterilize them. I use my dishwasher for efficiency!
How long does home canned food last?
The best quality is within a year, though it’s safe beyond that as long as the seal is intact and the jars are stored somewhere cool and dark. Label everything with the date!
Can I reuse canning lids?
No! You cannot reuse canning lids, though you can reuse bands. You will need to get new lids every time as the seal is only good once. This is also true if you need to reprocess any jars; get a new lid.
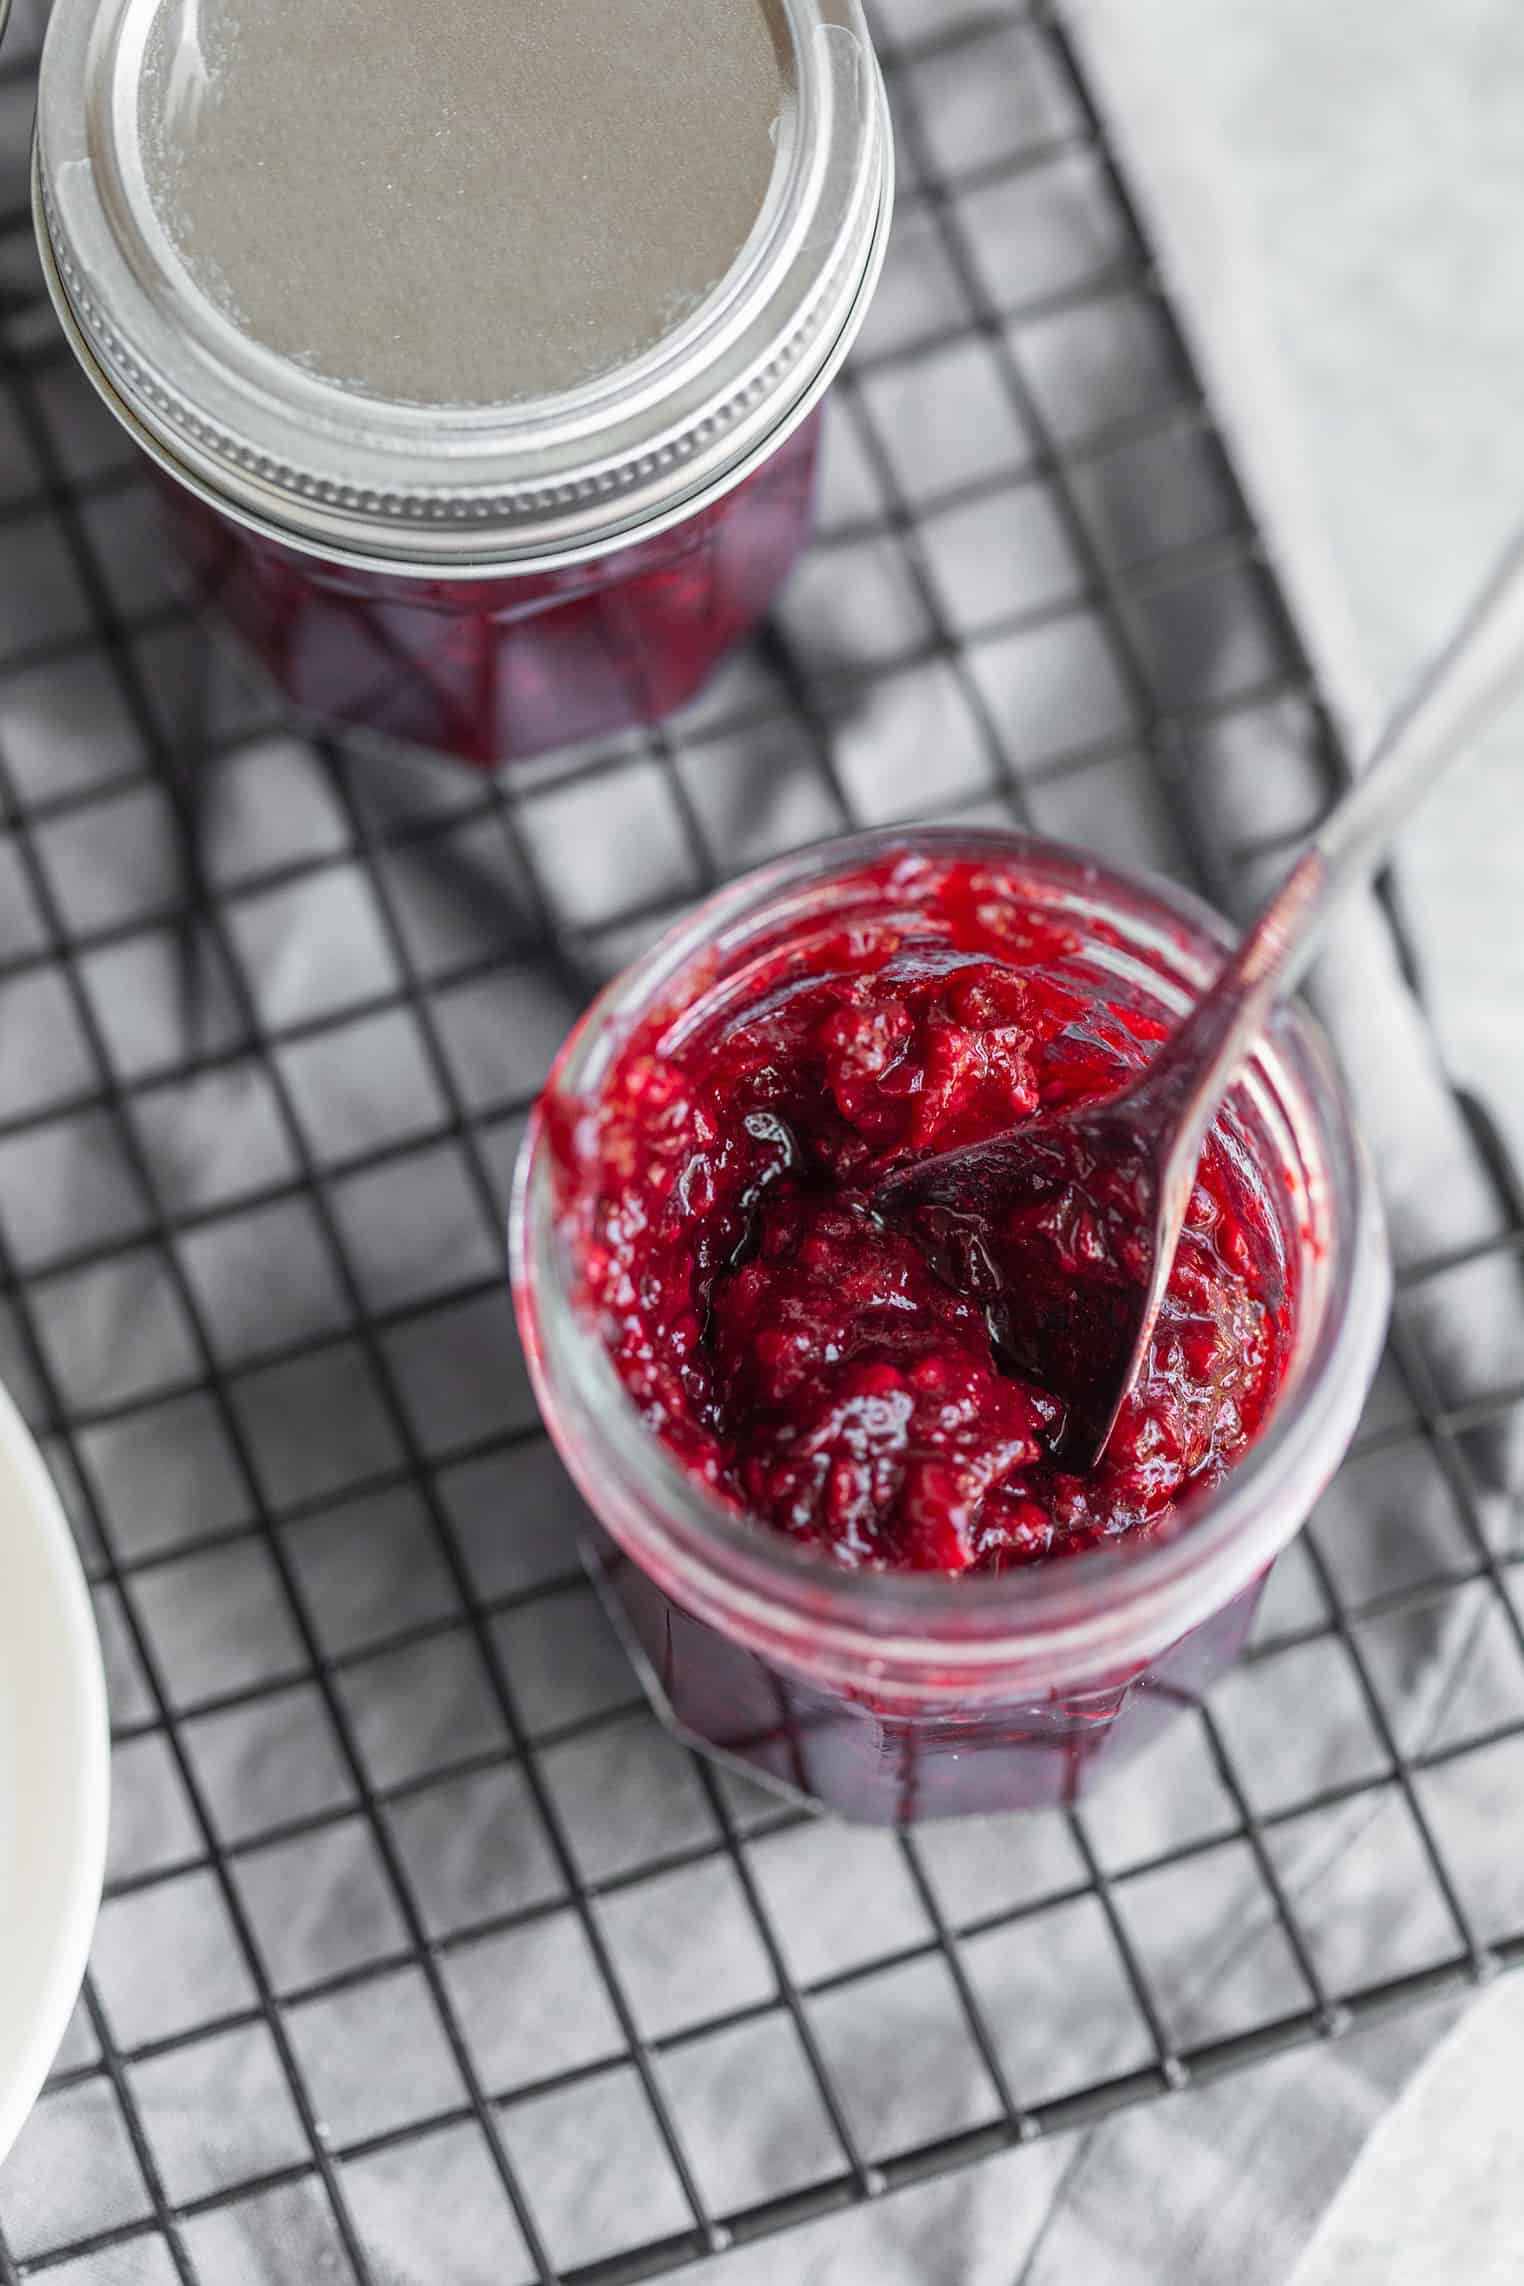
Why did my jam not set?
Nine times out of ten, it’s because the jam isn’t finished cooling yet. Jam continues to thicken for a full 24 to 48 hours after it comes out of the canner, and a jar that looks like syrup right after being set on the counter is often perfectly set in two days.
If it’s still loose after that:
- The pectin didn’t match the sugar. Classic pectin needs a high sugar concentration to gel, so cutting the sugar in a recipe written for it will leave you with sauce. Low-sugar recipes need a pectin made for low-sugar recipes– it’s why mine call specifically for low-sugar pectin.
- It never hit a true rolling boil. A rolling boil is one you can’t stir down, not a lively simmer. Pectin needs heat to activate.
- It boiled too long after the sugar went in. One minute is one minute; if you continue boiling after that, the pectin will start to break down.
- The batch was doubled. A double batch takes longer to heat and evaporates differently, and the set changes with it. If you want to make a double batch, then make two separate batches instead.
- The fruit was measured whole. Eight cups of crushed fruit is a different amount of fruit than eight cups of whole berries. It’s always recommended to crush first, then measure.
- The fruit was very ripe, or the pectin was old. Both overripe fruit and old pectin lose their gelling power– overripe fruit has less natural pectin, and an opened box of pectin doesn’t keep forever.
You can remake a loose batch with additional pectin, though I don’t do that. Loose jam is fantastic on yogurt, oatmeal, pancakes, ice cream, anywhere you want to enjoy a fruity sauce!
Every Canning Recipe on Delish Knowledge
Ready to get started? Below are all safe and verified recipes. Note that some of them are kept in the refrigerator after processing, and some are shelf-stable.
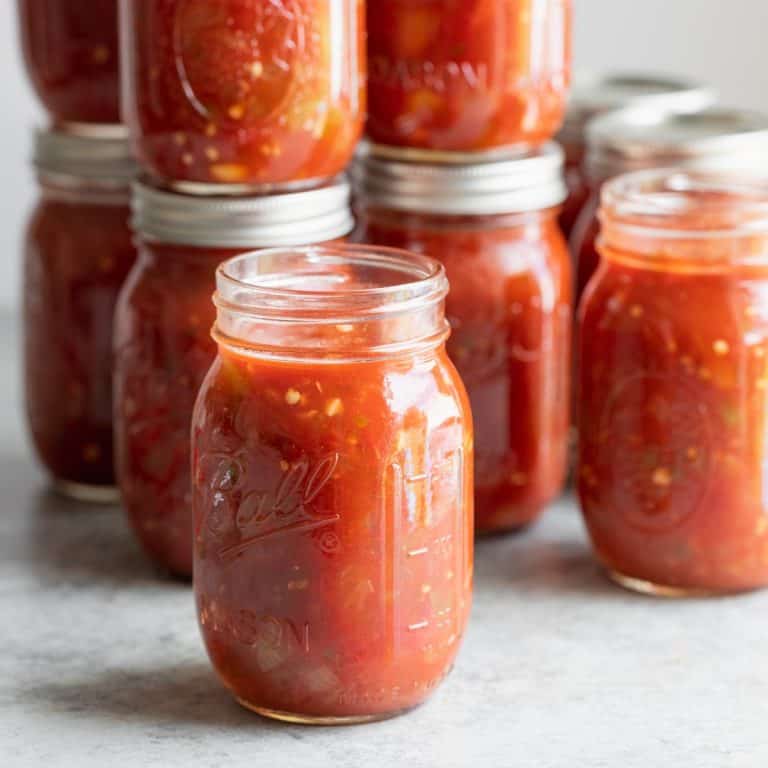
Homemade Salsa for Canning
The BEST homemade salsa for canning. Have fresh tomatoes? Then you’ll want to make this salsa, either hot or mild. It’s so delicious and inexpensive to make!
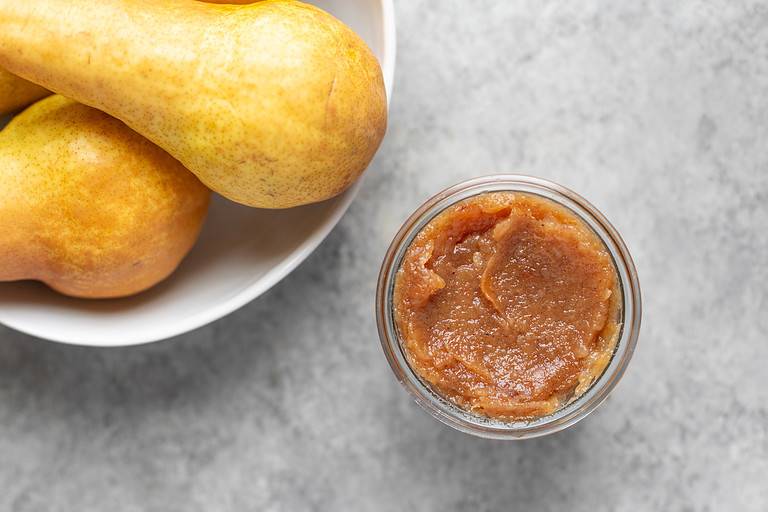
Homemade Pear Butter
Homemade pear butter! This simple fresh pear butter recipe is a must. Enjoy it on toast, muffins, scones, and more. Perfect for gifting for the holidays!
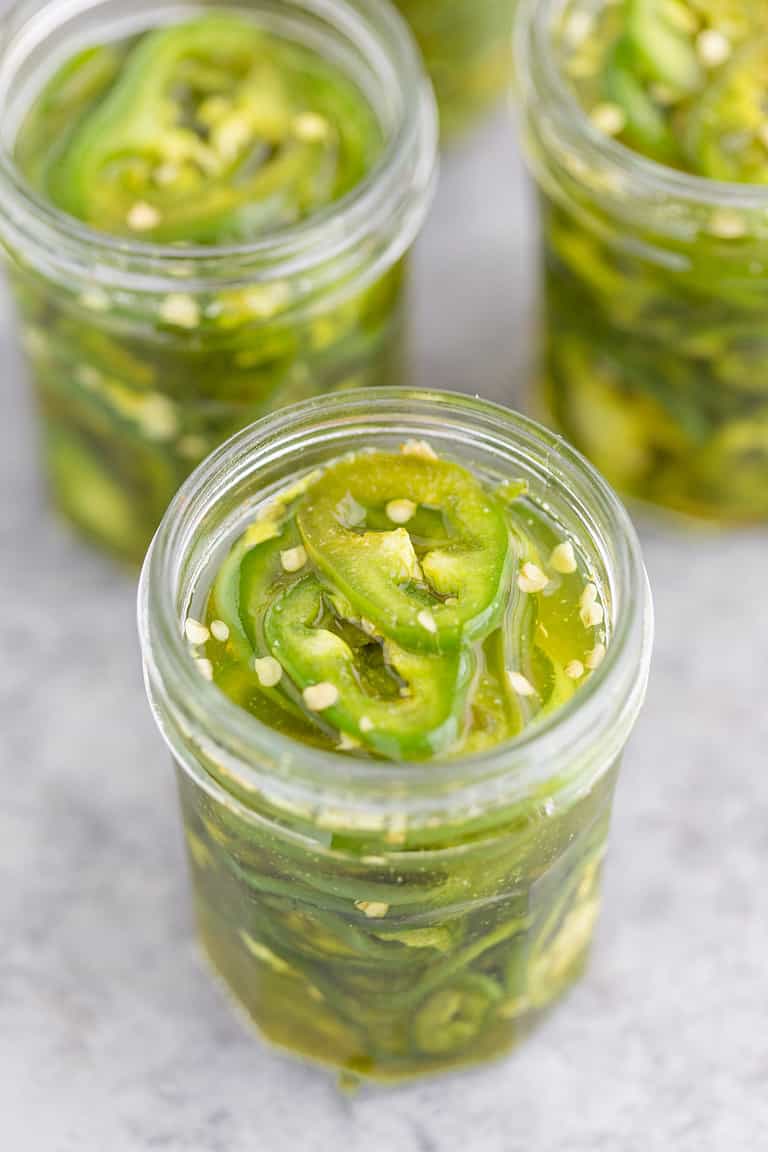
Candied Jalapenos
The best combination of sweet and spicy! These candied jalapenos are a must for nachos, sandwiches, tacos and more. Easy to make, with only 6 ingredients! Canning directions are included below.
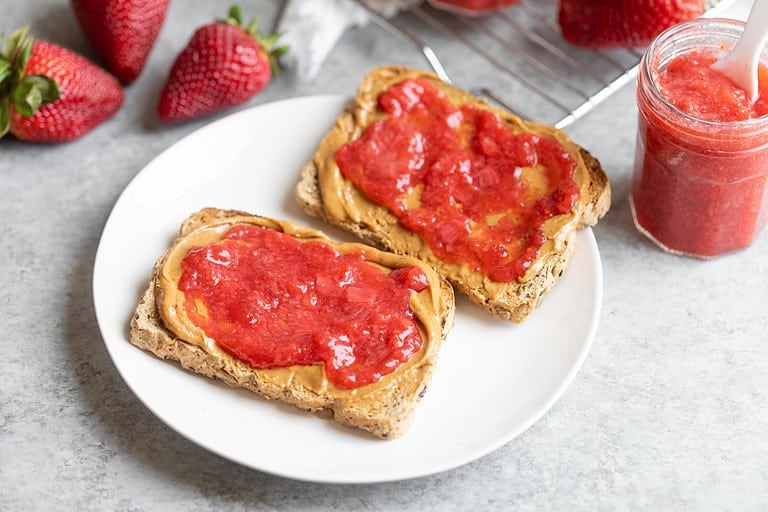
The Best Homemade Low Sugar Strawberry Jam
This healthy strawberry jam is the best! Perfect and subtly sweet, this freezer-friendly recipe is so easy to make and tastes delicious with almost anything! You will love this strawberry jam made with lemon juice, pectin, and just a little bit of sugar!
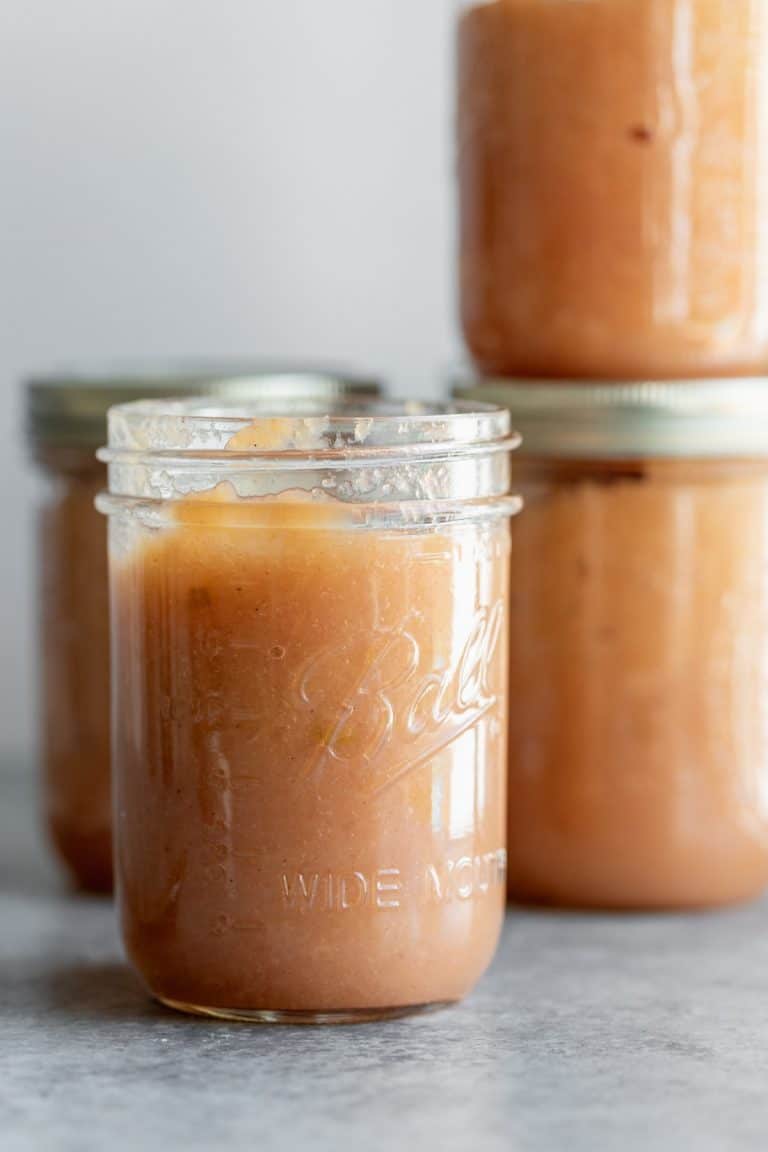
How to Can Applesauce (No Sugar Added)
How to can applesauce! If you have lots of apples, then you’ve gotta try this healthy, no sugar added canning applesauce recipe. With water bath and pressure canner directions.
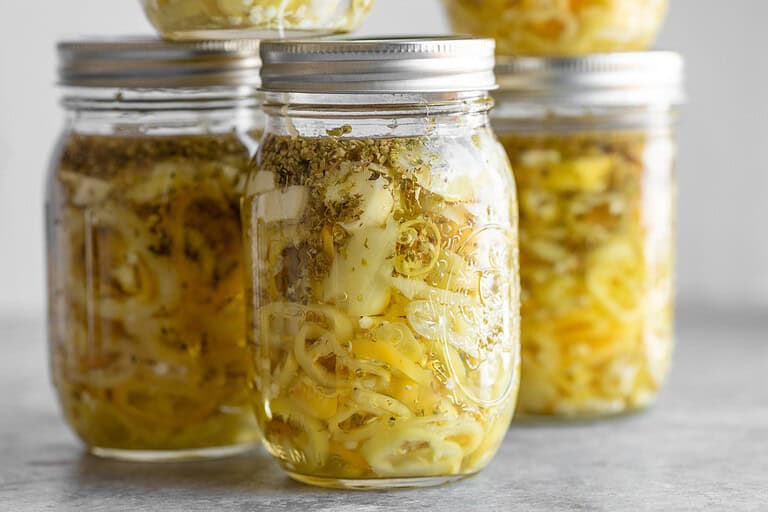
Canned Hot Peppers in Oil
These canned hot peppers in oil are a must-make condiment to pair with sandwiches, salads, grilled protein, and more. Hungarian wax peppers with garlic, oregano, and oil!
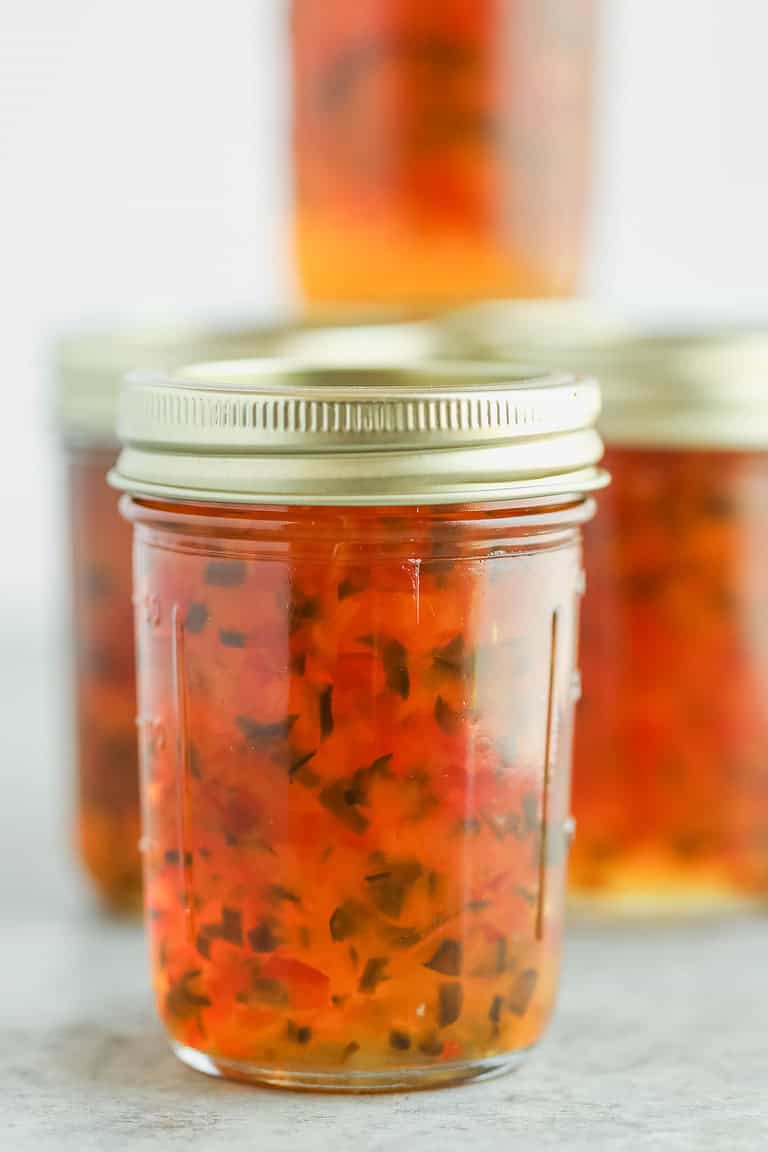
Hot Pepper Jelly Recipe
Confetti pepper jelly! This hot pepper jelly recipe is a must-make for summer. Enjoy it now, or can it for later.
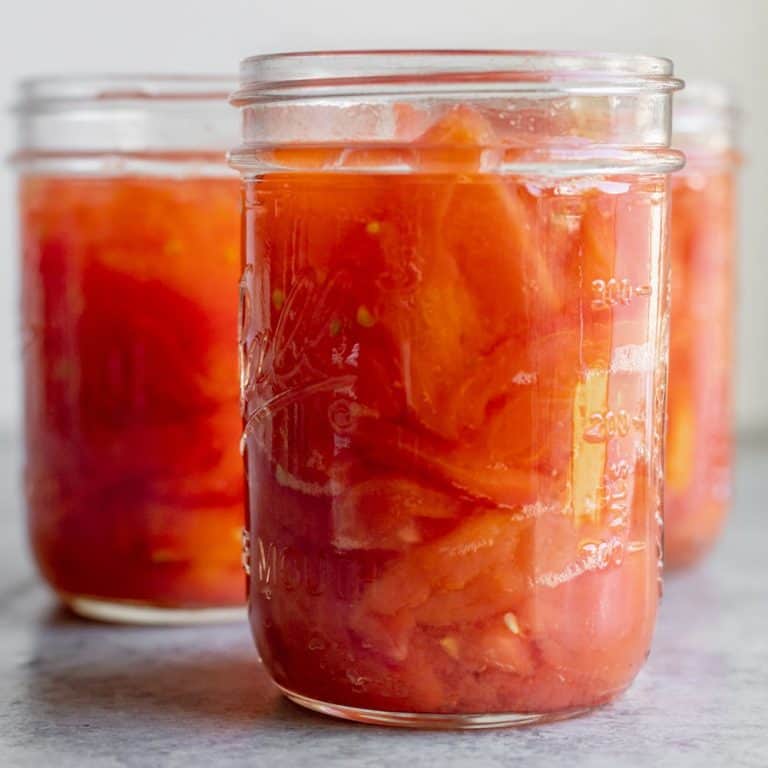
How to Can Tomatoes
A step-by-step guide on how to can tomatoes using either a pressure canner or water bath canning method. If you have a bumper crop of tomatoes, then you’ll want this easy guide for how to can tomatoes using either a pressure canner or a water bath canning method. The taste of fresh tomatoes cannot be
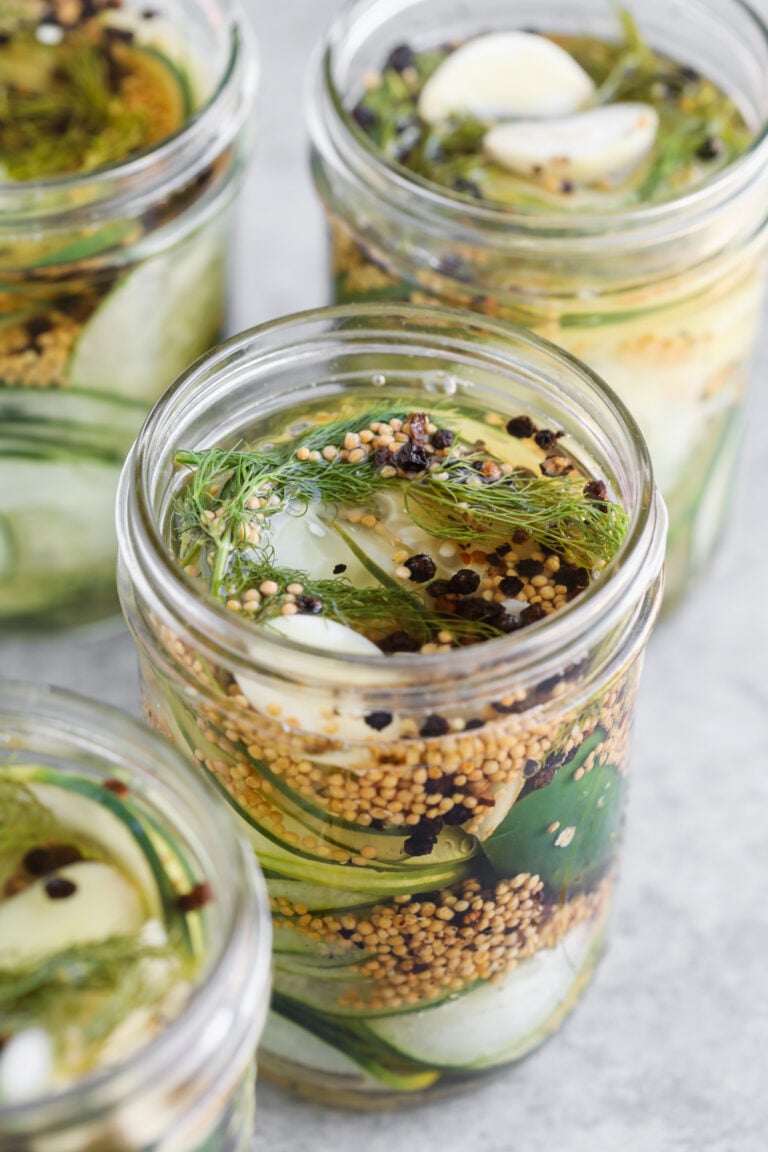
Refrigerator Pickles
My dad's infamous quick and easy refrigerator pickles! Thinly sliced cucumbers packed with jalapeno, dill and a bold brine. Makes 7 pint jars and easily doubled (and tripled)
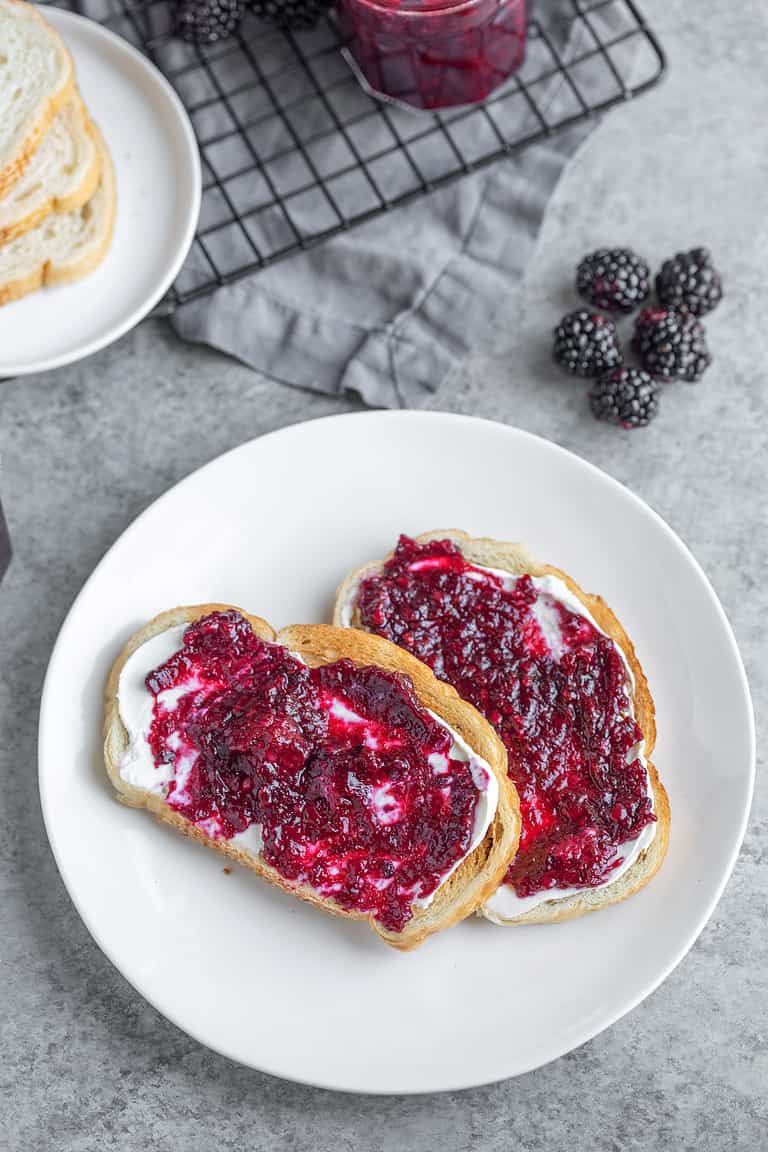
Homemade Blackberry Jam (Low Sugar)
Have extra blackberries? Make this low-sugar blackberry jam recipe to enjoy the fresh taste of blackberries all year with a fraction of the sugar in traditional jam recipes and no artificial sweeteners.
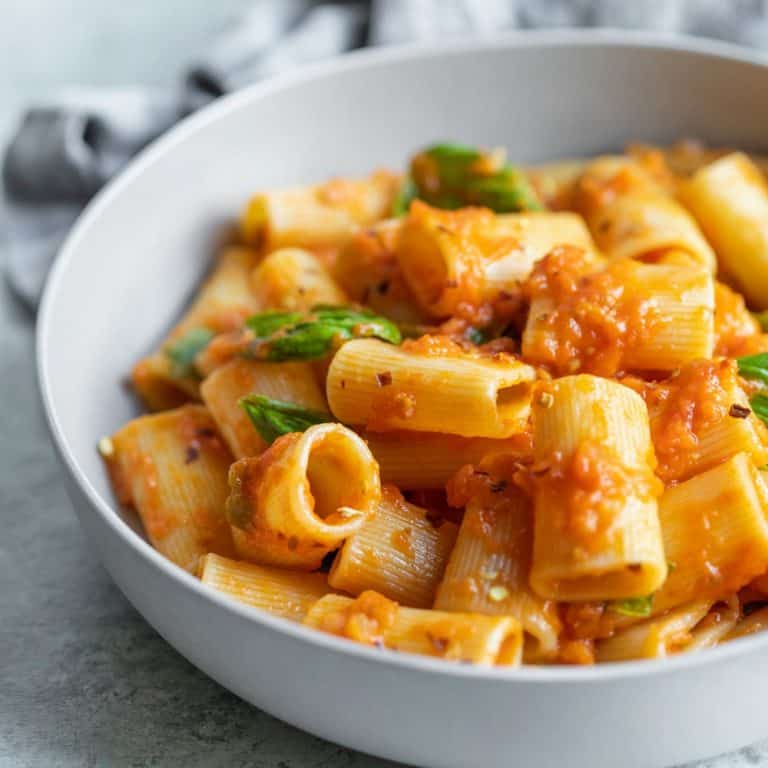
Homemade Tomato Sauce for Canning (Spaghetti Sauce)
Transform fresh tomatoes into a healthy, canned tomato sauce that’s better than any jarred spaghetti sauce. Healthier and cheaper than buying jarred sauce.
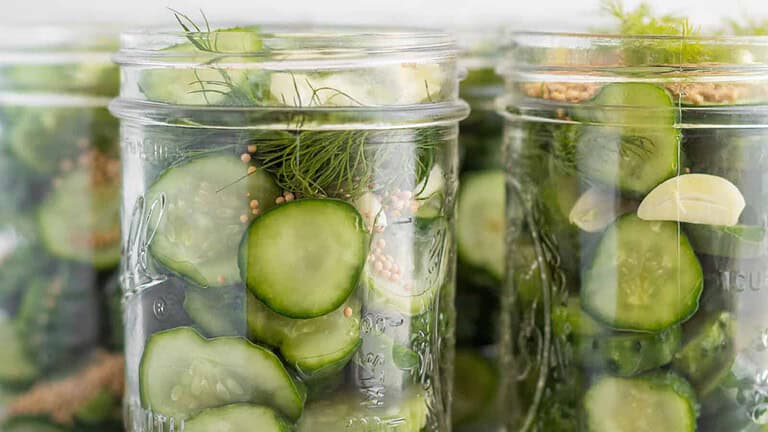
Simple Canning Recipe for Dill Pickles
Canning cucumbers is easier than you think! This simple canning recipe for dill pickles requires only a handful of ingredients and is the best recipe to use up all those garden cucumbers.
2047