How to Can Applesauce (No Sugar Added)
How to can applesauce! If you have lots of apples, then you’ve gotta try this healthy, no sugar added canning applesauce recipe. With water bath and pressure canner directions.
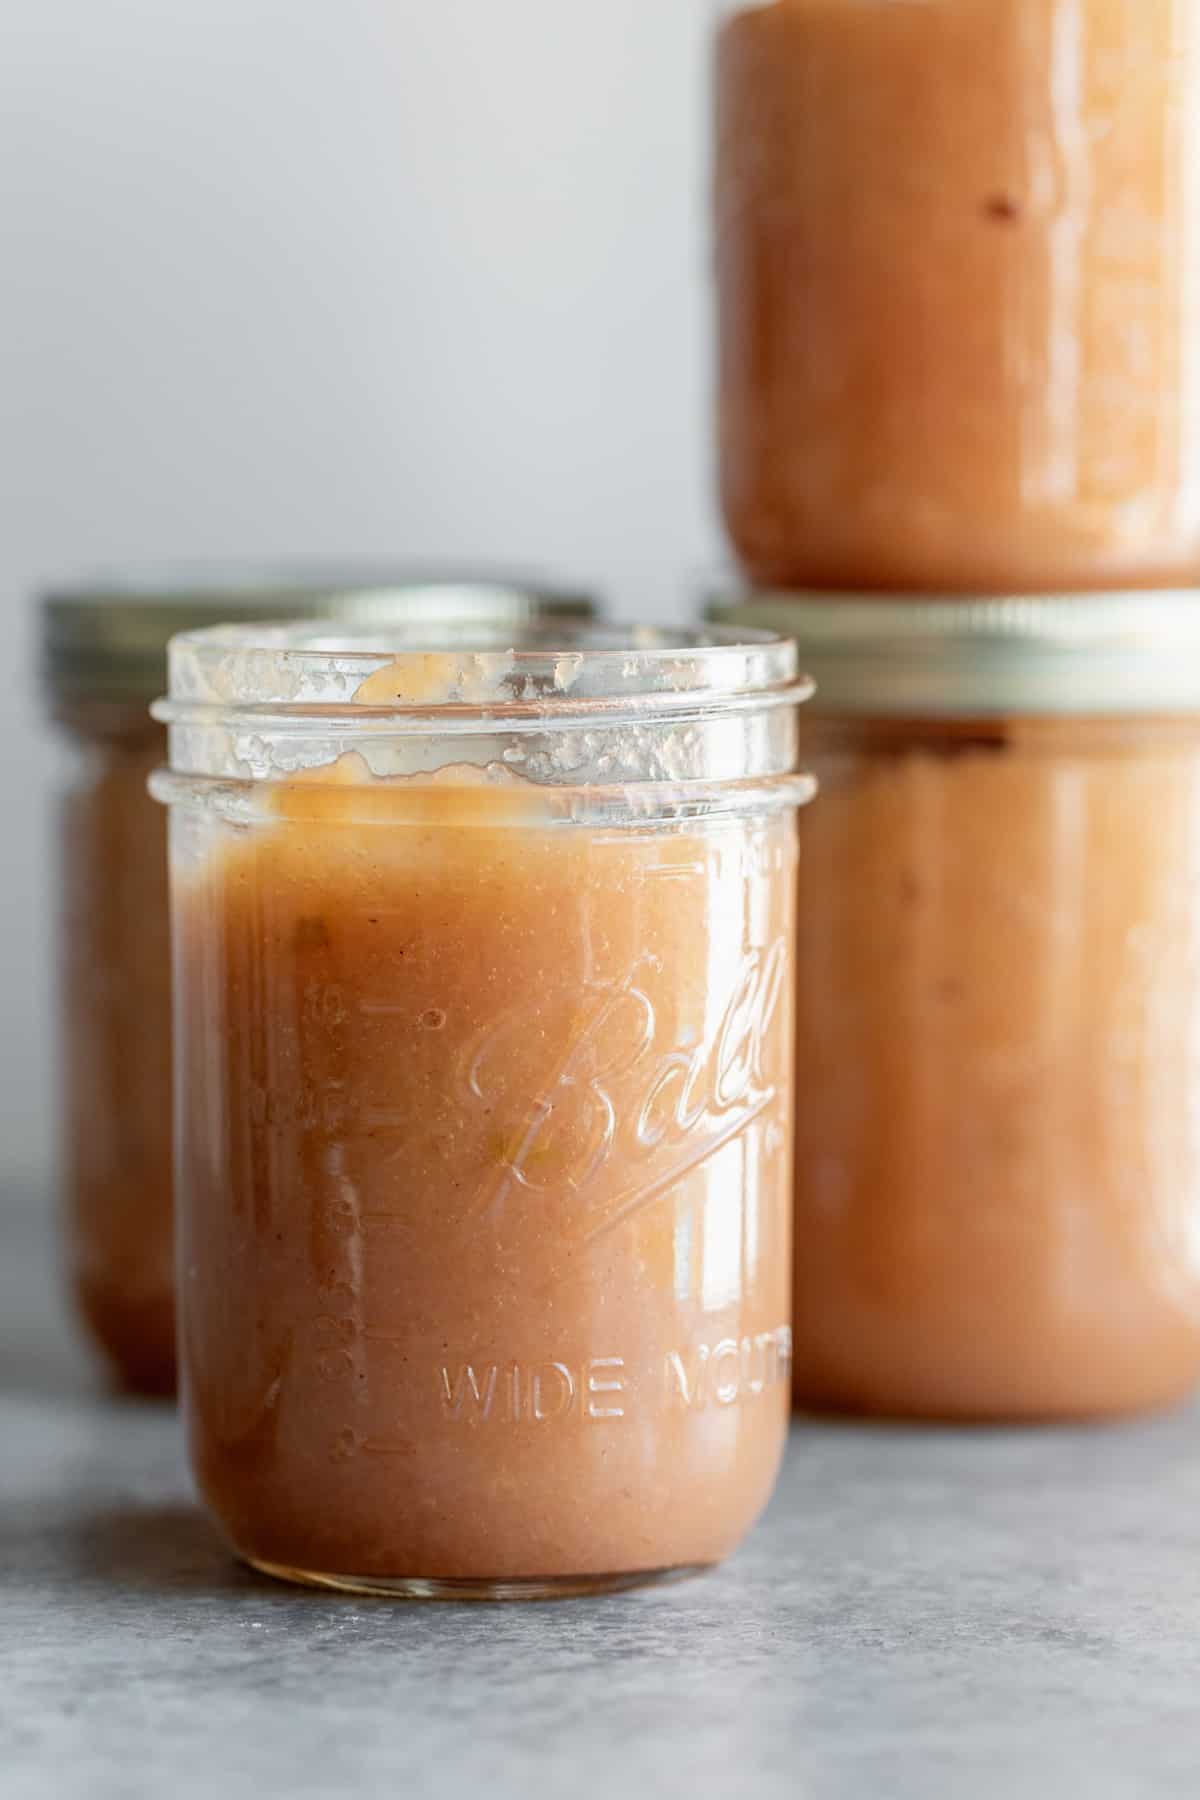
Apple picking has become a tradition with my kids that we do at least a few times during the Fall. Not only is it a fun excuse to head out to a local farm, but my kids love grabbing the apples from the trees. Once we are home, I get to work on making homemade apple pie bars, apple crisp, apple bread and apple slaw.
And of course, homemade applesauce! This canning applesauce recipe is delicious, healthy and a fun way to use up excess apples.
If you’re new to canning, I’ll walk you through a step-by-step guide on making homemade applesauce for canning with both water bath and pressure canning directions.
Everything You Need for Knowing How to Can Applesauce
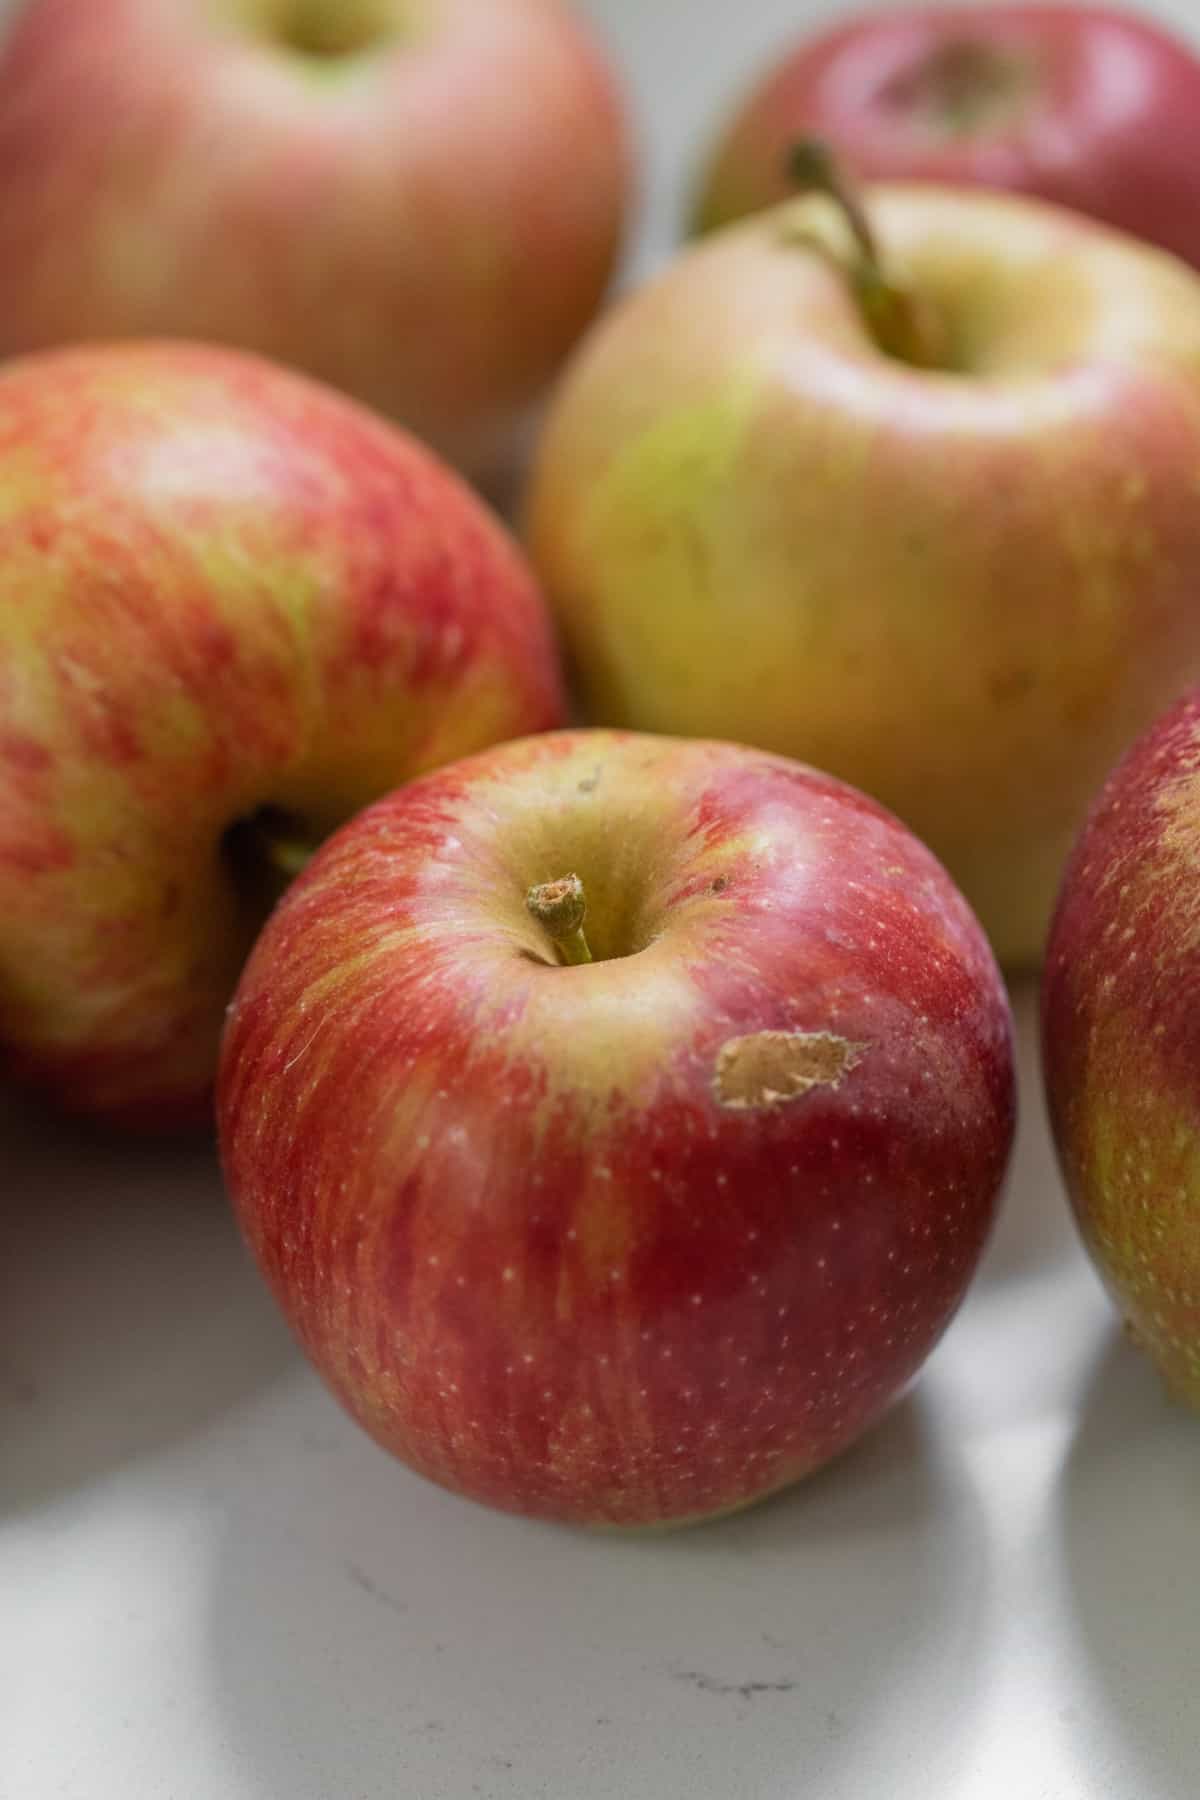
How many apples do you need for homemade applesauce?
The amount of apples you need for this recipe will vary depending on how many pints or quarts you want to make. Roughly 3 pounds of apples is needed to make 1 quart. So, if you want to can 7 quarts, or 14 pints, you’ll need 21 pounds of apples.
The recipe written here is for 9 pints, which will require 14 pounds of apples. However, you can safely increase or decrease the amount of apples depending on how many jars you want to can.
What types of apples are best for applesauce?
I prefer apples that are sweet and juicy, especially since I don’t add any sugar to my applesauce. However, if you want a more less-sweet applesauce then you can add in 1-2 pounds of tart apples for every 3 pounds of sweeter apples.
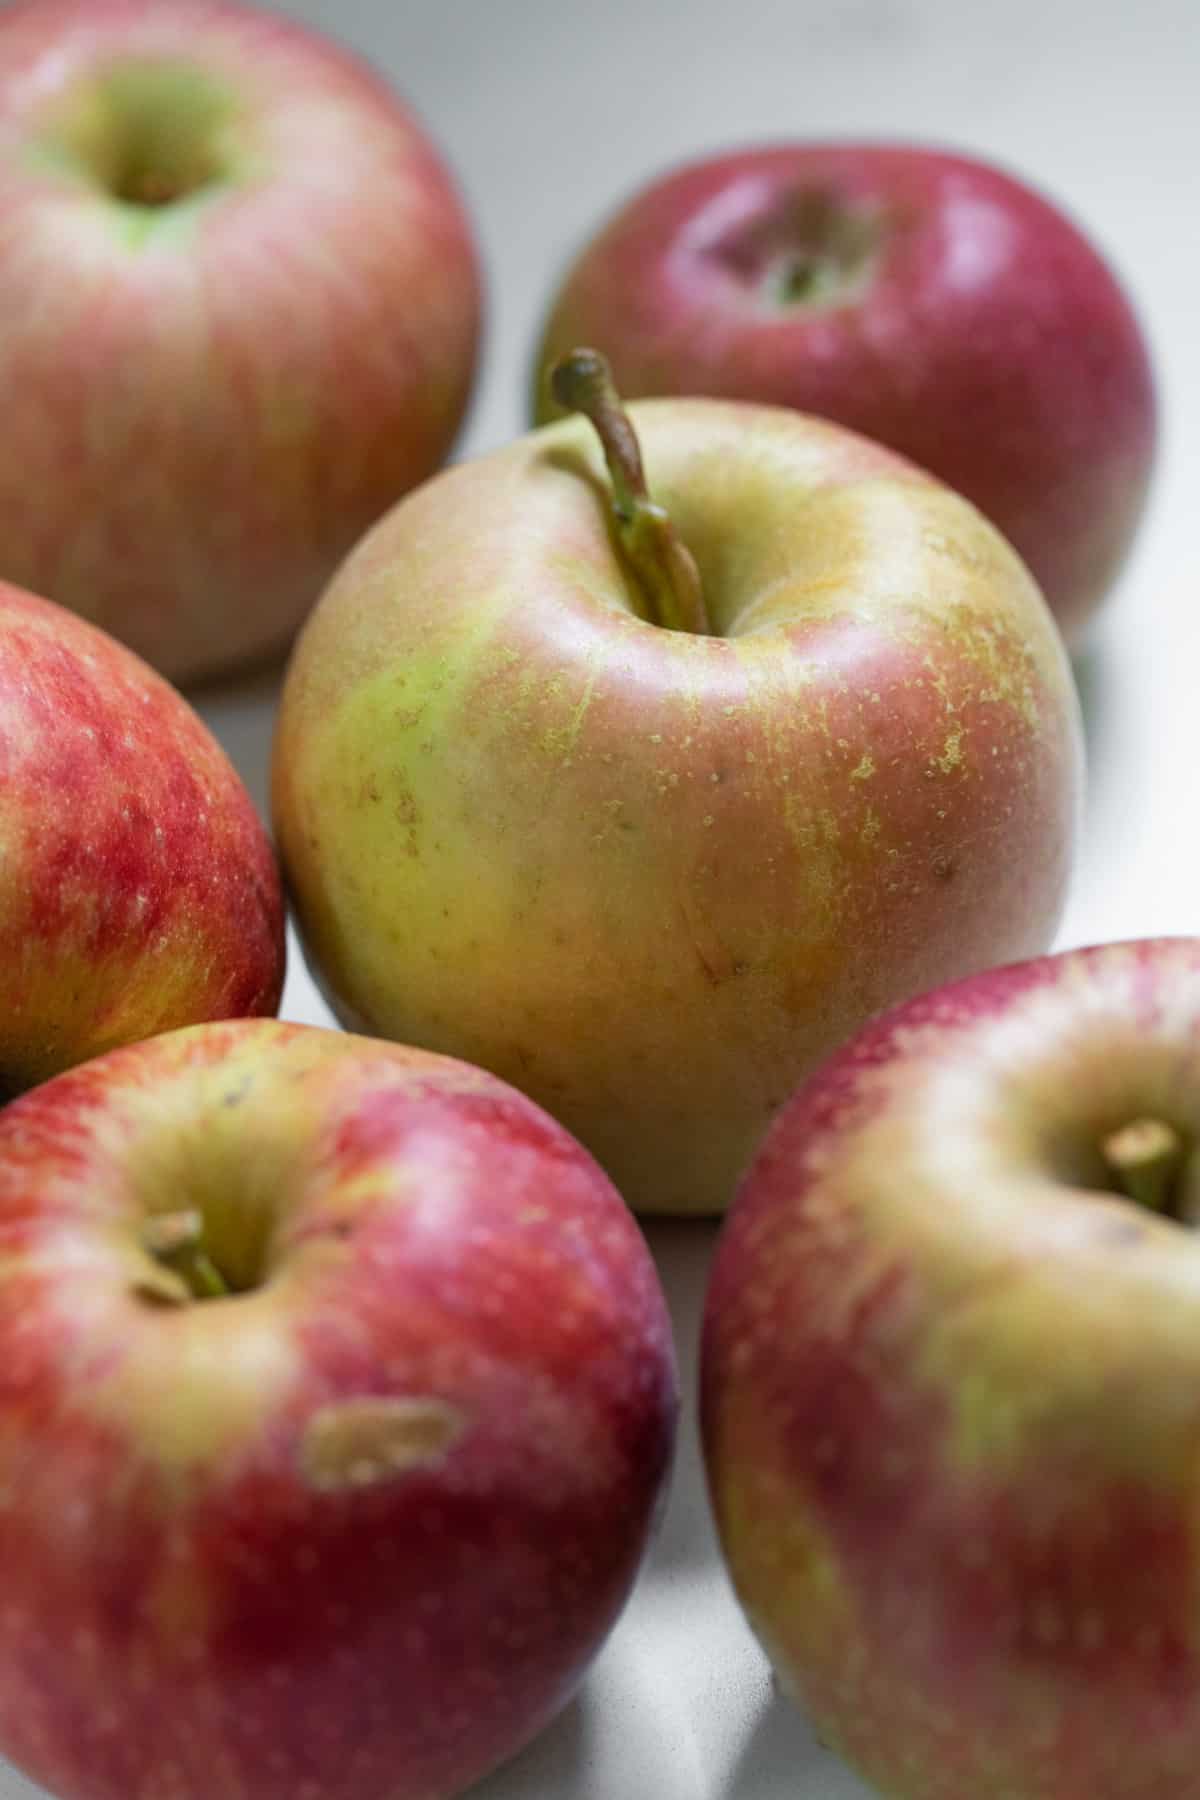
No need to overthink it, the best apples for applesauce are the ones you have on hand! I’ve used fuji, gala, golden delicious, Jonathan, and honey crisp in this recipe and it turns out delicious each time.
What You’ll Need:
- 14 pounds apples of choice
- Cinnamon, if desired
- Food mill, if you want a smoother applesauce
- Pint jars with clean seals and lids
- Large saucepan, if water bath canning
- Pressure canning, if pressure canner
- Jar lifter, makes for much easier and safer lifting and removing of the packed jars
- Funnel, optional but makes for easier prep
How to Prep Apples for Canning
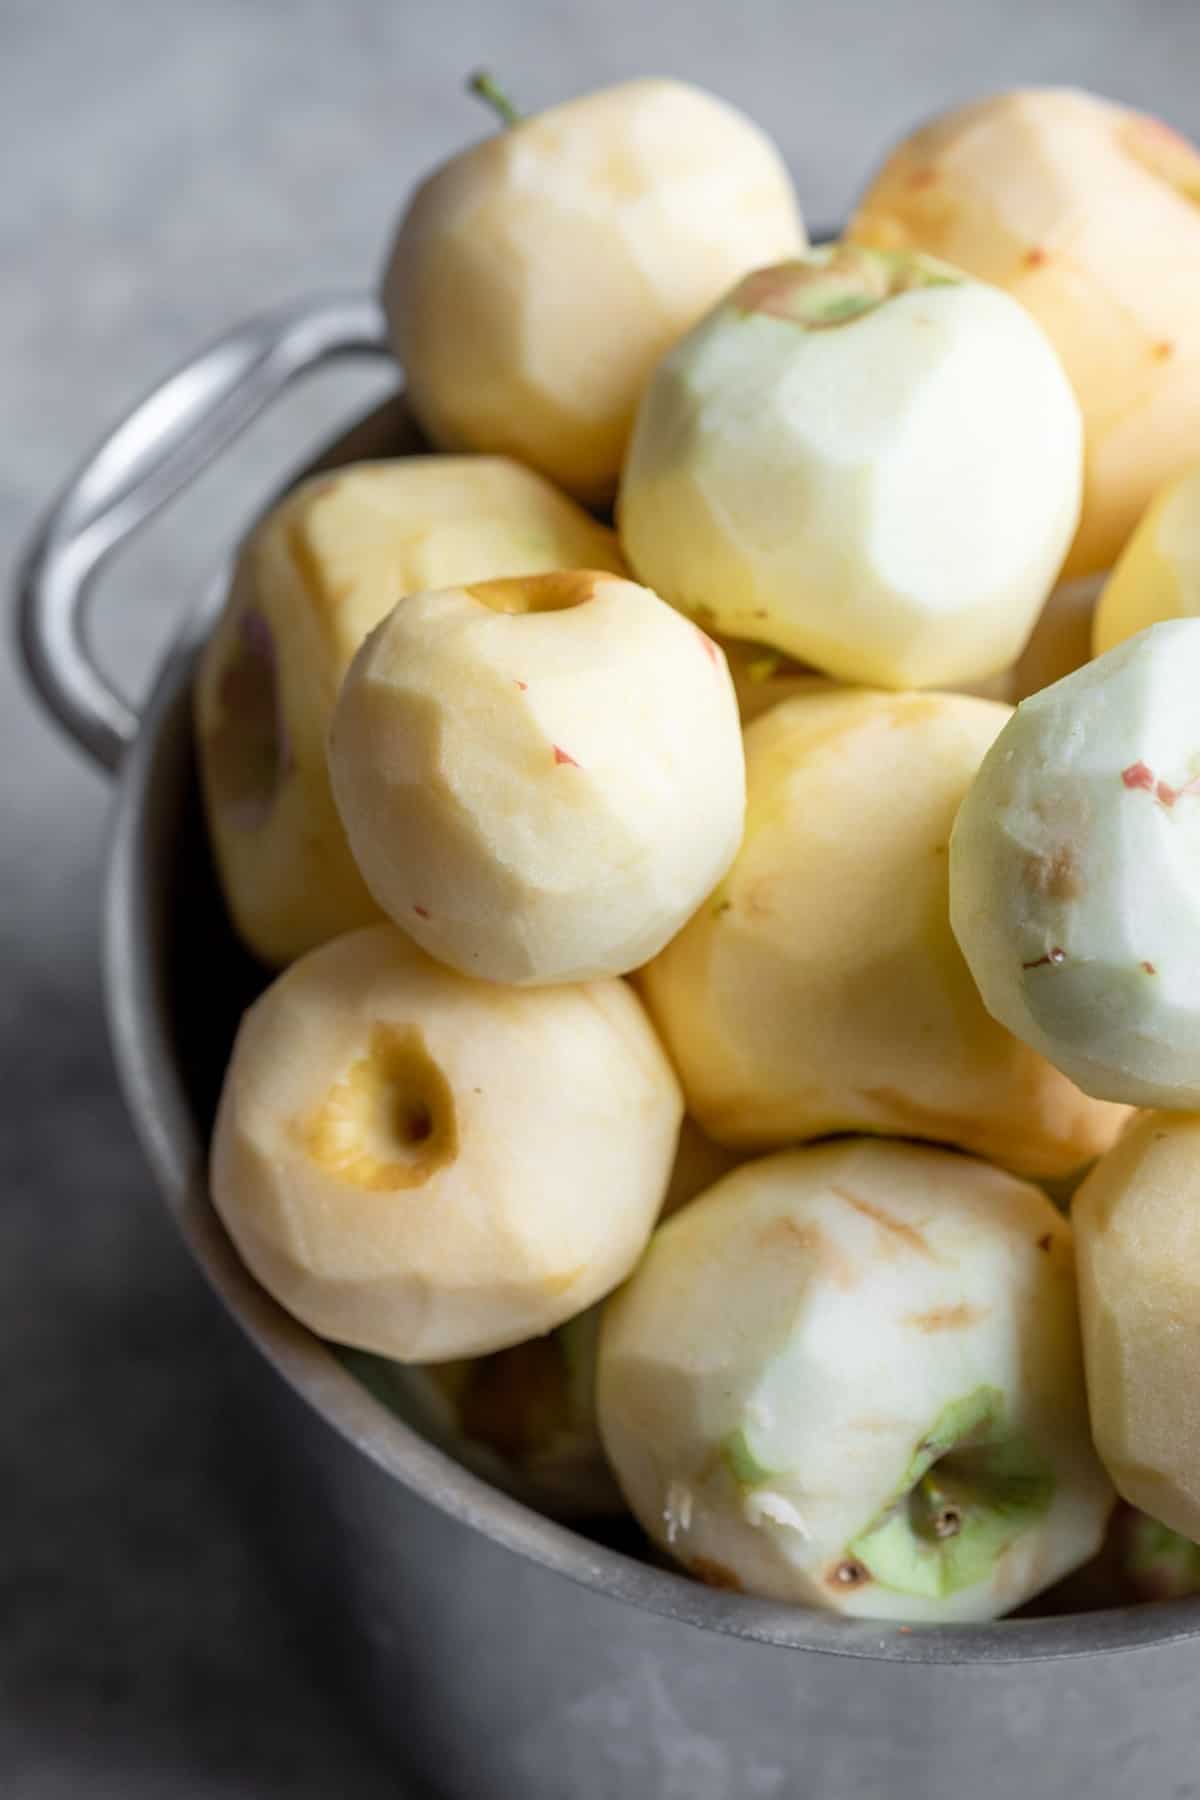
Start by washing, peeling and coring your apples. I just use a regular peeler and an apple corer but a sharp paring knife can be used to peel the apples or a fancy apple peeler if you have on. This step is a pain, so if you plan on canning more than 14 pounds, then you may want to invest in an apple peeler for ease.
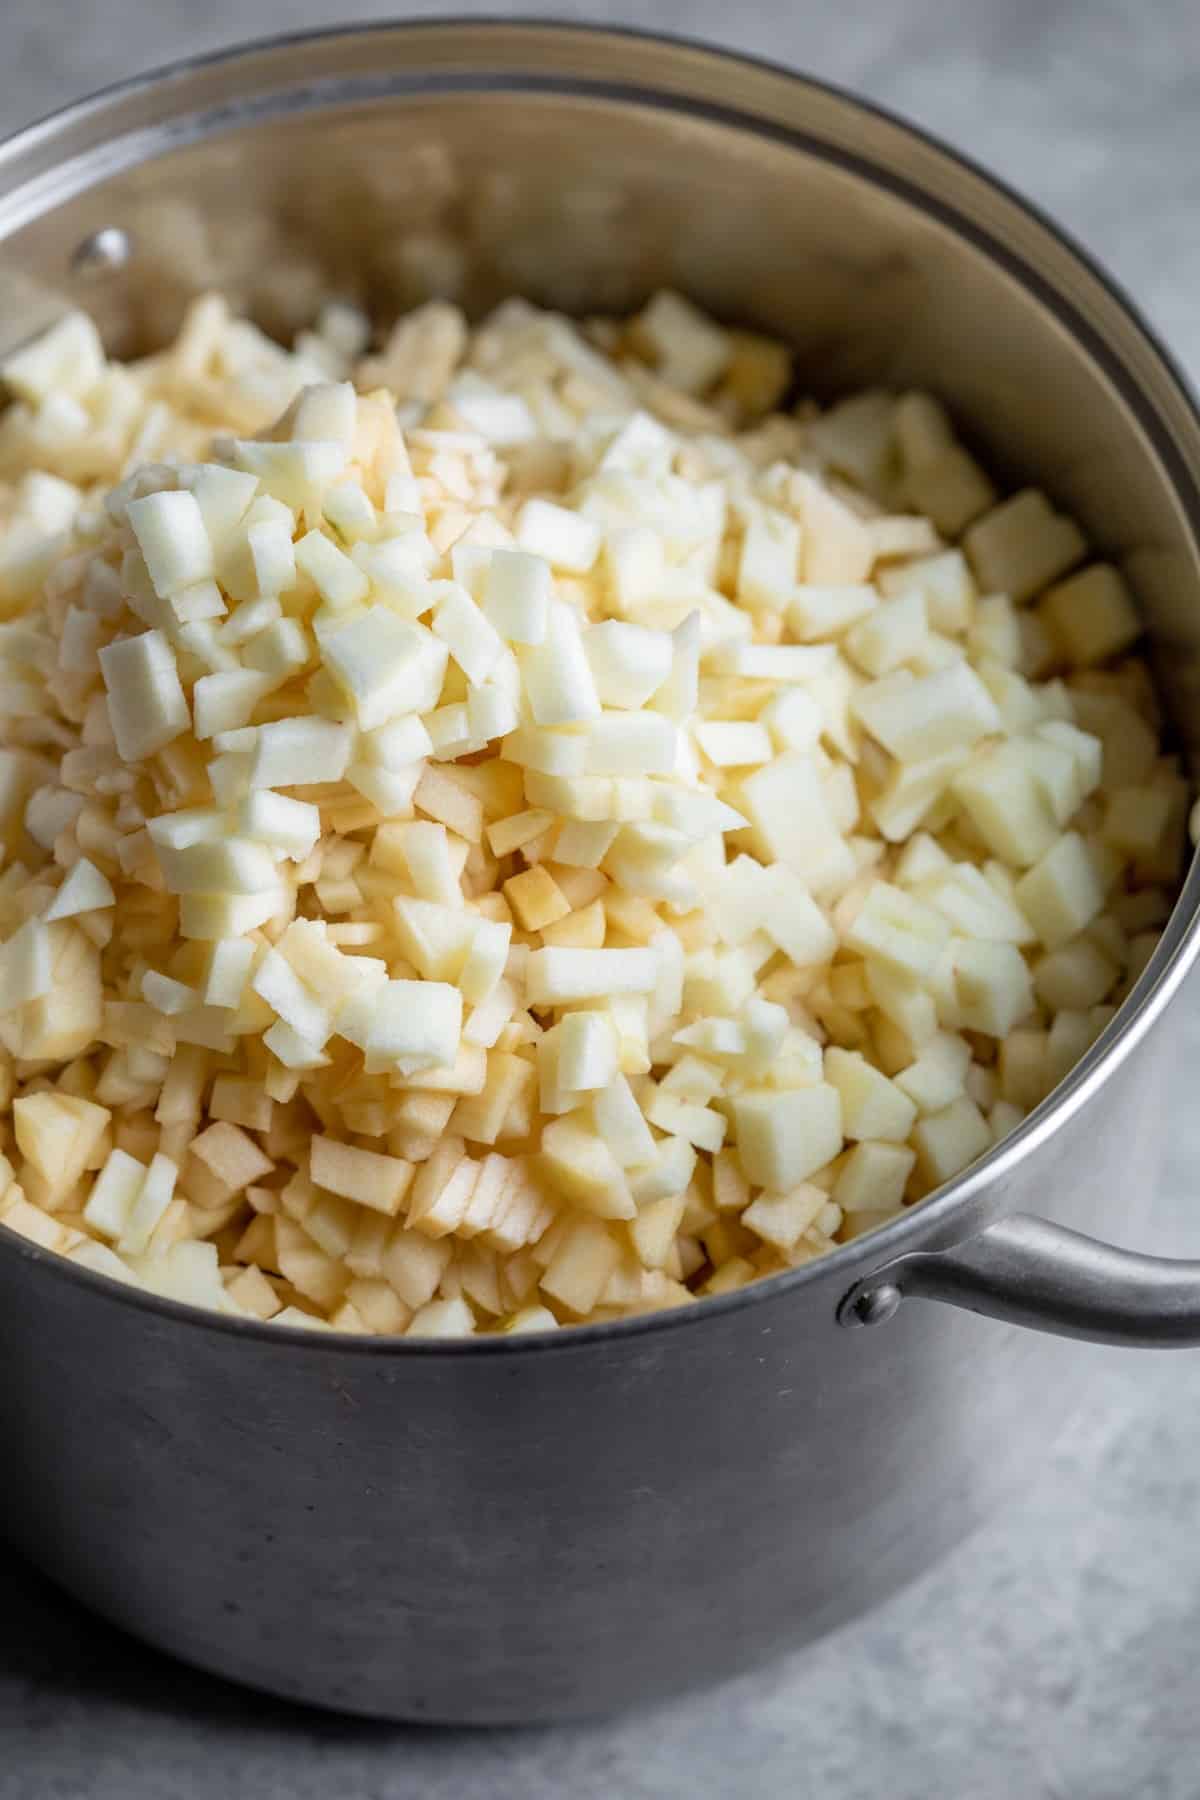
Slice or chop your apples. If you want to prevent browning, you can add the chopped apples into water containing a little ascorbic acid to prevent browning. I usually skip this step, mostly because I’m lazy but you can do this if you’d like.
How to Can Applesauce
Wash and Prep Your Apples
Using the directions above, wash and prep your apples.
Cook the Apples
If you placed your apple slices in water with ascorbic acid, drain them. Place apples in 10-quart large pot along with 1/2 cup water. Cook over medium-low heat, stirring occasionally to prevent burning. The apples should start to reduce significantly after 10-20 minutes.
Add in Cinnamon, if desired
If you want a cinnamon flavored applesauce, add in ground cinnamon if desired. I use 2 teaspoons per 14 pounds, but you can use more or less to taste. If you prefer to add in other spices, like nutmeg or ginger, do so to taste.
Use a food mill if you want a smoother sauce
If you like your applesauce chunky, then you can stop here and are ready to can. If you prefer your applesauce smoother, then press the applesauce through a sieve or a food mill until smooth. You can use a potato masher as well to gently mash the sauce, but it won’t get the applesauce as smooth as using a food mill.
Bring apples back to a boil
If you removed the applesauce to create a smoother sauce, then you’ll need to return it back to the pot and bring to a boil. If you want a sweeter applesauce, you can add in sugar if preferred. Roughly 2 tablespoons or 1/8 cup of sugar per quart of sauce; sugar doesn’t change the pH for canning so you can add more if desired but you can also omit entirely like I do! I find the apples are sweet enough.
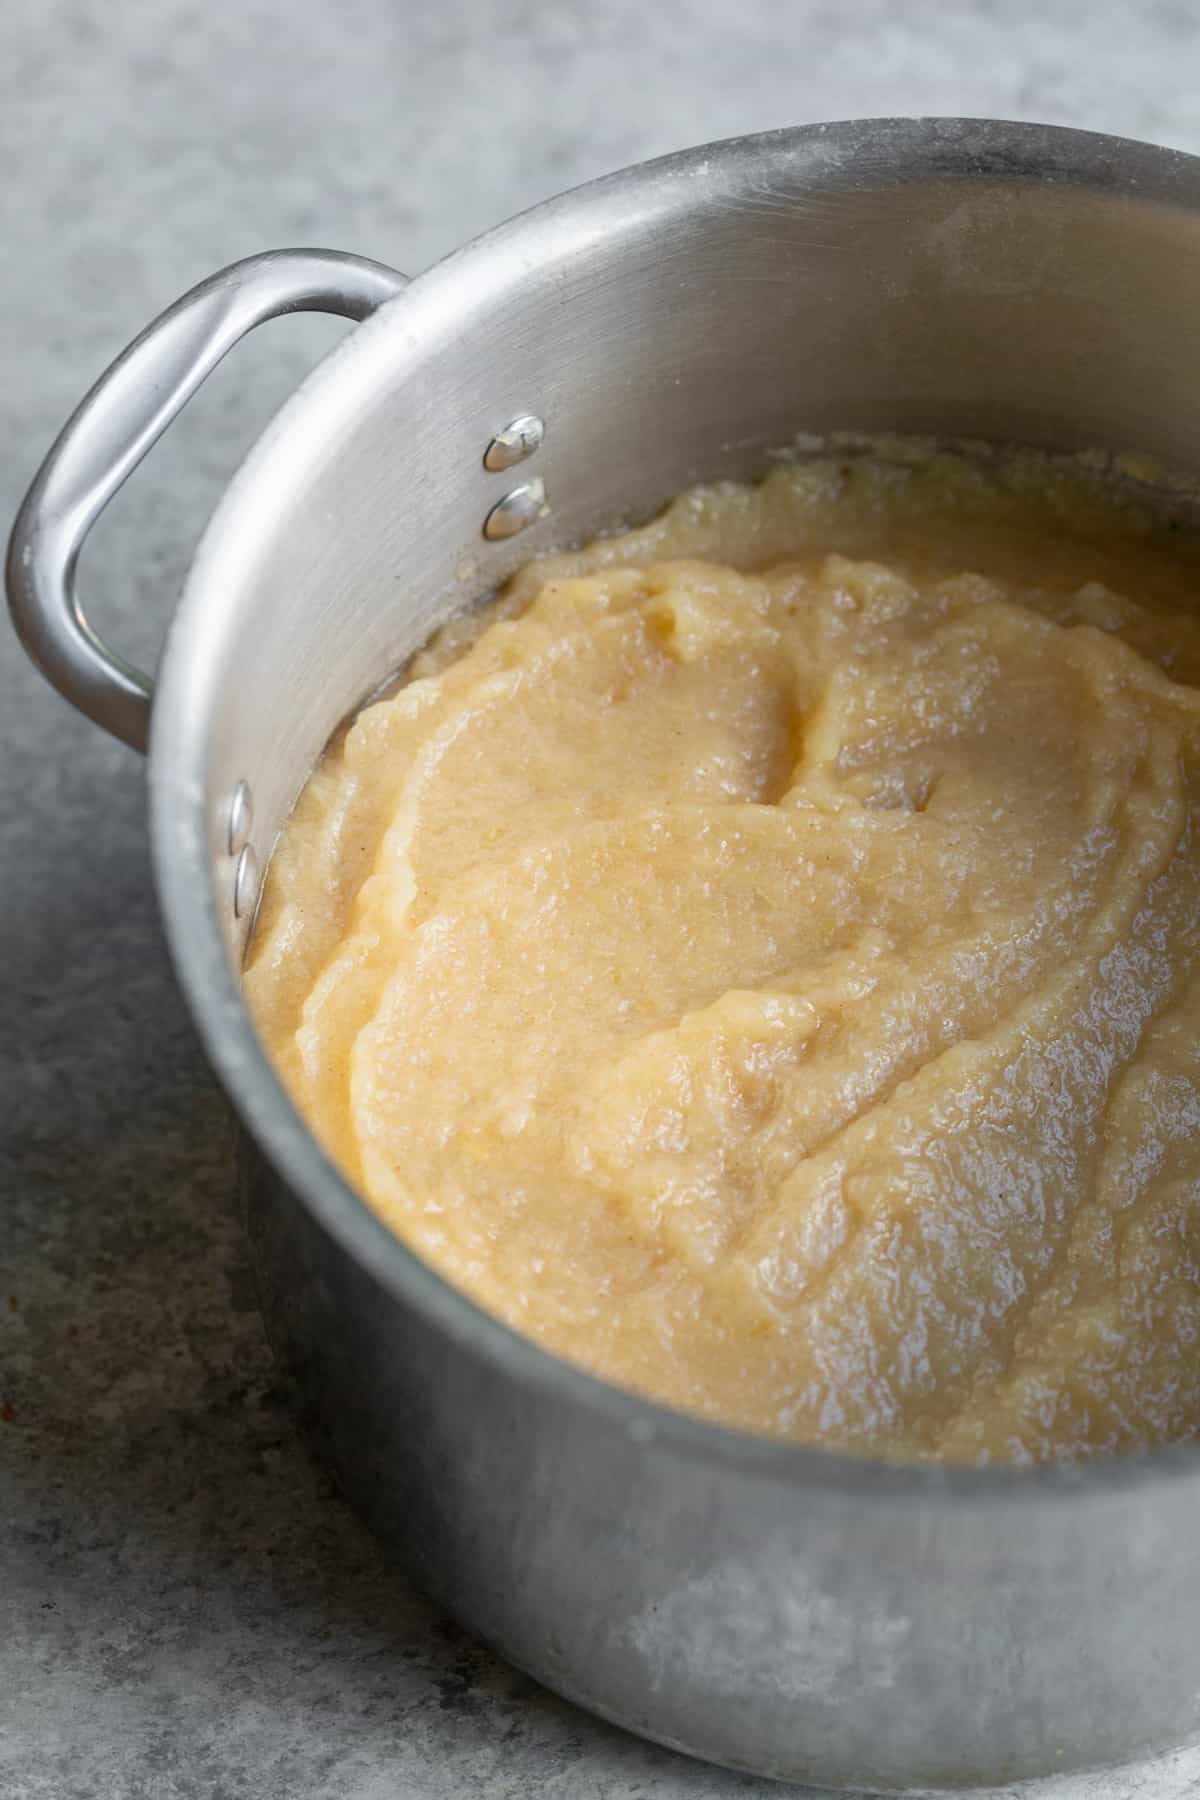
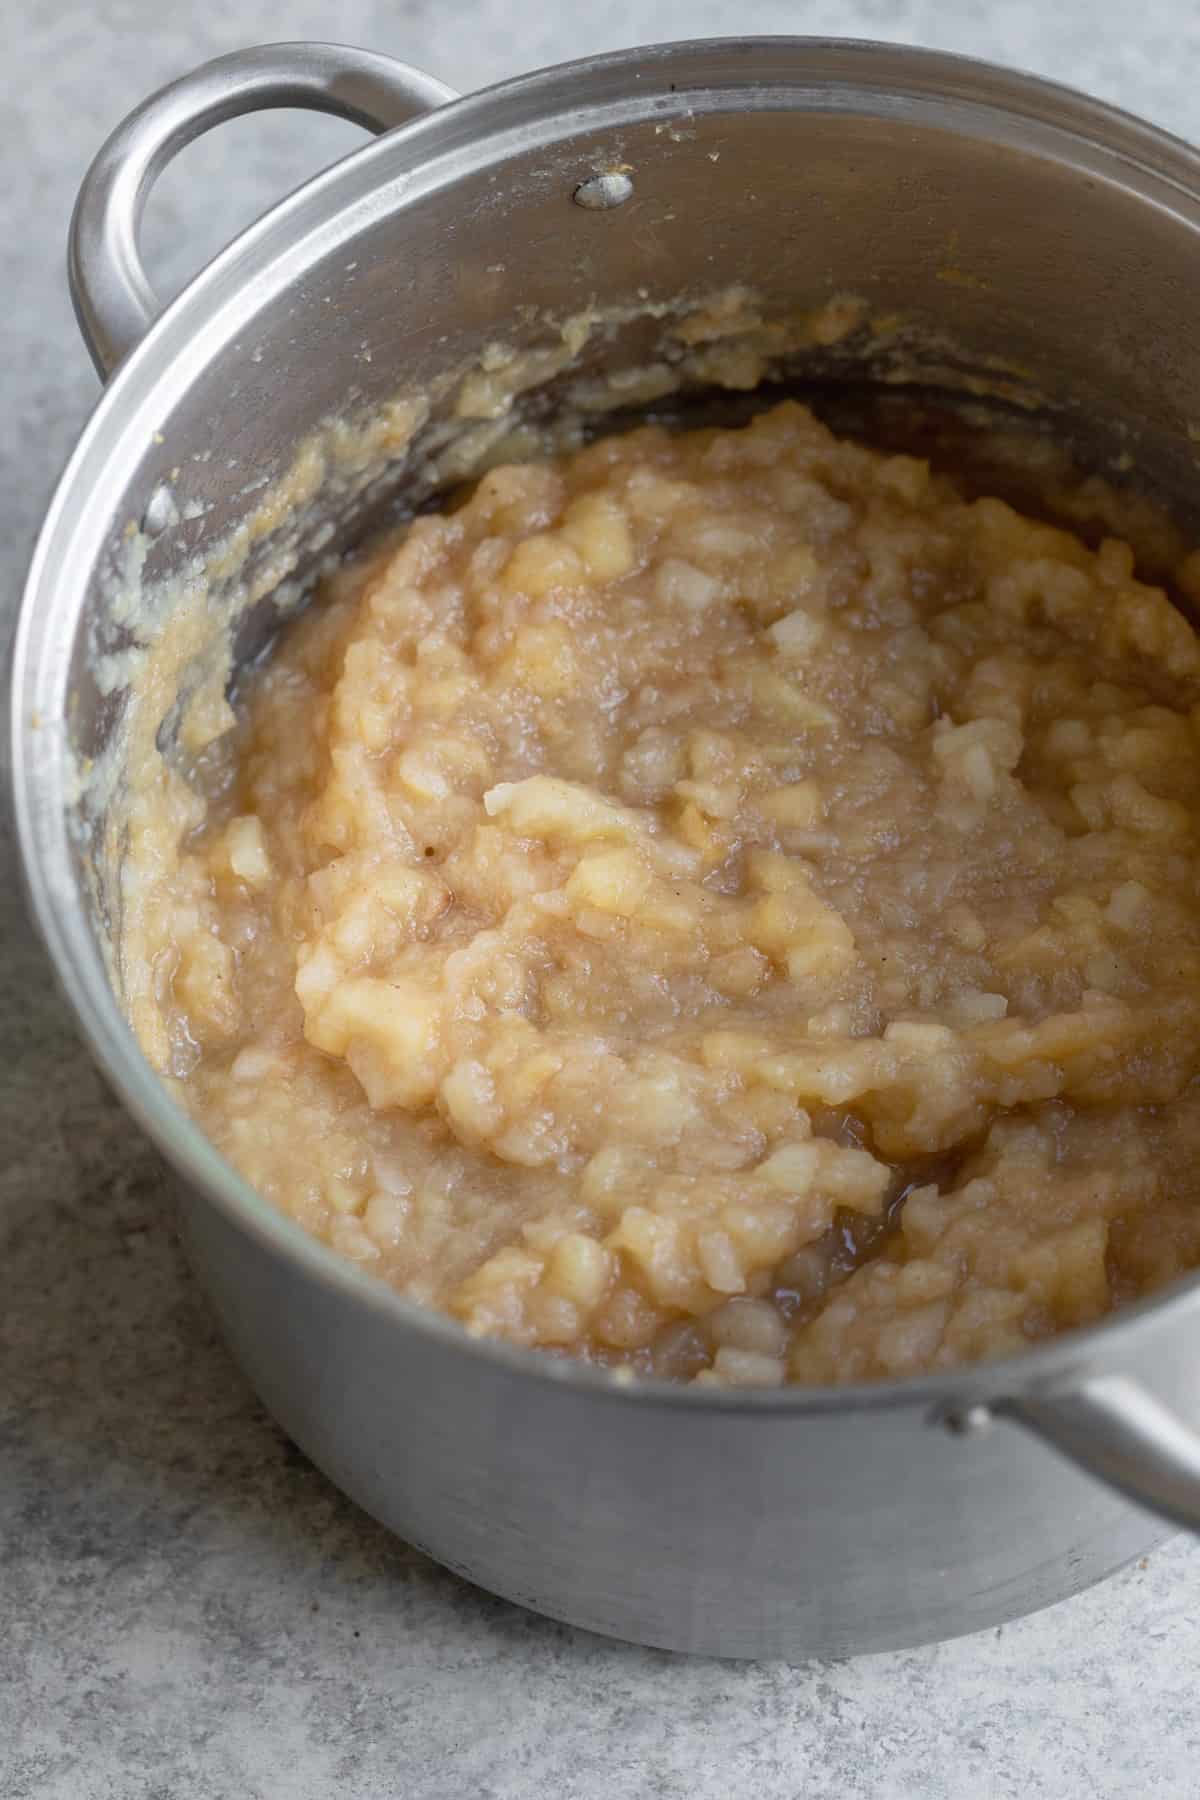
How to Can Applesauce using a Water Bath Canner
Once your applesauce is made, add to your hot sterilized jars, leaving 1/2 inch headspace at the top. I use a canning funnel to make things easier, but if there is any applesauce on the rims of your jars, make sure to wipe them with a clean towel before placing the lid and ring on top.
Place the jars in a large pot and cover with just enough water to completely cover the tops of the jars. Bring to a boil, then process based on the times below. Because altitude affects pressure, the amount of time to process the jars is based on altitude and the size jars that you used.
- For 0-1000 ft altitude, process 15 minutes for pints and 20 minutes for quarts
- 1000-3000 ft altitude, process 20 minutes for pints and 25 minutes for quarts
- For 3000-6000 ft altitude, process 20 minutes for pints and 30 minutes for quarts
- Above 6000 ft, process 25 minutes for pints and 35 minutes for quarts
Once the time is up, turn off the heat and remove the hot jars using a jar lifter, then place on a kitchen towel (or a cooling rack) and let sit for 12-24 hours to fully cool. Any unsealed jars can be placed in the fridge and used.
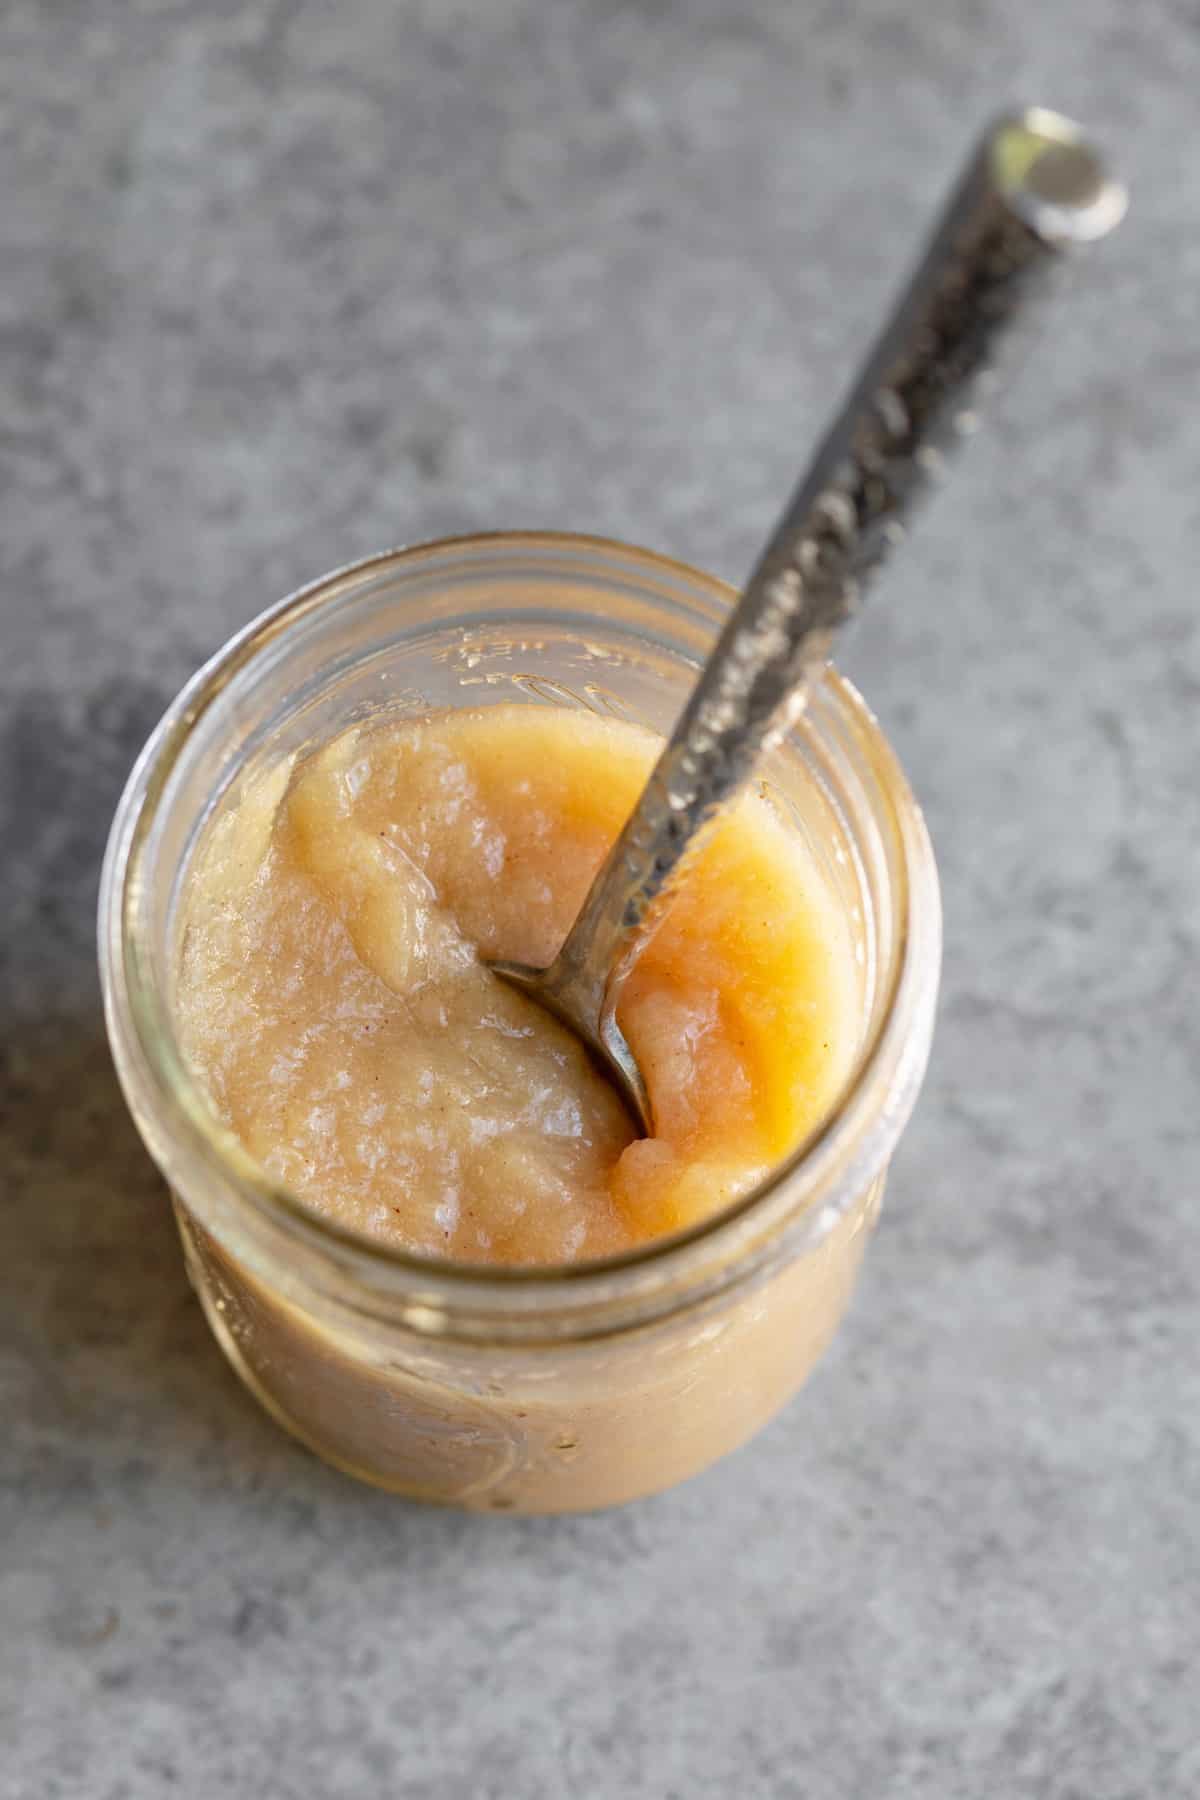
How to Can Applesauce using a Pressure Canner
If you are new to pressure canning, make sure to read your pressure canner manual beforehand. An Instant Pot is not the same thing as a pressure canner and isn’t recommended to be used for safe canning.
Add water to your pressure canner and heat to 180 degrees ahead of time, or just slightly under boiling. If you do this too far ahead of time, make sure the water depth hasn’t decreased as the steam evaporates.
Place your prepared jars on the jar rack in the canner, then fasten the canner lid. Leave the weight off the vent pipe, or open the valve. Turn the heat to high until the water is boiling and the steam is freely flowing through the open vent. Let this steam for 10 minutes. The USDA recommends this step as air trapped in a pressure canner can lower the temperature and result in under processing.
Now it’s time to close the vent and place the weighted gauge on top. Once the pressure has been reached, start timing the process.
For a Dial Gauge Pressure Canner
Process for 8 minutes for pints and 10 minutes for quarts using the following weighted pressure recommendations based on altitude:
- For 0-2000 ft altitudes, 6 lb for pints and quarts
- At 2000-4000 ft altitudes, use 7 lb for both quarts and pints
- For 6000-8000 ft altitudes, 9 lb for both quarts and pints
For a Weighted-Gauge Pressure Canner
As with the dial gauge pressure canner directions, the processing time is 8 minutes for both pint jars and quart jars.
- For 0-1000 feet, use a 5 lb weight for both pints and quarts
- Above 1000 feet, use a 10 lb weight for both pints and quarts
Once the time is complete, turn off the heat and let the canner cool down naturally. It’s not recommended to force the canner to depressurize and forcing the cooling may result in food spoilage. This includes cooling the canner with cold running water!
Once the canner is depressurized, remove the weight or open the vault. Wait 10 minutes, them carefully remove the lid. Remove the jars using a jar lifter then place on a kitchen towel (or a cooling rack) and let sit for 12-24 hours to fully cool. Any unsealed jars can be placed in the fridge and used.
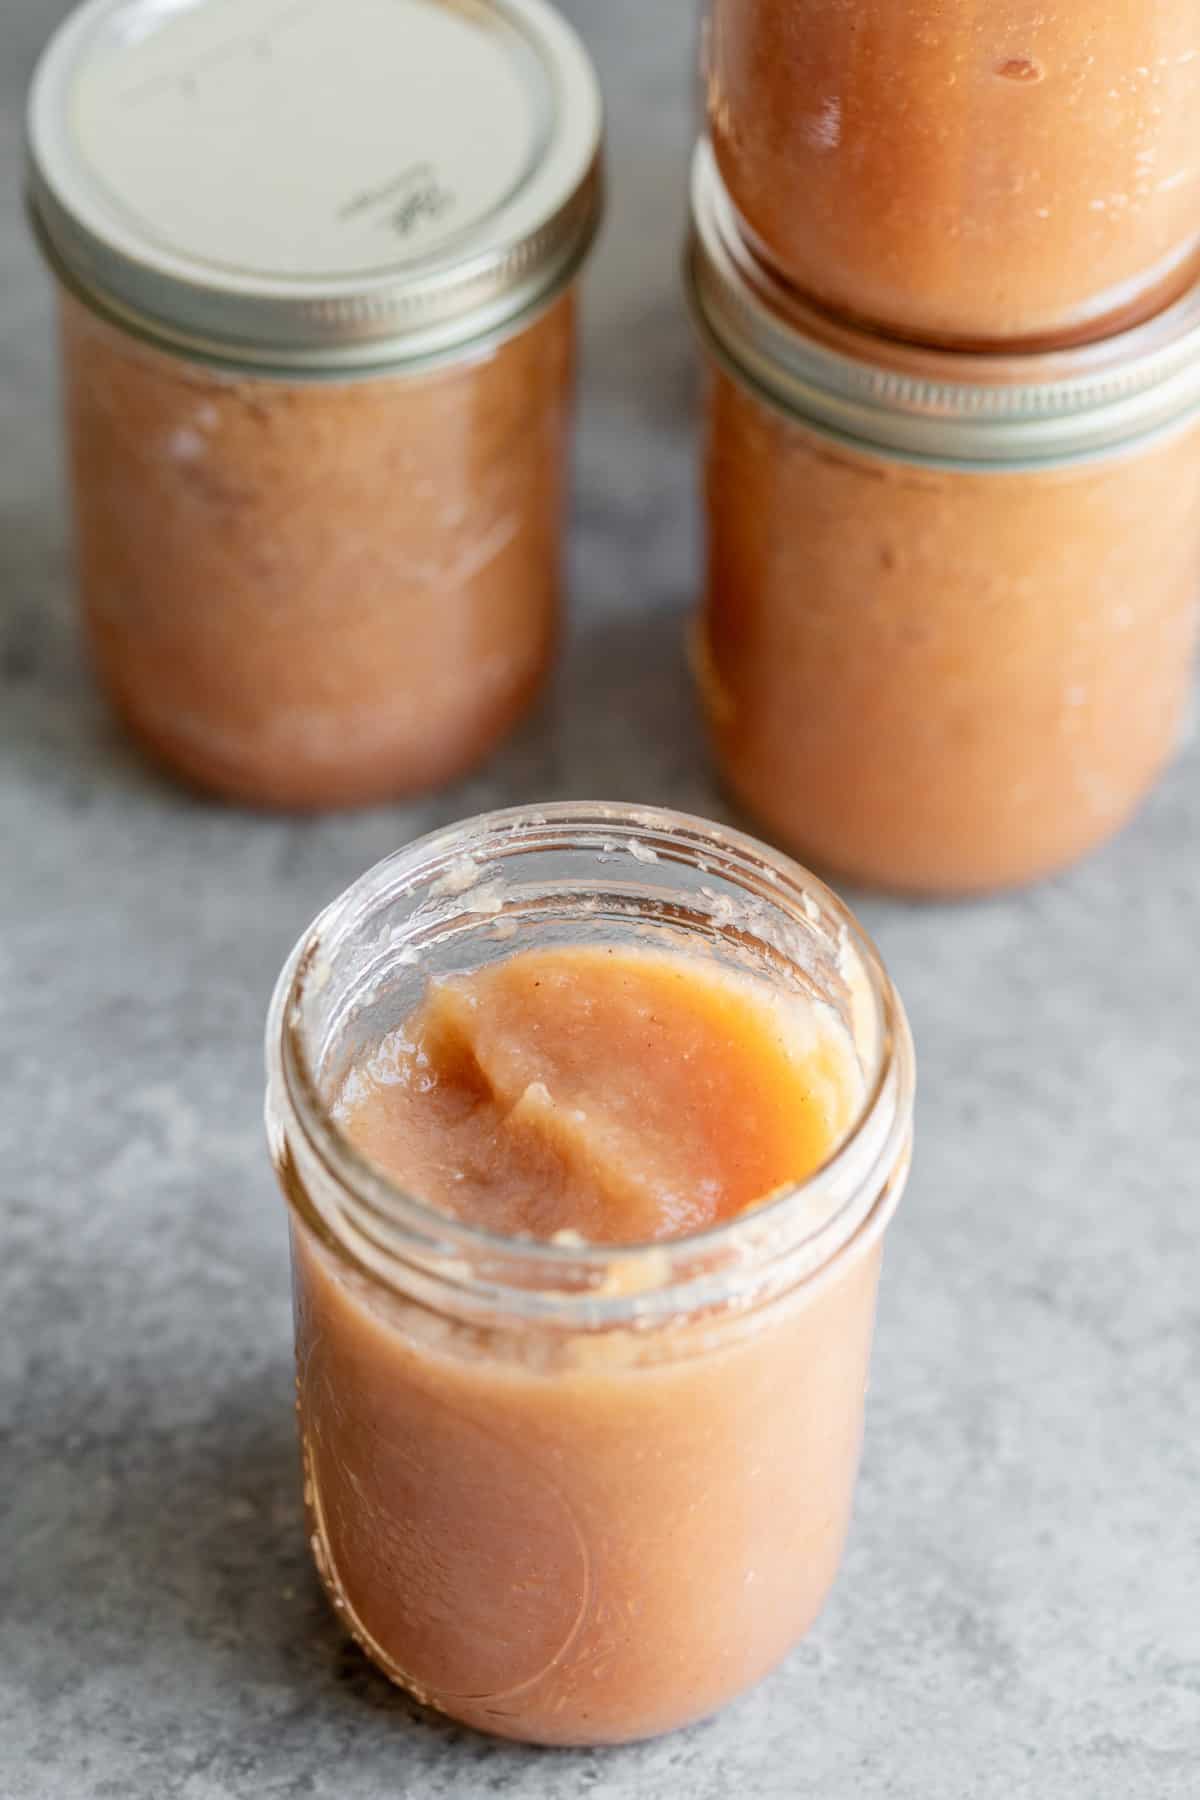
Recipes using applesauce
Now that you’ve made your applesauce, you can enjoy it as is or in the below recipes.
- Applesauce Muffins
- The Best Vegan Chocolate Cake
- Baked Vegan Donuts
- Banana Chocolate Chip Muffins
- Oatmeal Cranberry Muffins
FAQs
You do not need to add lemon juice to this recipe.
If you don’t want to can this applesauce, you can freeze the applesauce in the jars instead.
That will depend on your altitude. In a boiling-water canner, you’ll want to process these pints for 15 minutes from 0-1000 ft and 20 minutes for 1000-3000 ft. For other altitudes, refer to the post above.
Once canned, this applesauce will last for up to 12 months if stored in a cool, dry place. Once opened, the applesauce will last between 7-14 days.
If you try this recipe, make sure to come back to rate it and leave a comment. Your feedback helps other readers and seeing you make my recipes makes my day!

How to Can Applesauce (No Sugar Added)

Ingredients
- 14 pounds apples
Instructions
- Wash, peel and core apples. Chop or slice. If you want to prevent browning, place the sliced apples in a bowl of water with ascorbic acid. This step is completely optional.
- Place apples in 10-quart large pot along with 1/2 cup water. Cook over medium-low heat, stirring occasionally to prevent burning. The apples should start to reduce significantly after 10-20 minutes.
- For a chunky applesauce, keep as is or use a potato masher to gently mash. If you want a smoother applesauce, use a sieve or food mill.
- If processed through a food mill or sieve, bring back to a boil then pack into hot, sterilized pint jars.*
- Process using either a water bath or pressure canner. For a boiling water canner, process for 15 minutes.* For a dial gauge pressure canner, process for 8 minutes at 6 pounds pressure.* For a weighted pressure canner, process for 8 minutes at 5 pounds pressure.*

