


Pickled Jalapeños (Canning Recipe)
I love jalapeños; a little bite of heat is perfect in so many recipes, especially nachos, salads, burgers, and more. This pickled jalapeño recipe takes the flavor of fresh jalapeños and transforms them into a shelf-stable, vinegary form.
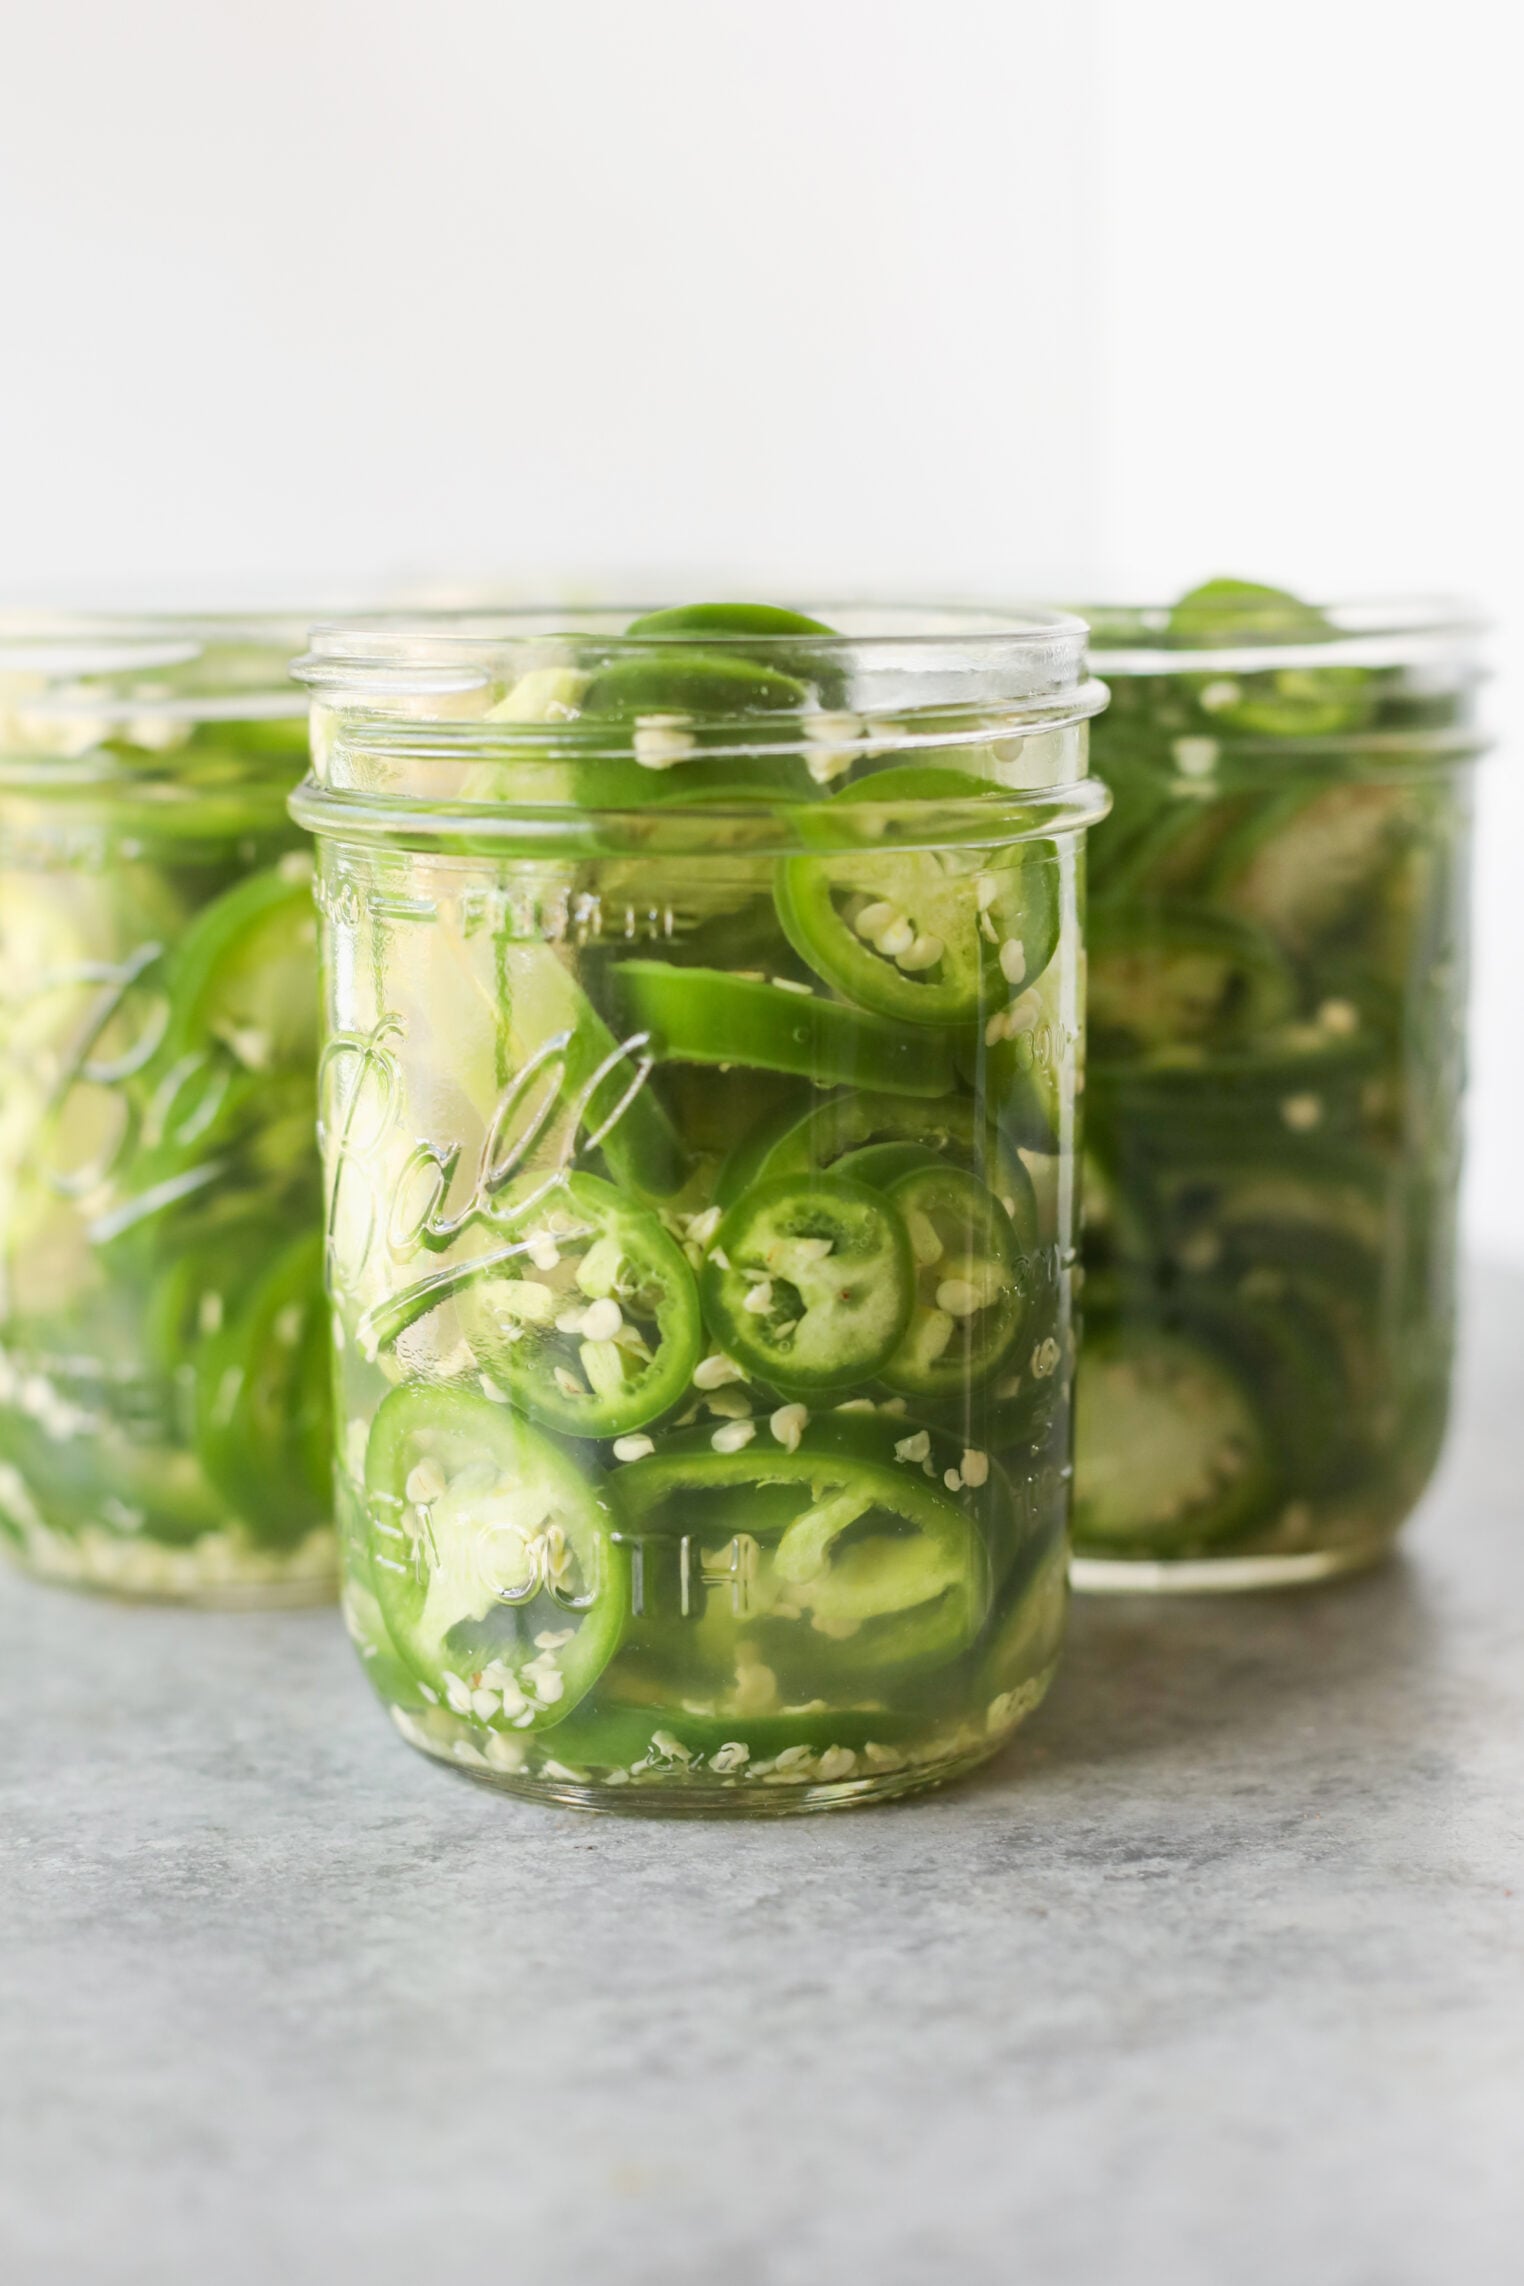
These are similar in process to my candied jalapeños, but not sweet at all! They are sharp, vinegary, and perfect for tacos, sandwiches, and cocktails. Really, once you make a batch, you’ll find yourself wanting to put them on everything.
These pickled jalapeños are based on a tested recipe, with flavor adjustments that are safe for water bath canning. Jalapeños are a low-acid vegetable, so you’ll want to make sure to follow the recipe to make them safe for canning.
See below for step-by-step tips and how to water bath can them, or head to the full recipe below.
Why I love this recipe
This recipe comes together so quickly! Unlike many other canning recipes, it requires no overnight salting, ice bath, or fermenting. You just slice the peppers, make a brine, then process for ten minutes.
These pickled jalapeños are also one of the most-used condiments in my pantry. These are a staple on my chorizo tacos, in grain bowls, in my Impossible smash burgers, chopped into cornbread batter, you get it. Anywhere you want a little heat, these are the answer! I go through a jar faster than almost anything else.
Ingredient Notes
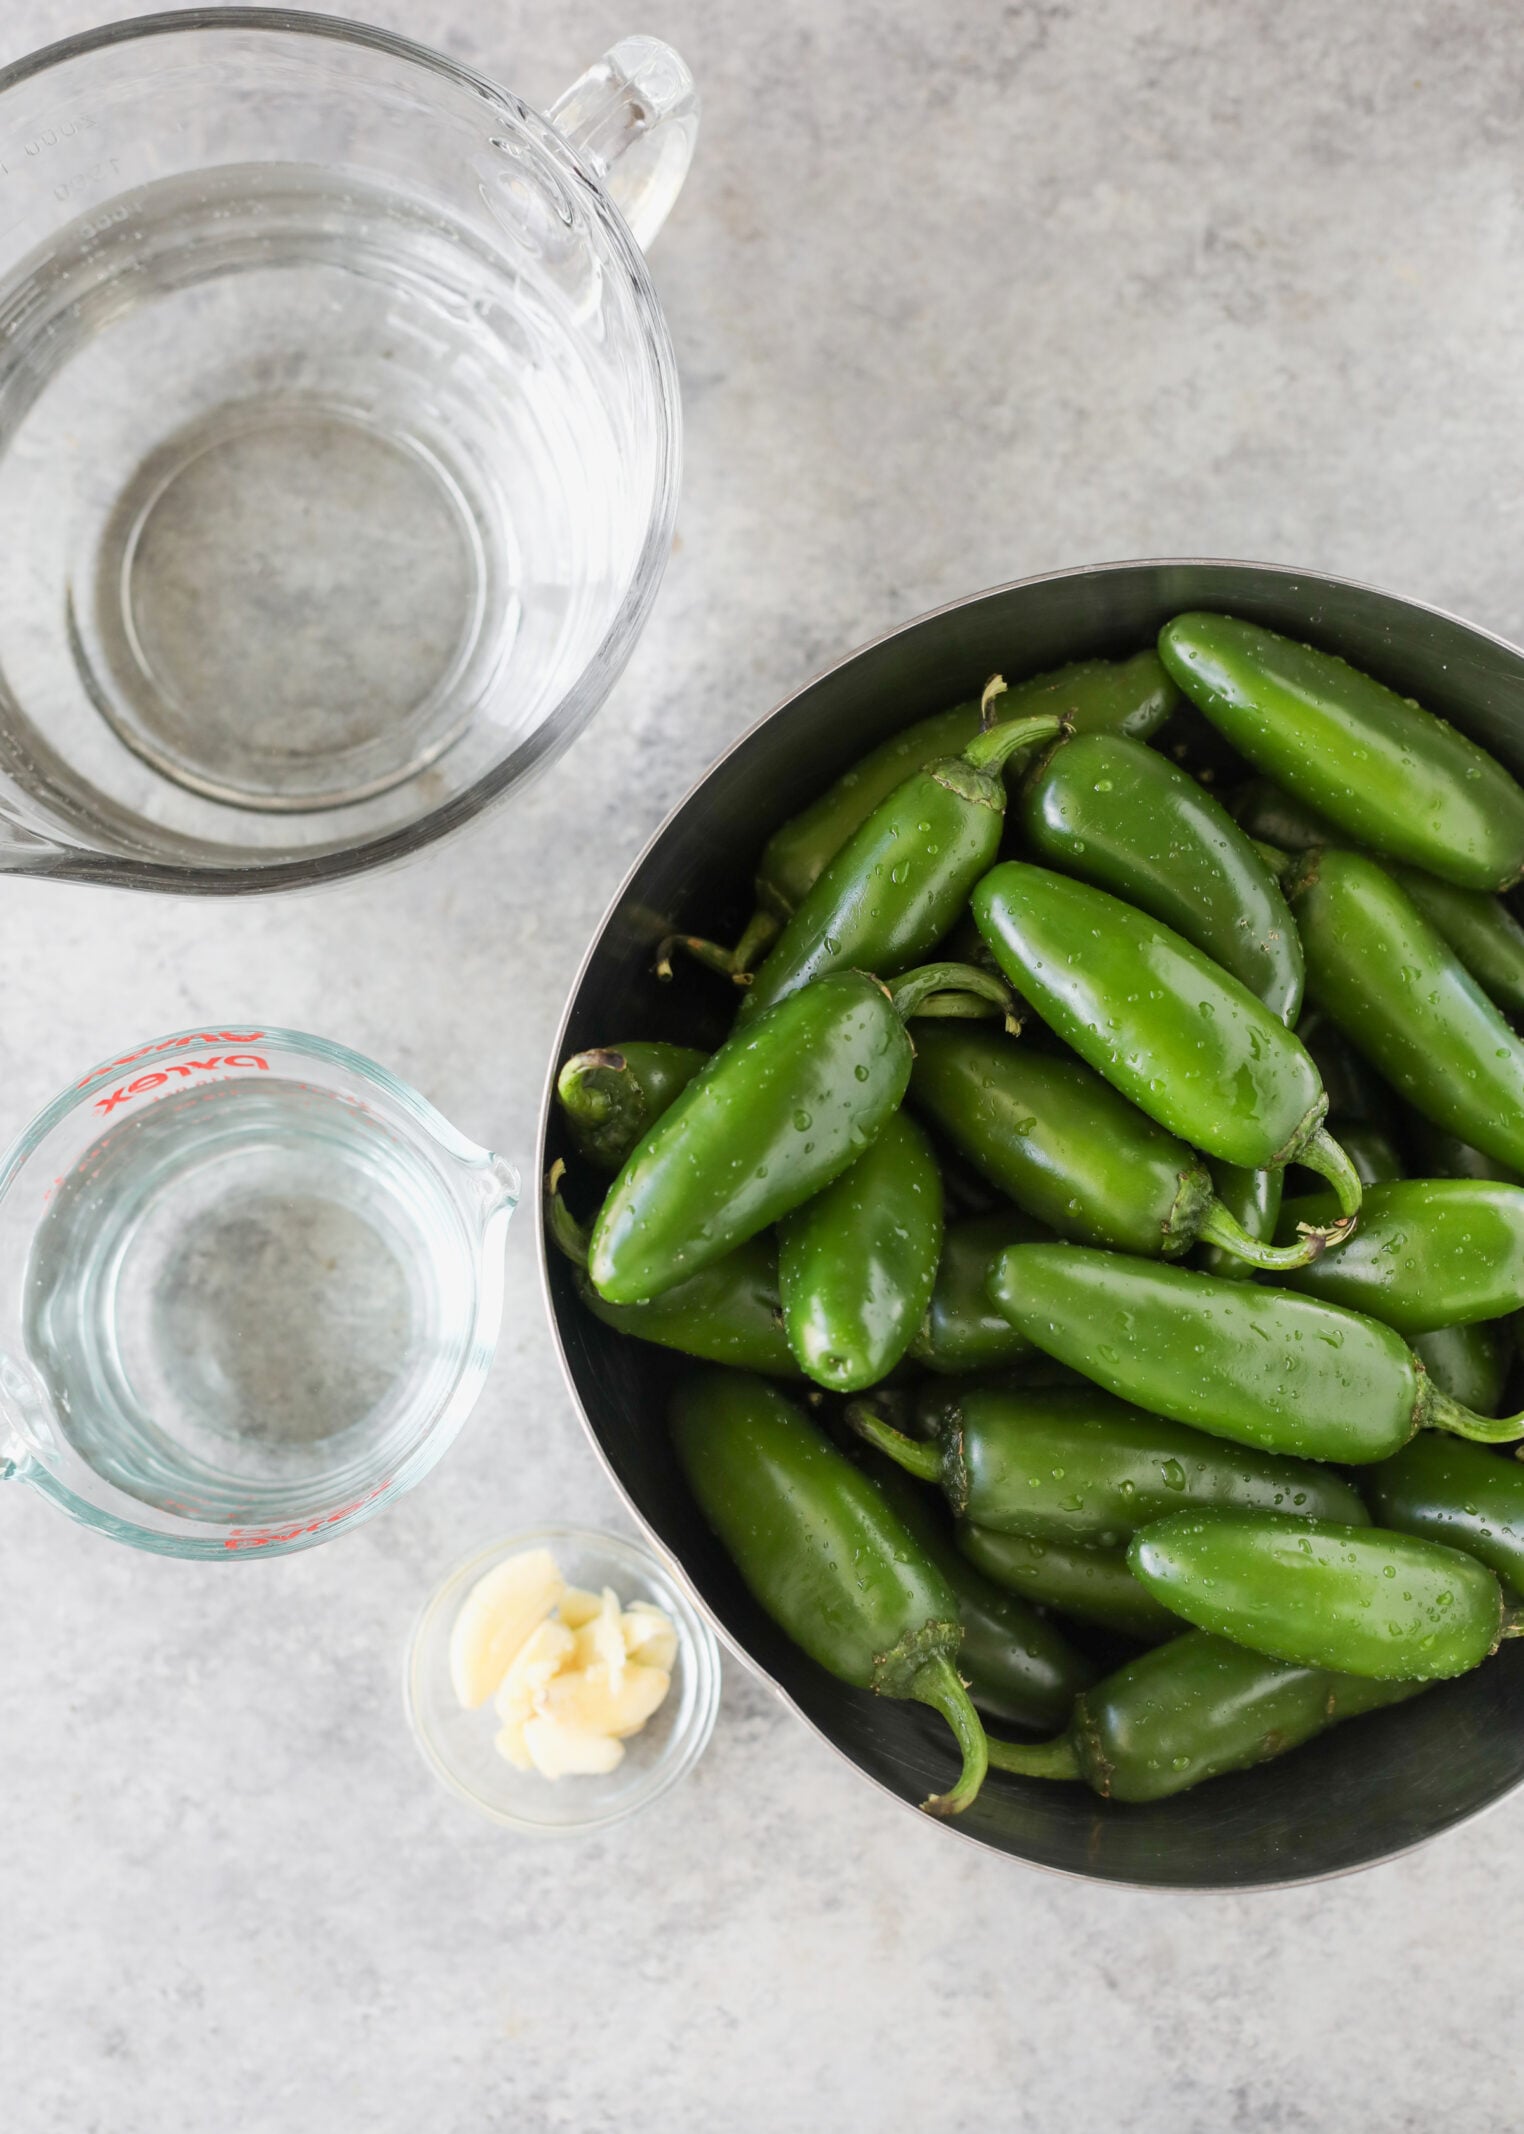
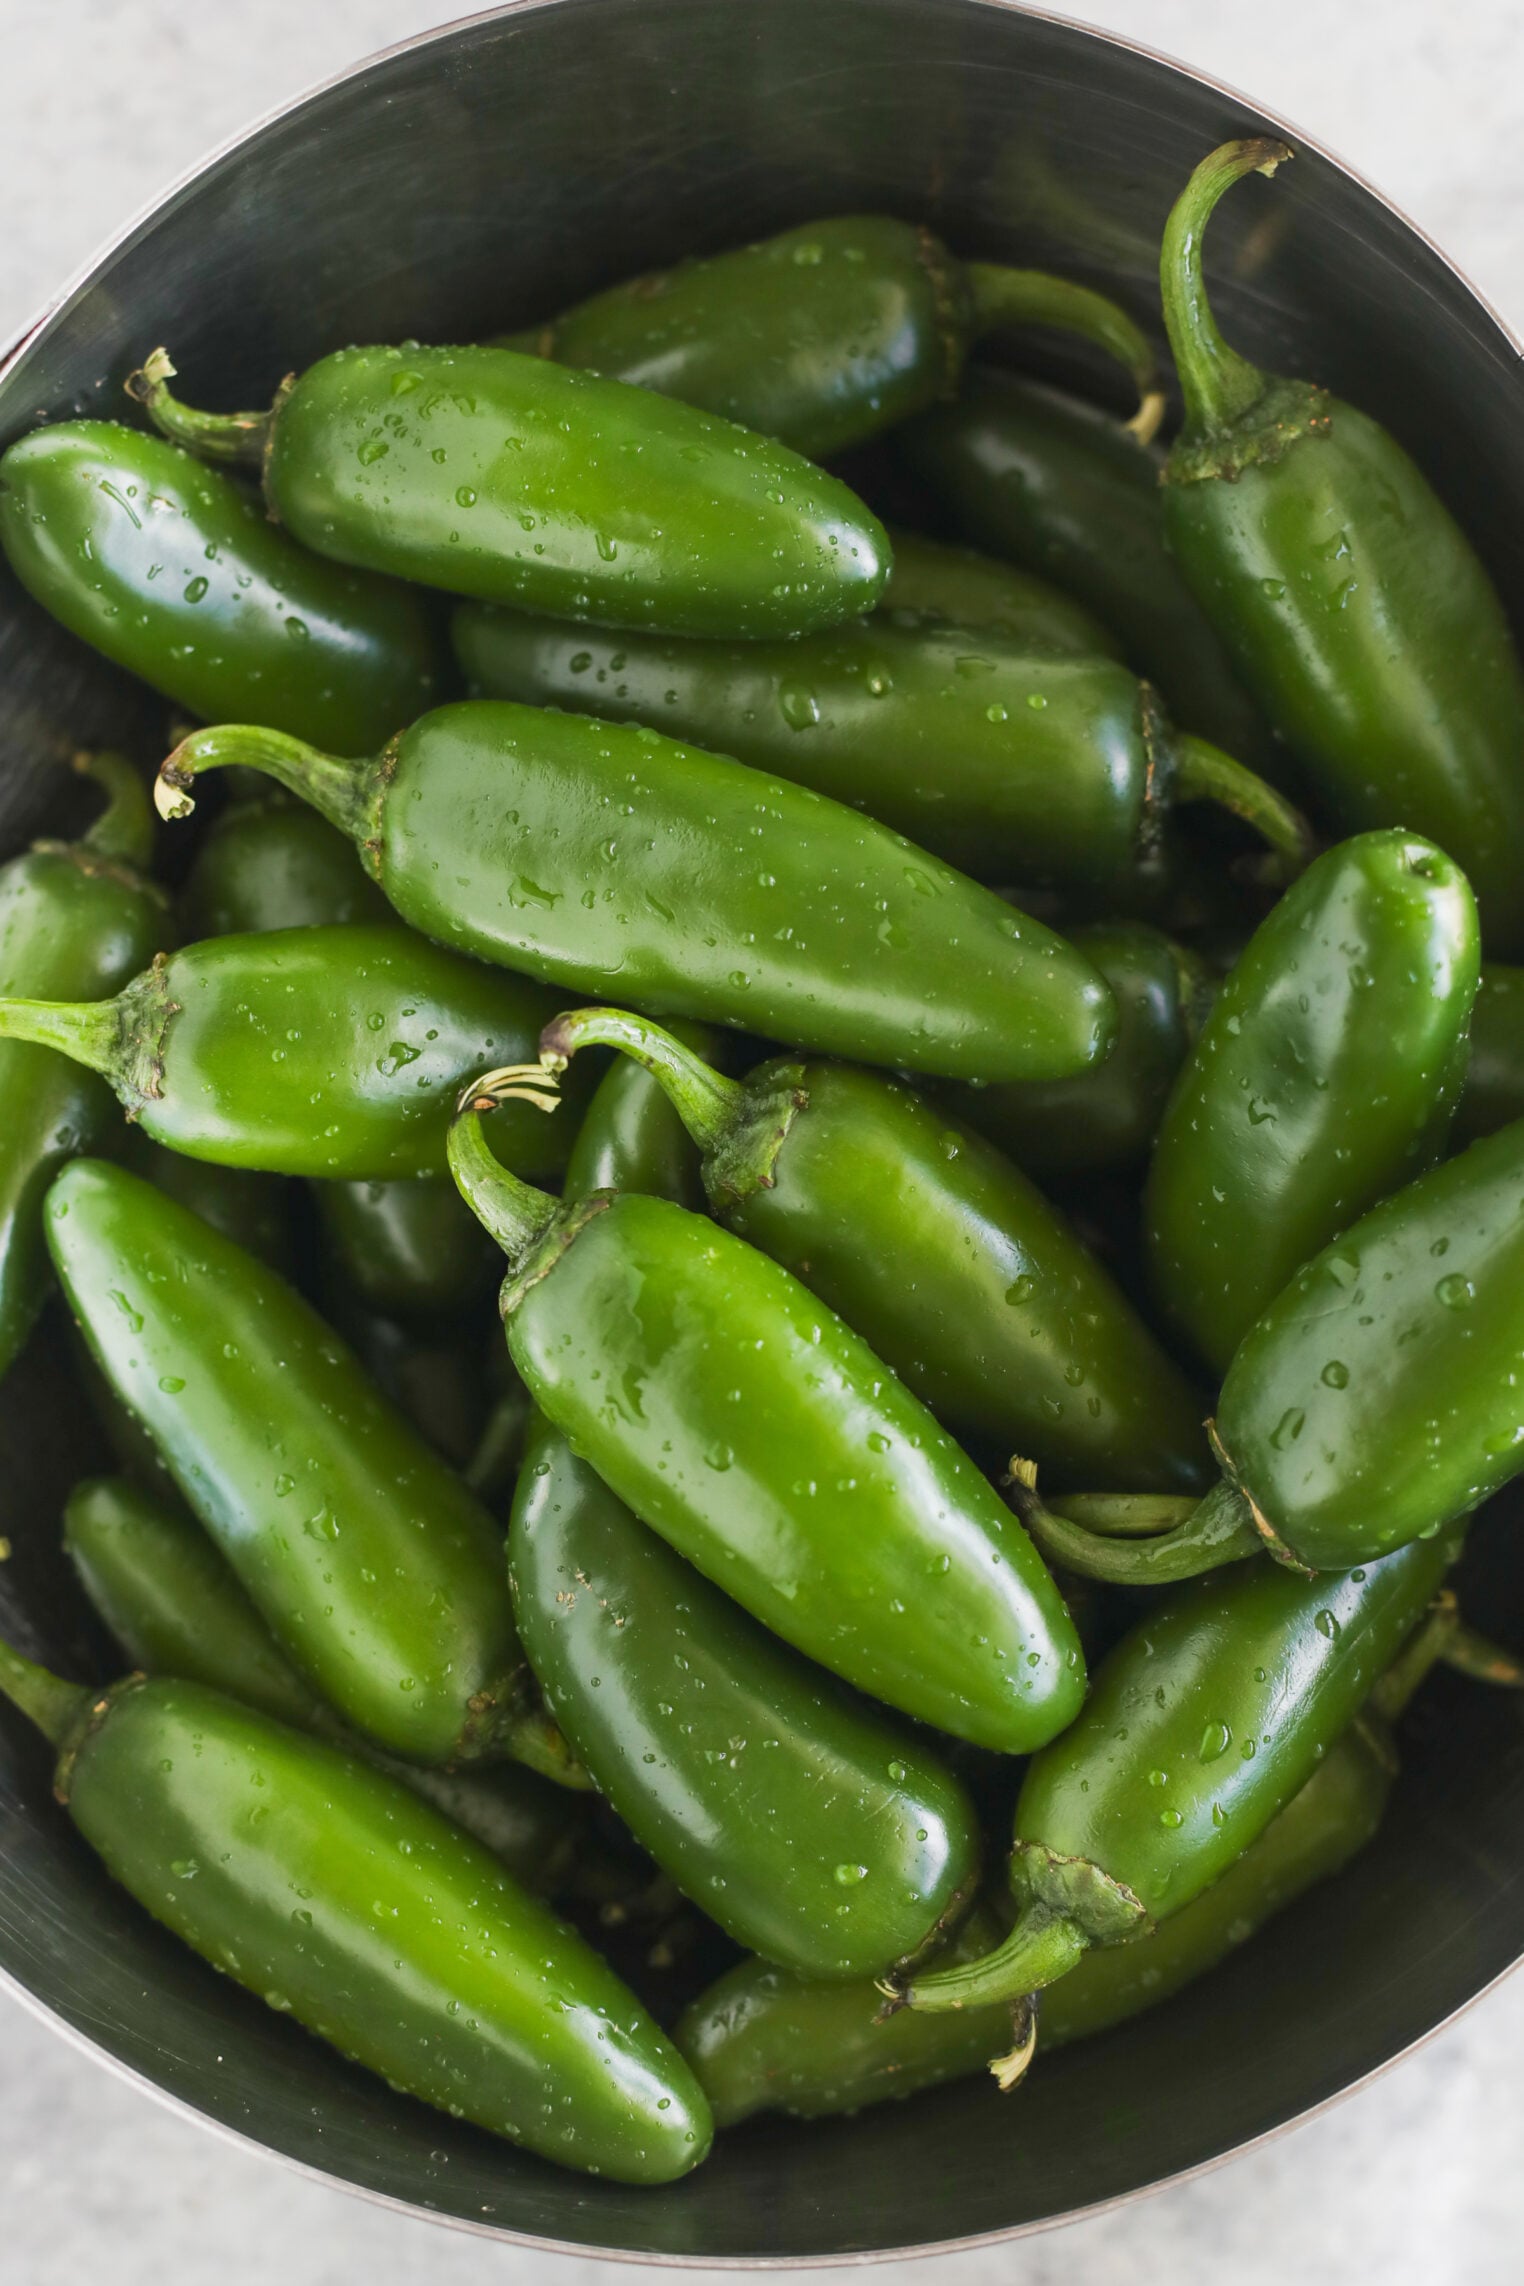
- Jalapenos: You can use any kind of hot pepper you want, including red jalapeños! Ideally, use firm, glossy, unblemished jalapeño peppers.
- White Vinegar: You’ll need 1 quart plus 2 cups, at 5% acidity. This is what makes the peppers safe to can. You can use apple cider vinegar with 5% acidity, but it will change the color of the pickles, and I don’t recommend it.
- Garlic: These go into the brine, but then are removed. This is important because garlic is a low-acid food, and this recipe was tested with the garlic infusing into the brine, then strained out.
- Pickle Crisp: Optional, but if you like crispy pickled jalapeños, then I recommend adding this. You don’t need much, just 1/8 teaspoon per jar.
How to Make Pickled Jalapenos
Step 1: Prep the Peppers
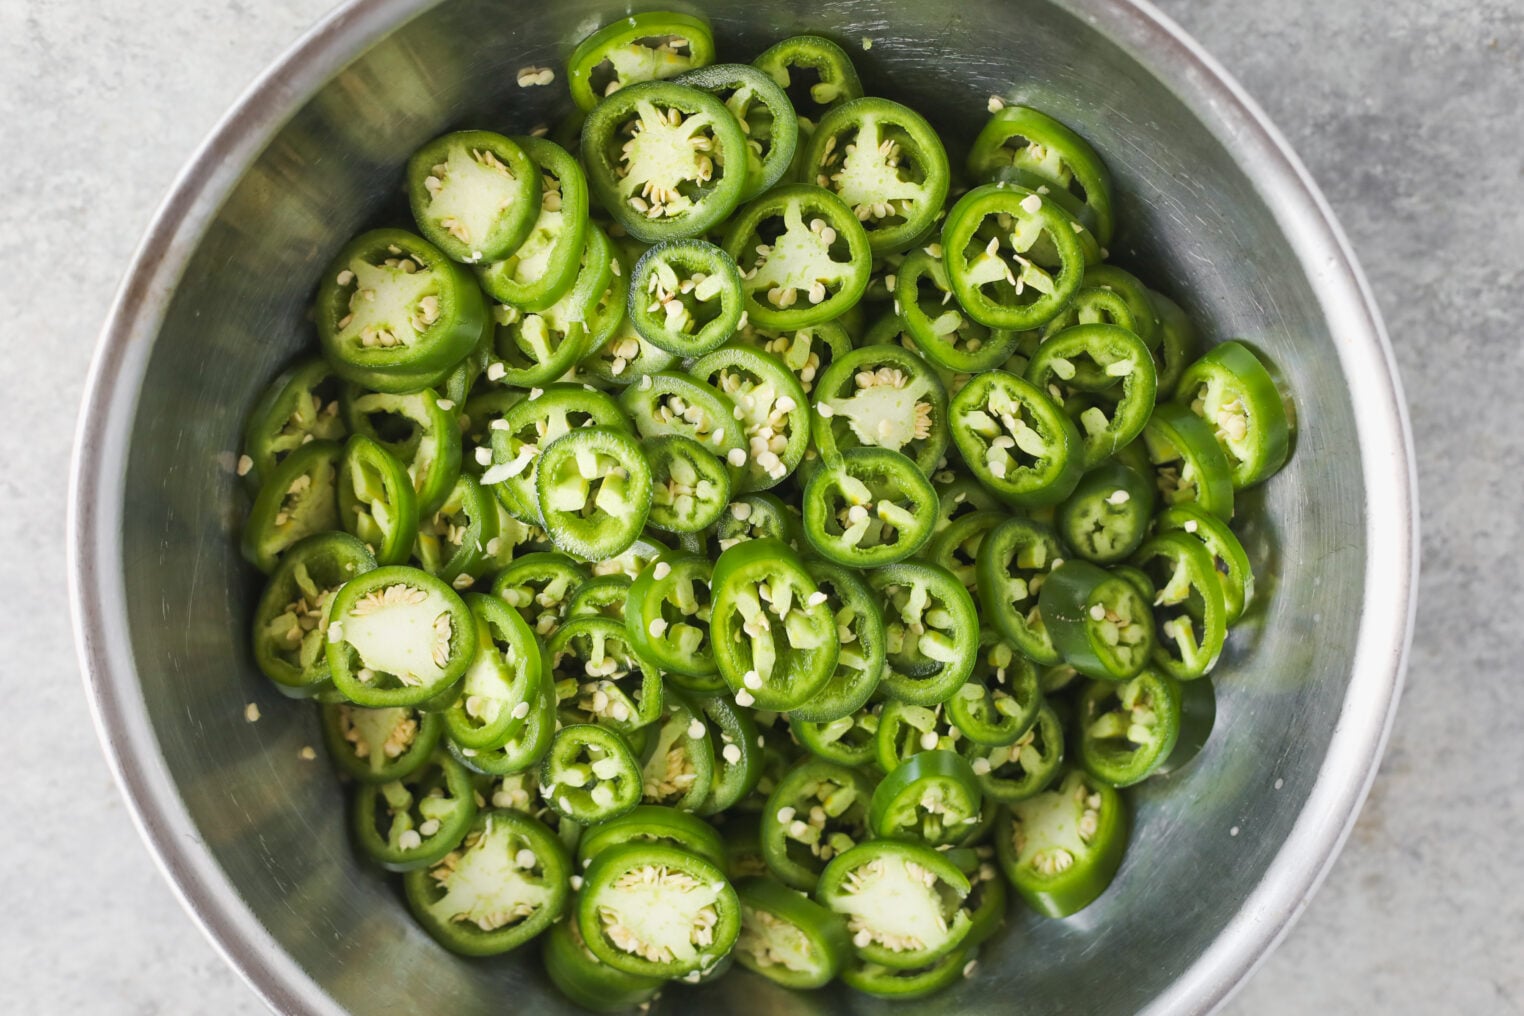
Rinse the jalapeños, then drain and dry. Remove the stems and blossom ends of the peppers, then cut into 1/2-1/4-inch rings (you can cut these thinner if you’d like)
I leave the seeds in as they carry a good share of the heat and make these spicy, which is what I want. If you want to make these milder, you can fish out the seeds or slice the jalapeños into smaller pieces to remove them more easily.
Step 2: Make the Brine
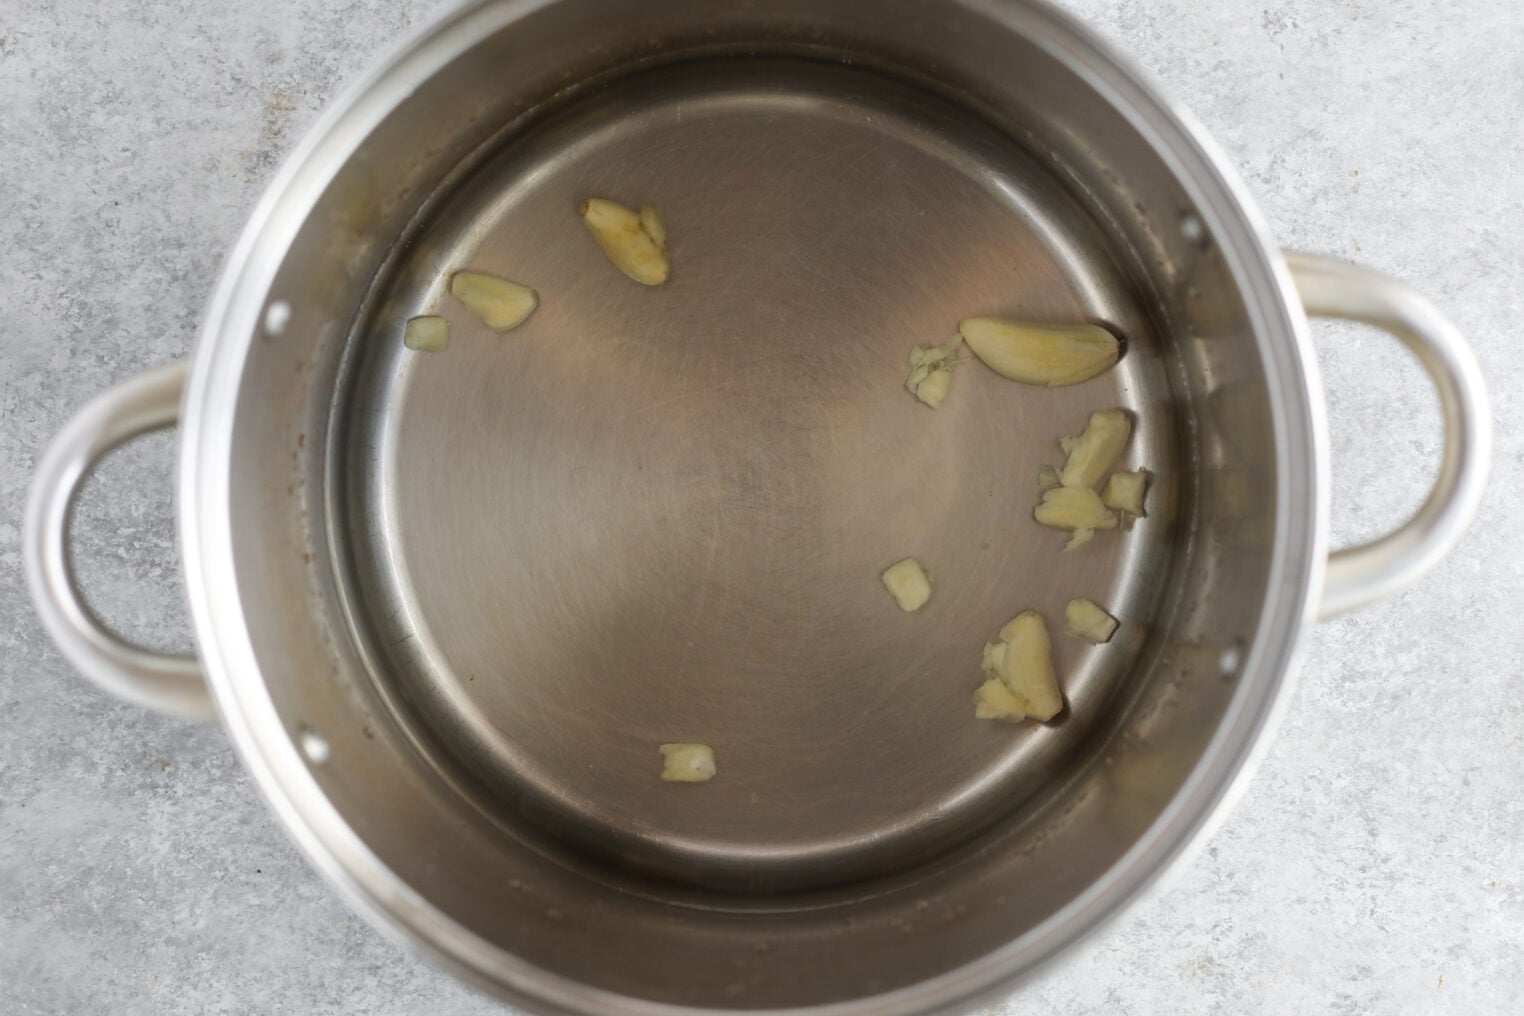
Combine the vinegar, water, and crushed garlic cloves in a large saucepan. Bring to a boil, then reduce heat to a simmer and let simmer for 5 minutes. Remove and discard the garlic; make sure to remove the garlic, as garlic is a low-acid vegetable, and this recipe was tested with the garlic infused into the brine and then strained out. It wasn’t tested keeping the garlic in.
Step 3: Fill the Jars
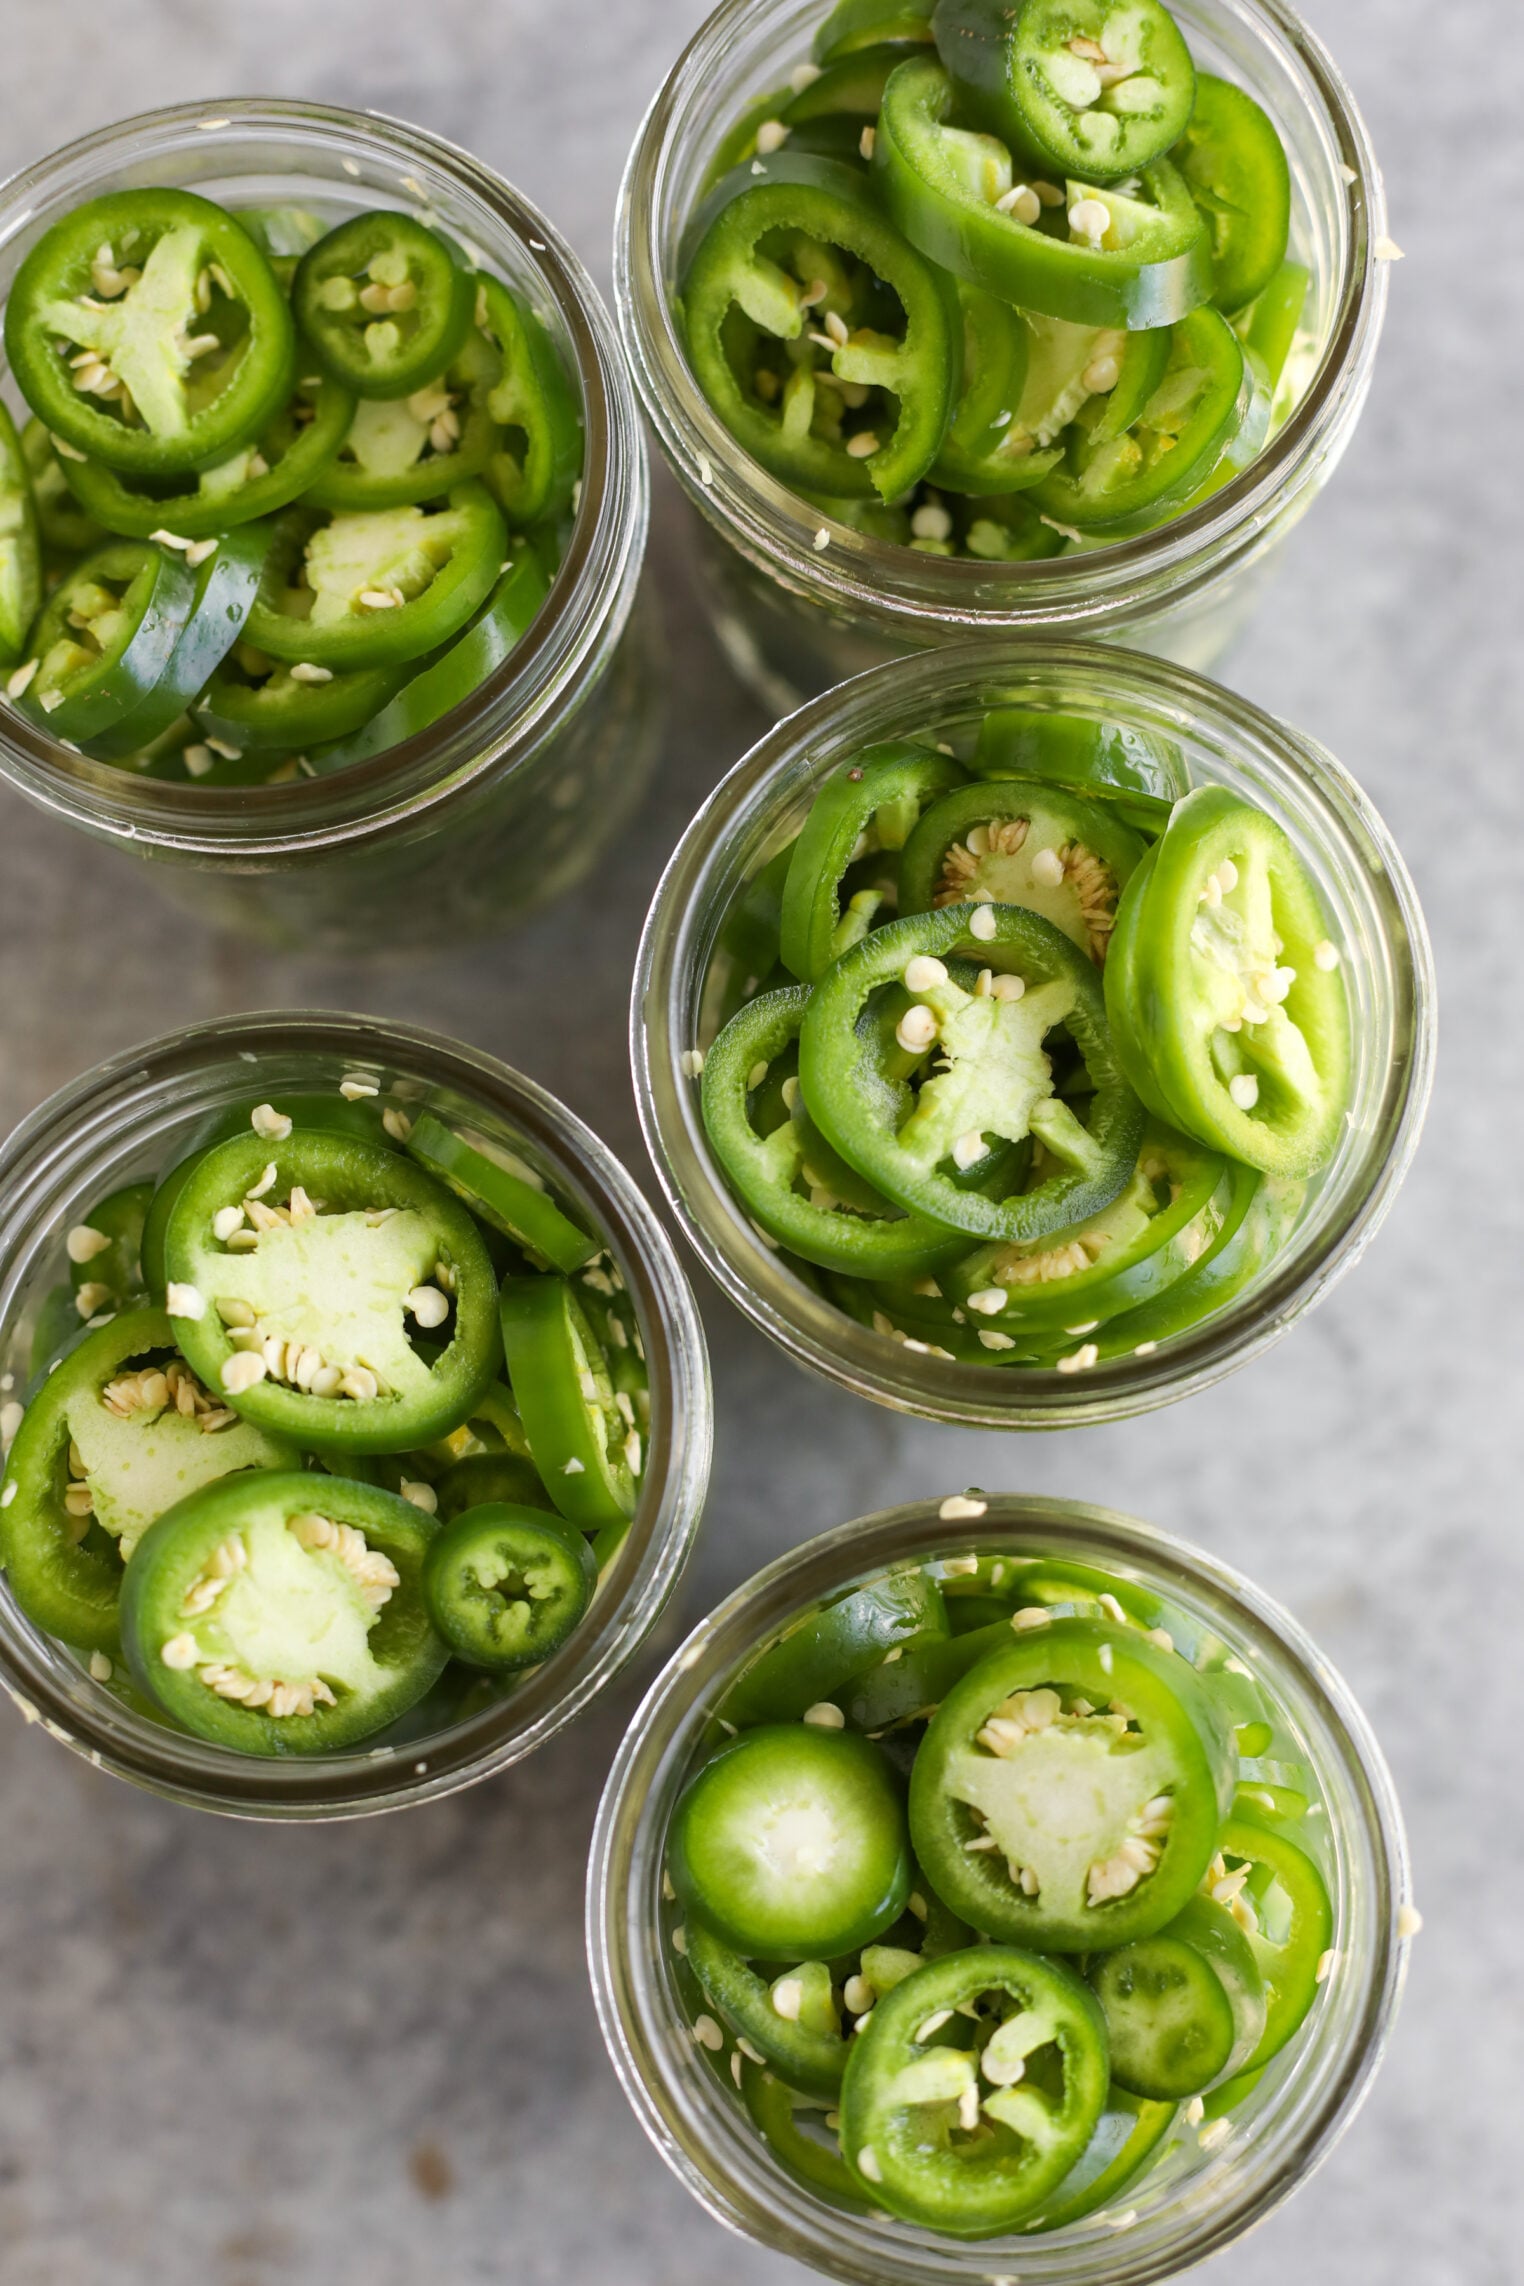
Pack the pepper rings into the hot jars, leaving 1/2 inch headspace. Ladle the hot brine over the peppers, also leaving a 1/2-inch headspace. If you are using the pickle crisp, then add it to the jars here.
Remove any air bubbles, re-check your headspace, and wipe the rim clean. Center the lid on the jars and apply the band fingertip tight, then place the jars in the water bath canner and repeat until all jars are filled.
How to Can Using a Water Bath Canner
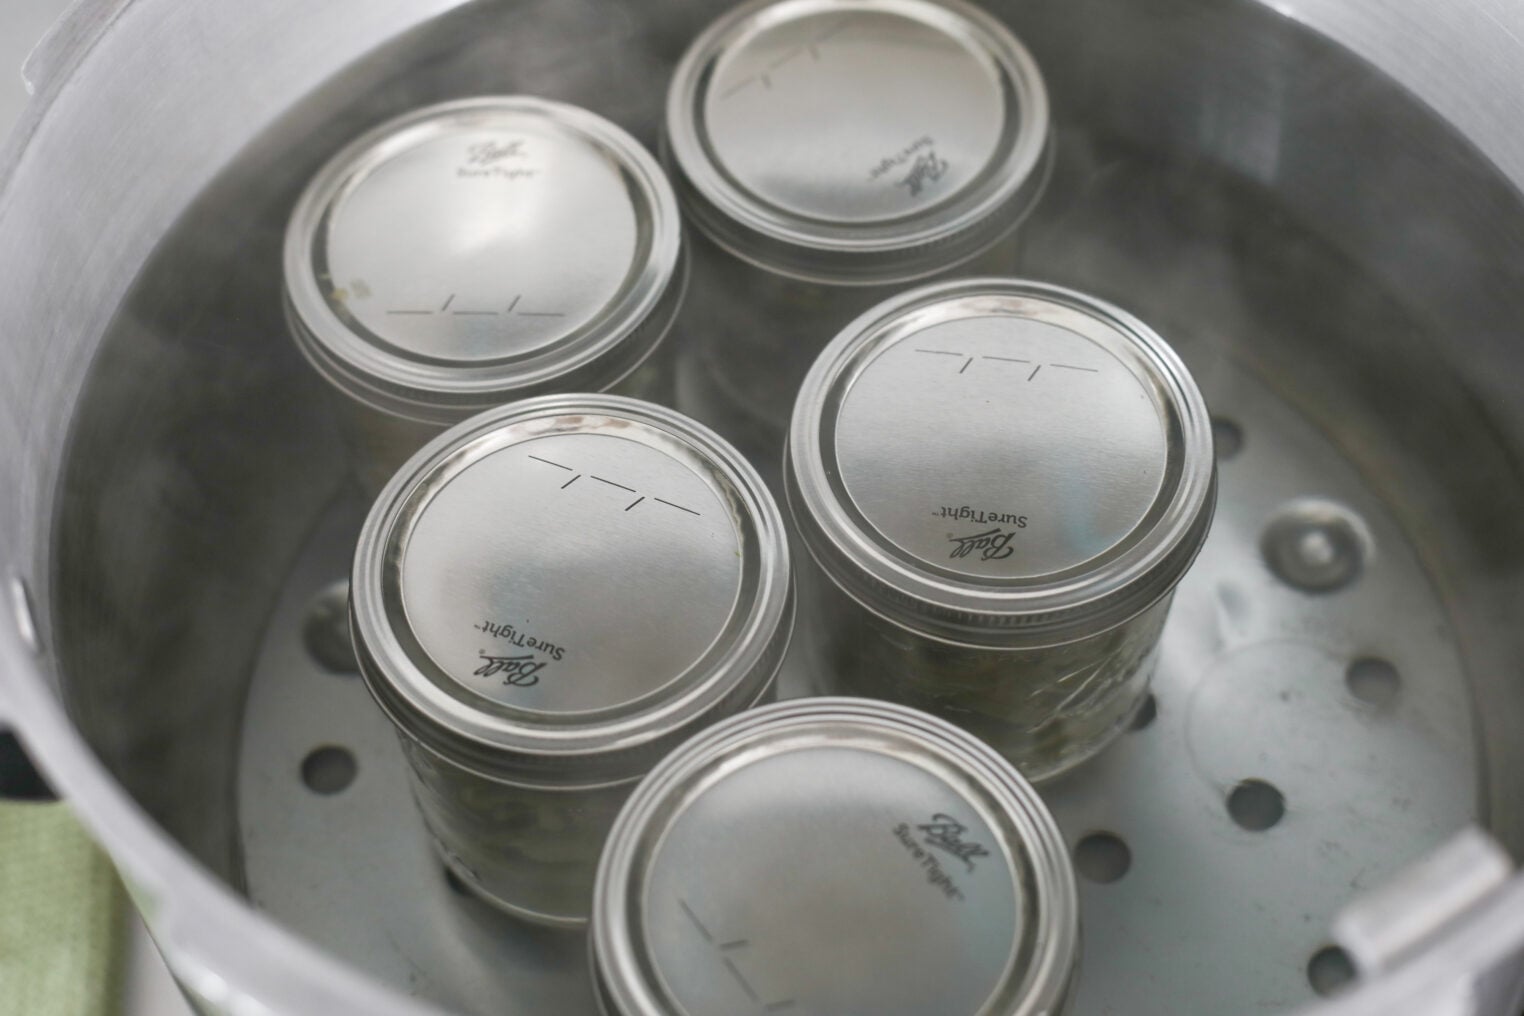
Prepare your boiling water canner first. Heat the jars in simmering water until you’re ready to use them, then wash the lids in warm soapy water and set the bands aside.
Once all the jars are in the canner, make sure the water covers them by 1 inch, then bring to a rolling boil and process the jars for 10 minutes, adjusting for altitude (see below).
Turn off the heat and let the jars sit for 5 minutes, then remove from the canner. Cool for 12 to 24 hours and check the lids; reprocess any lids that didn’t seal, or refrigerate to enjoy right away.
Altitude Adjustment
| Altitude | Process Time (pints) |
|---|---|
| 0-1,000 feet | 10 minutes |
| 1,001-3,000 feet | 15 minutes |
| 3,001-6,000 feet | 20 minutes |
| 6,001-8,000 feet | 25 minutes |
| 8,001-10,000 feet | 30 minutes |
Expert Tips for Success
- Wear Gloves: Capsaicin doesn’t wash off easily, so wearing disposable gloves helps to prevent the spice from getting in your eyes (or any other sensitive membranes)
- Slice evenly. You want the jalapeños to have a consistent thickness so they can pickle at the same rate.
- Pack Firmly: The rings should be snug in the jar when you pack them in, but not compacted as the brine needs to easily move between the rings.
- Use Pickle Crisp if you want crunch: Pickle Crisp contains calcium chloride, is permitted in tested pickle recipes, and helps create crisper pickled jalapeños.
- Let them sit: You can enjoy these pickled jalapeños right away, and they are edible as soon as you make them, but I like to let them sit for a few weeks to allow the flavor to further develop.
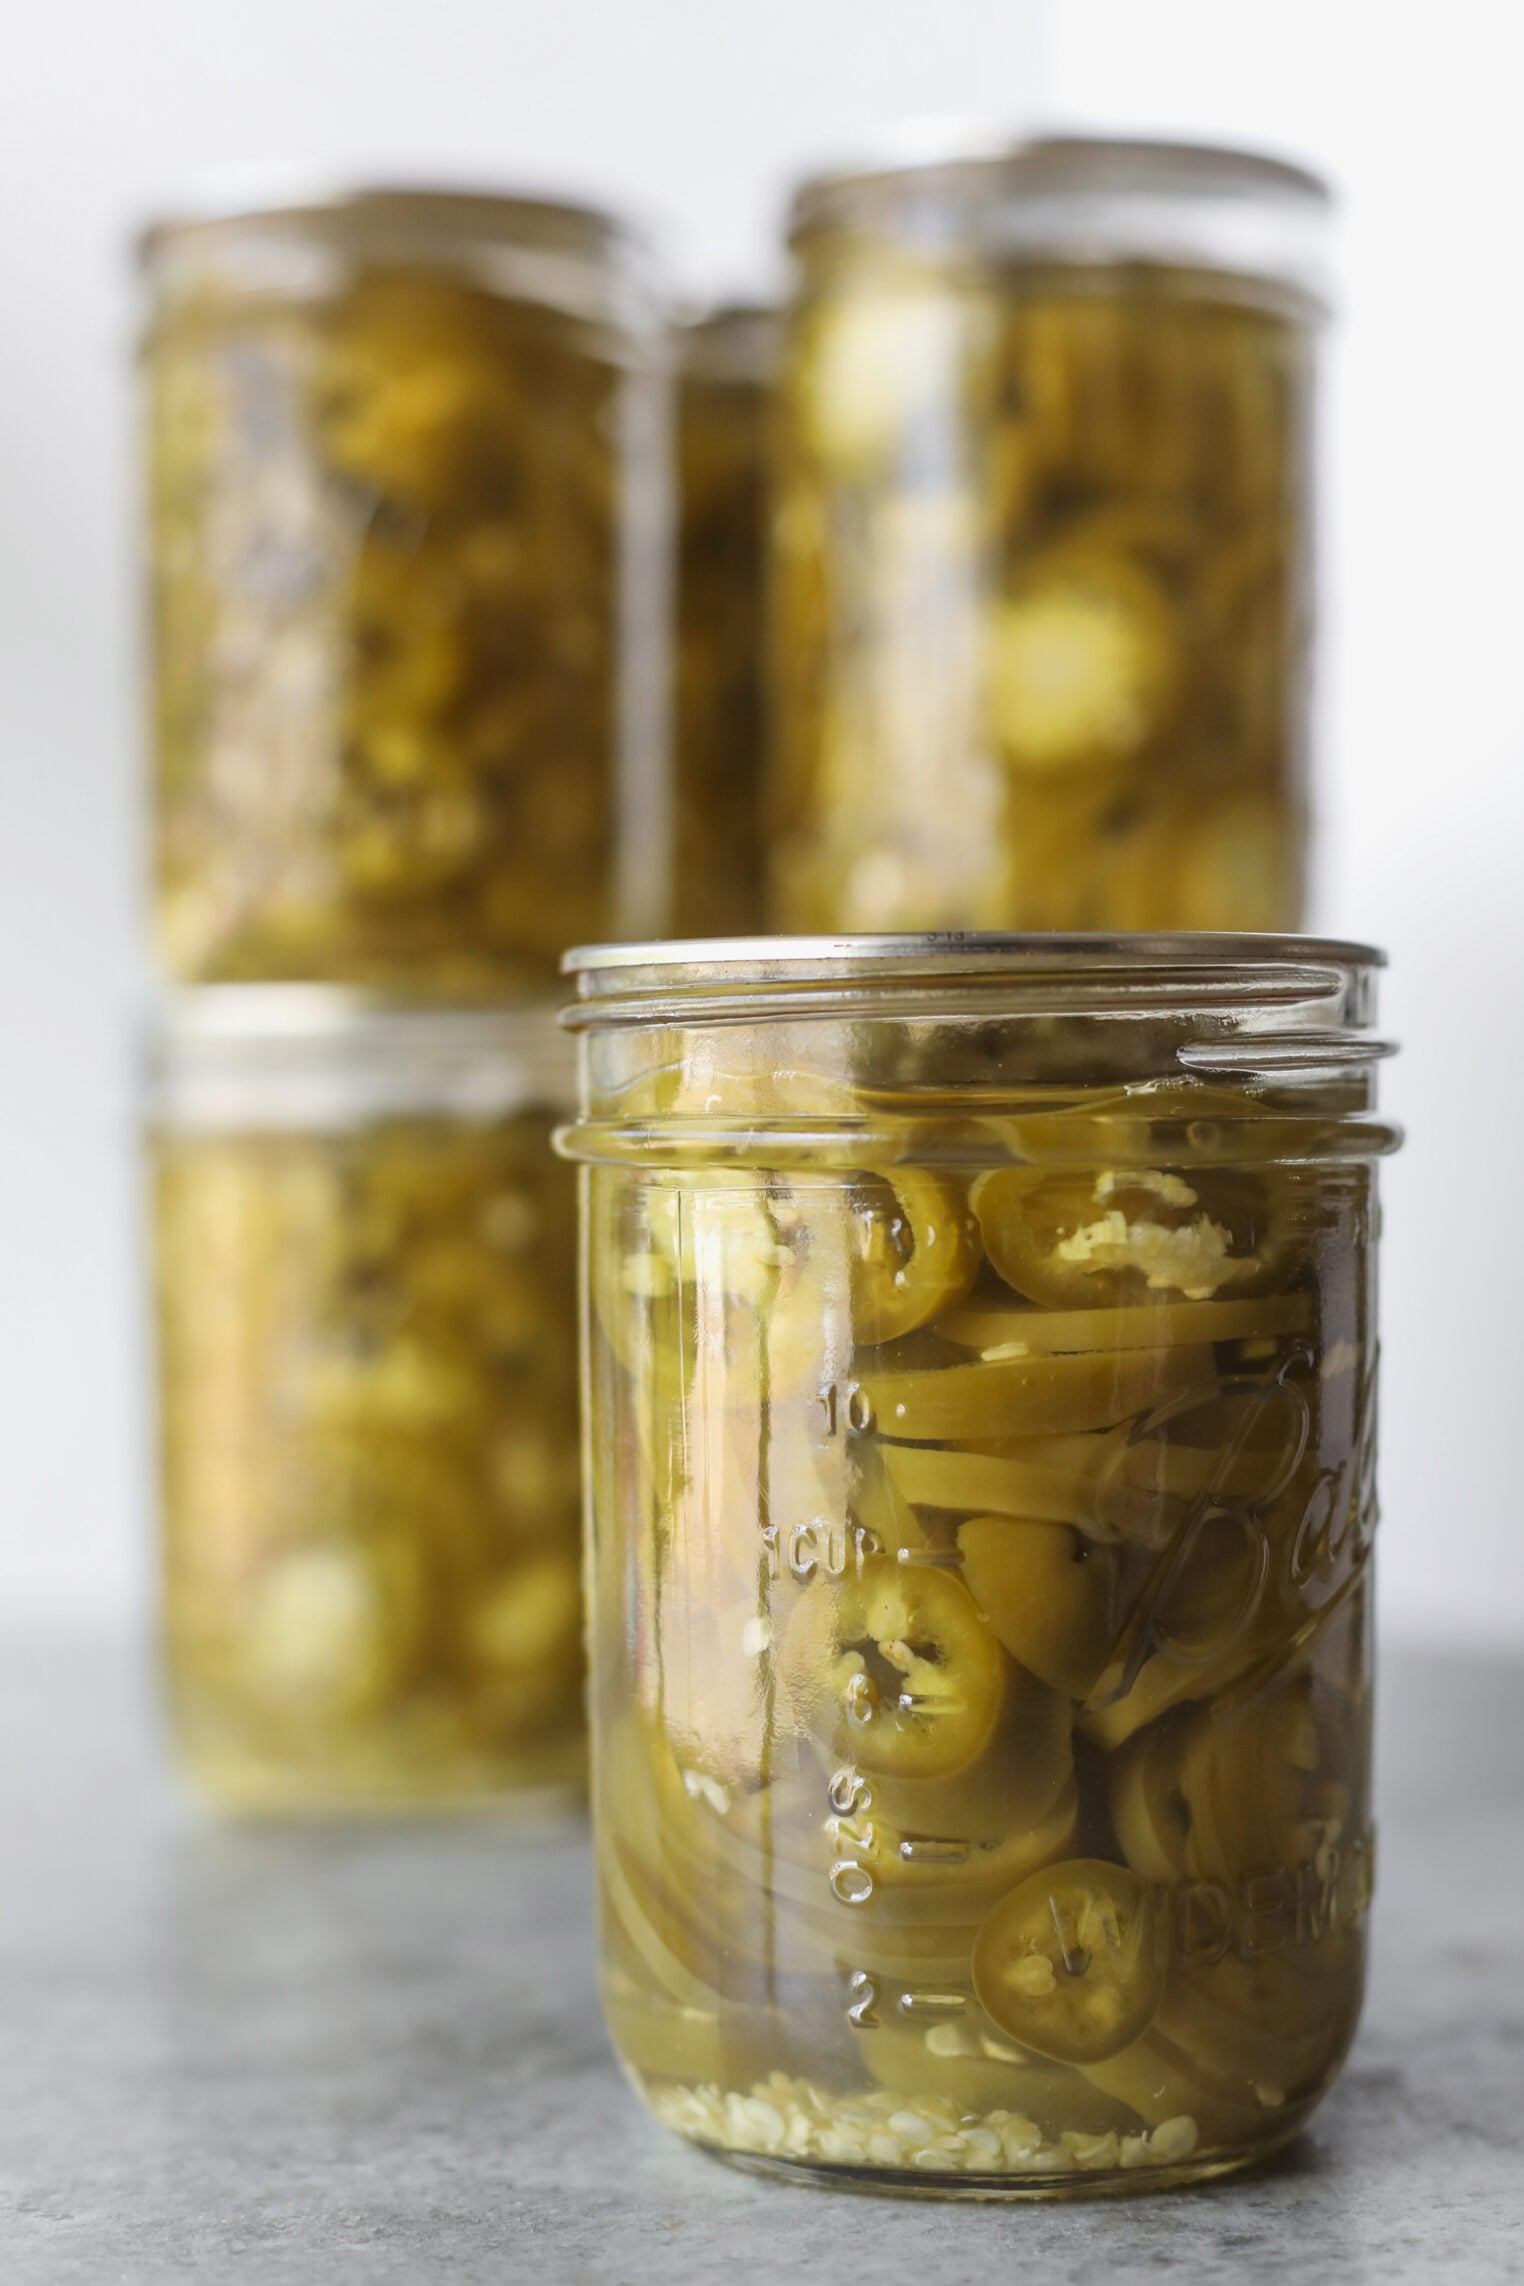
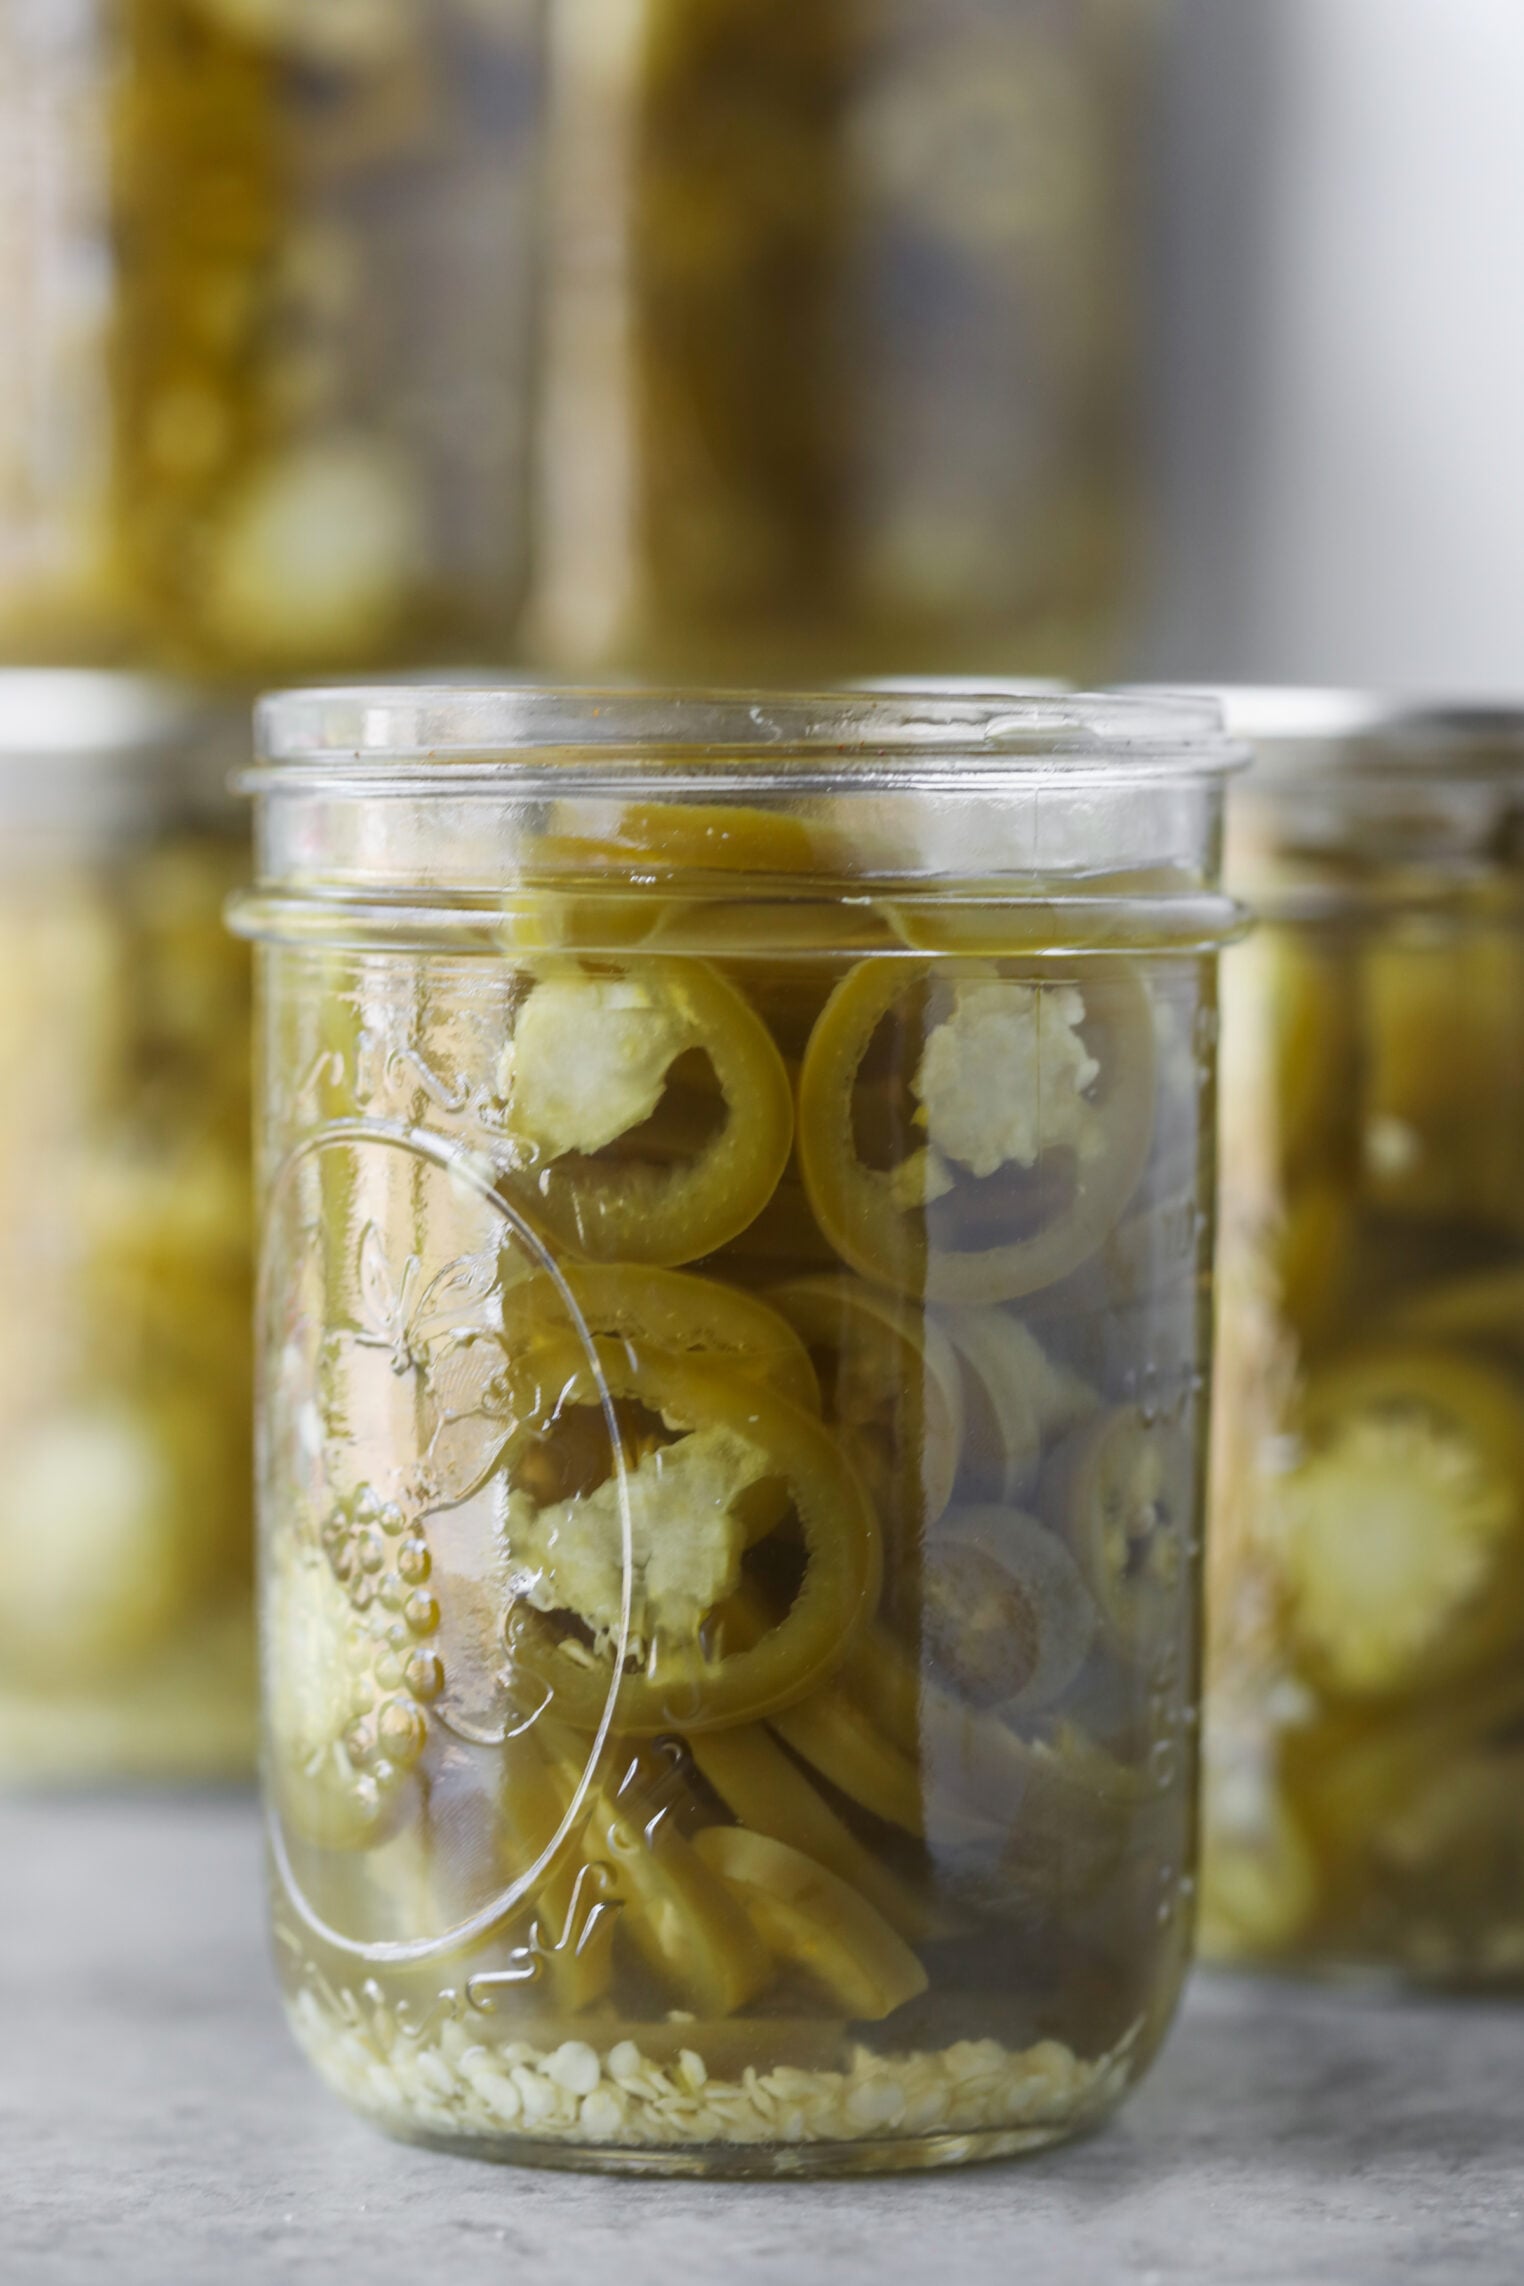
- They will change color: As you process these jalapeños, the green rings will fade to olive in the jar. That’s normal!
Safe Substitutions to Make
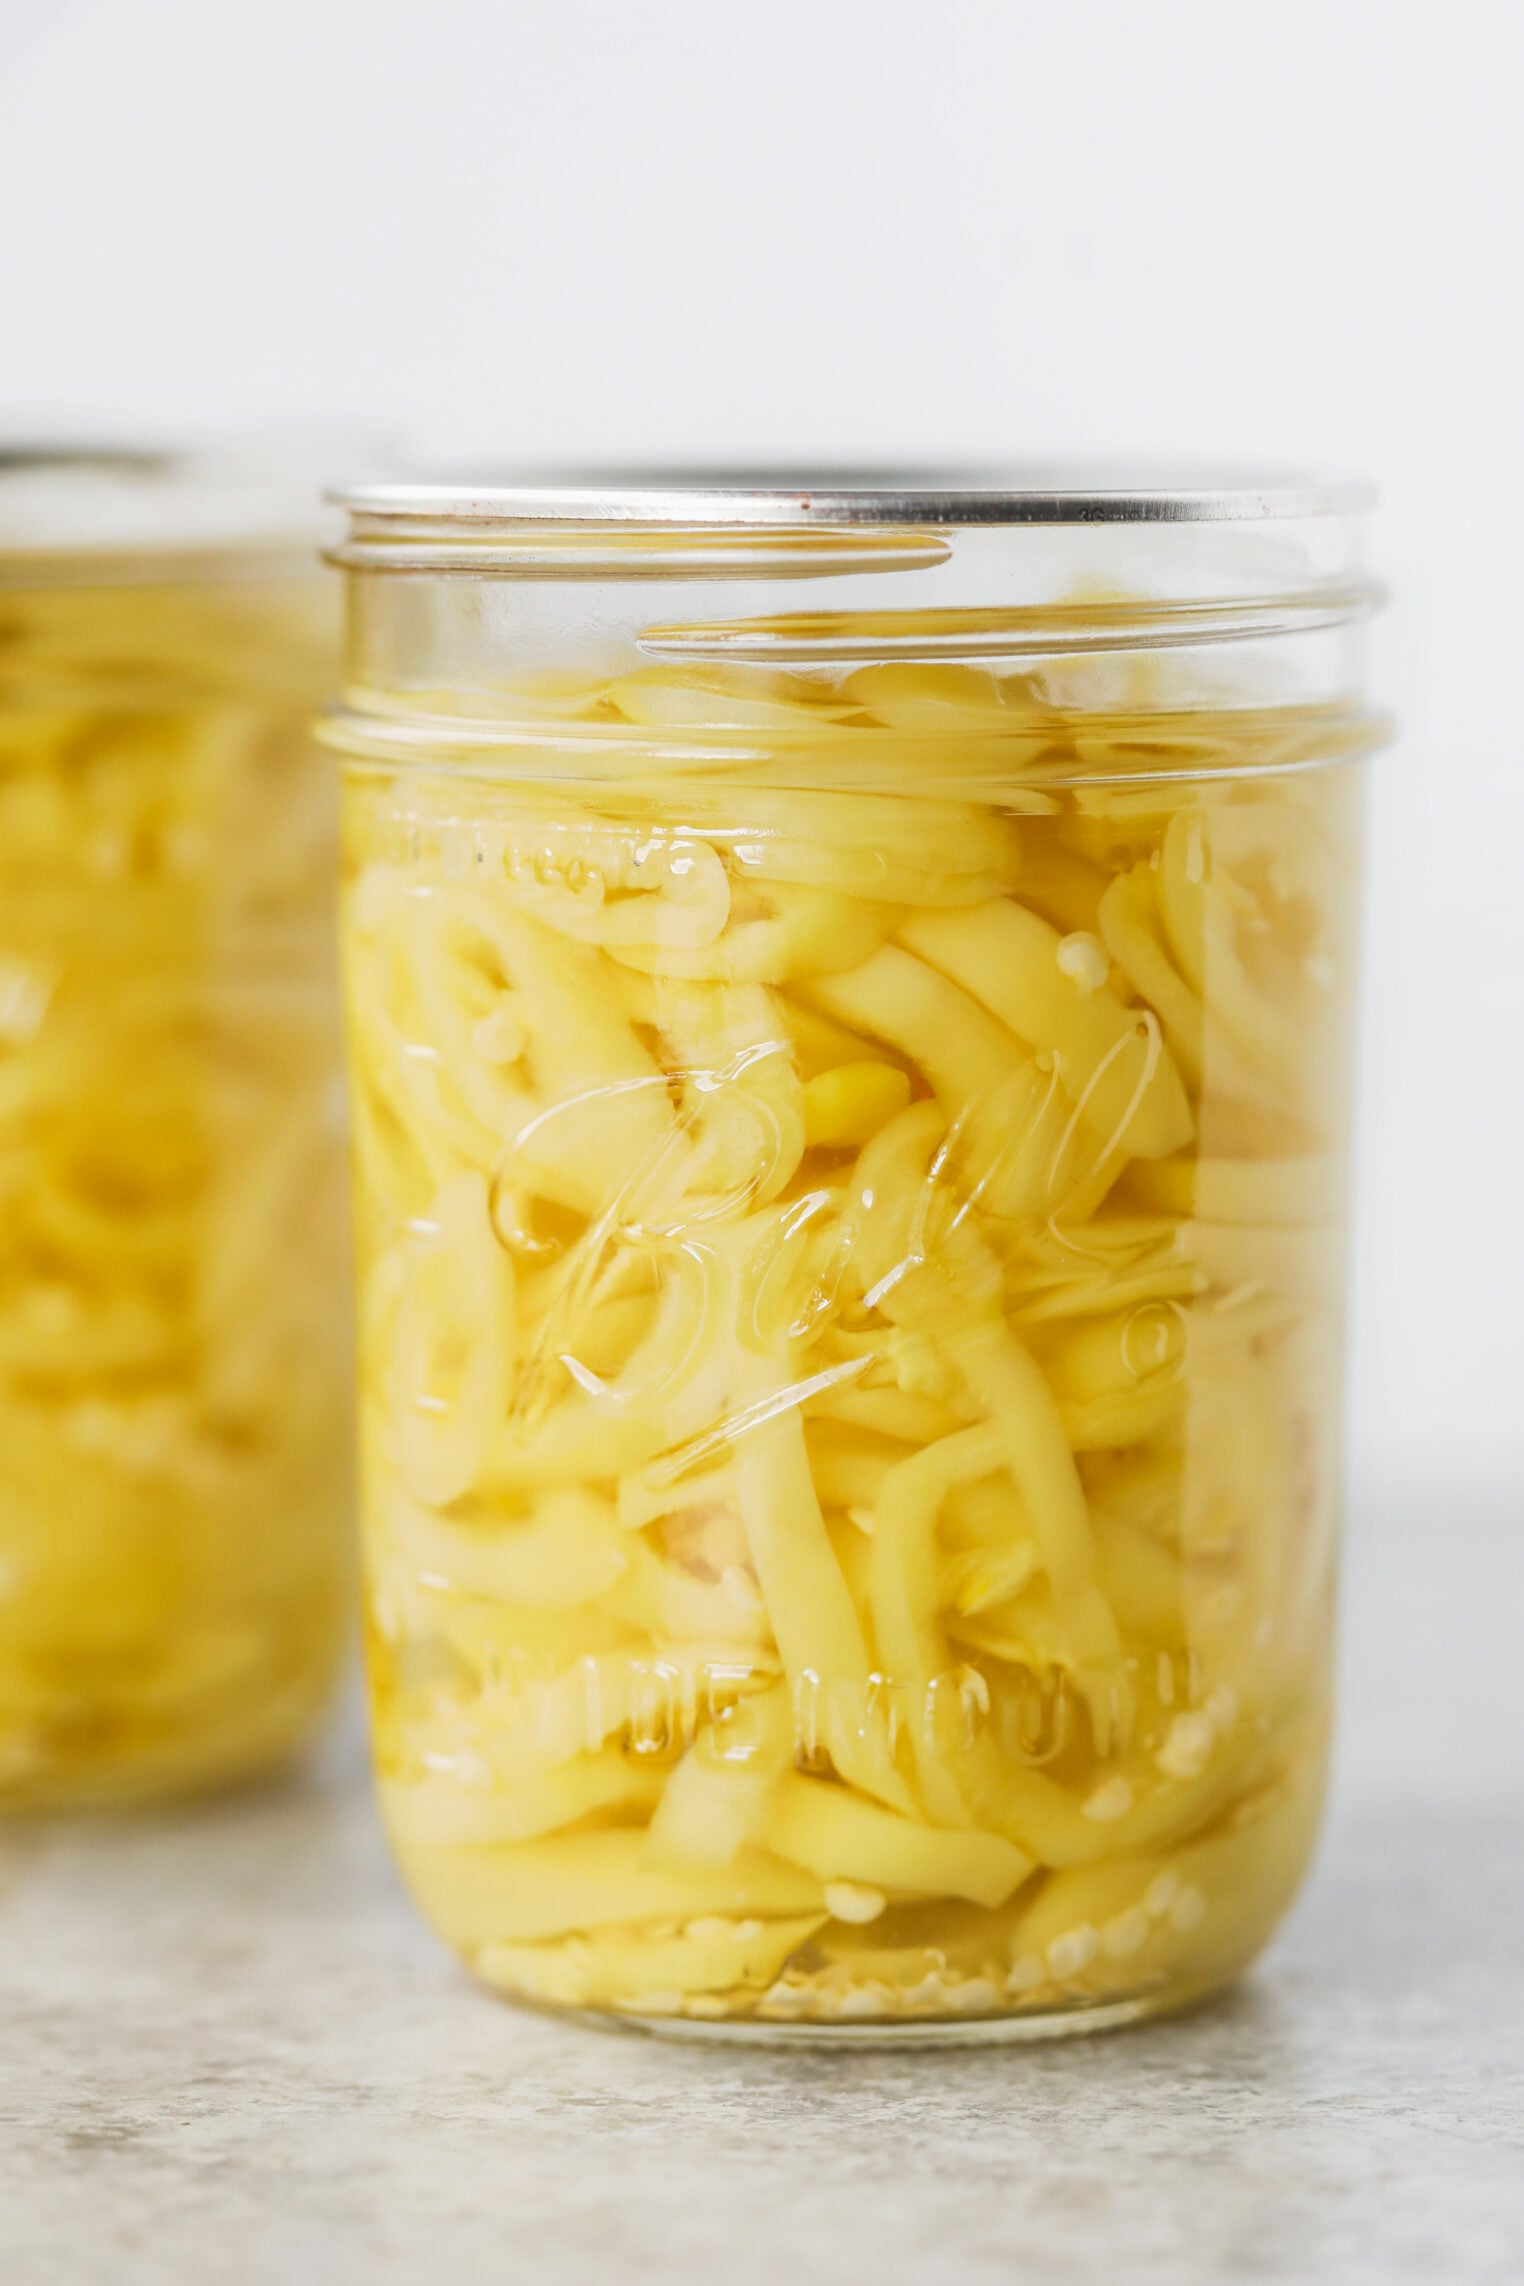
- Dried Spices: You can add spices to this recipe if you’d like: black peppercorns, coriander, cumin, bay leaves, ect. Just add them to the brine with the garlic. When I made my pickled banana peppers, I added pickling spice for a little more flavor.
- Salt: This recipe doesn’t call for any, but you can add salt if you’d like to add more flavor.
- Cider Vinegar: You can use either as long as both are 5%, but cider vinegar will color the peppers slightly.
- Pepper color: You can use either red or green jalapeños! You can also use other hot peppers like serrano or banana peppers.
- Cut: You can also leave smaller peppers whole with two or three slits cut into each so the brine can reach the center. This is nice when you want to do really spicy peppers, like serranos or cayennes.
- Smaller Jars: You can also use half-pint jars; just process them for the same time.
Substitutions That Are Not Safe to Change
- The garlic: Make sure to remove the garlic before canning as it’s a low-acid ingredient that this recipe wasn’t tested with.
- Reduce the vinegar: The 3:1 ratio has been tested for safety; don’t adjust it.
- Adding Onions: Onions are also low-acid and shouldn’t be added to these pickled peppers.
- Bigger Jars: The recipe is tested with pint jars, and the processing time is to heat the contents in the jar, which is tested using a pint jar and not larger ones. You cannot just add minutes to compensate.
- Adding oil: Oil changes heat penetration and can’t be added here. If you want pickled peppers in oil, use my canned peppers in oil recipe.
How to Enjoy these Pickled Jalapenos
On nachos! These are one of my favorite ways to enjoy these pickled jalapeños, especially my vegan chorizo nachos.
They are also great on tacos, tostadas, or chopped into guacamole or salsa. If you love spicy food like I do, try stirring them into cornbread batter or finely chopping them into a salad dressing for a grain bowl.
You can use the brine in place of vinegar in any dressing you want a little more heat in, and try a splash in Bloody Marys!
Equipment
A water bath canner or a large stockpot with a rack, five pint jars with new lids and bands, a jar lifter, a funnel, and a bubble remover.
A large stainless steel or enameled saucepan for the brine. And I highly recommend using gloves for chopping all these hot jalapeños!
Frequently Asked Questions
Can I leave the garlic in the jar?
No. In this recipe the garlic is simmered in the brine and then discarded. Garlic is a low-acid vegetable, and leaving it in the jar could make it unsafe as it wasn’t tested.
Do I need to remove the seeds?
Up to you! It really depends on how spicy you want these pickled jalapenos. The seeds and the white membrane carry much of the heat, so leaving them in makes a hotter pickle.
Why did my jalapeños turn from green to olive?
That’s a normal color change from the acid and the heat of processing. It doesn’t affect safety or flavor.
How long do canned pickled jalapeños last?
Sealed jars keep in a cool, dark place for up to a year for best quality. Once opened, refrigerate and use within a few months.
When can I eat them?
As soon as they’re sealed and cooled, though they’re better after two to four weeks in the jar as the heat mellows a little.
Can I double this recipe?
Yes, just make sure to not change the ratio of vinegar to water to peppers, and don’t crowd your canner.
If you try this recipe, let me know! Leave a comment, rate it, and tag your Instagram photos with #delishknowledge. I absolutely love seeing your creations. Happy cooking!

Pickled Jalapenos
Equipment
- Disposable Gloves
Ingredients
- 3 lbs jalapeño peppers
- 6 cups white vinegar, 5% acidity
- 2 cups water
- 4 garlic cloves, lightly crushed
- Ball® Pickle Crisp® Granules, optional for a crispier pickle, ⅛ teaspoon per jar
Instructions
- Prepare the canner and jars: Prepare a boiling water canner. Heat jars in simmering water until ready to use; do not boil. Wash lids in warm soapy water and set bands aside.
- Prep the peppers: Wearing gloves, rinse the jalapeños under cold running water and drain. Remove the stems and blossom ends. Cut the peppers into 1-inch rings and place in a large bowl.
- Make the brine: Combine the vinegar, water, and garlic in a large stainless steel saucepan. Bring to a boil, reduce heat to a simmer, and simmer for 5 minutes. Remove and discard the garlic.
- Fill the jars: Pack the peppers into a hot jar, leaving ½-inch headspace. Ladle the hot liquid over the peppers, leaving ½-inch headspace. Add ⅛ teaspoon Pickle Crisp to the jar if desired. Remove air bubbles, re-check headspace, and wipe the jar rim. Center the lid and apply the band fingertip tight. Place the jar in the canner. Repeat until all jars are filled.
- Process: Water must cover the jars by 1 inch. Adjust heat to medium-high, cover the canner, and bring to a rolling boil. Process pint jars 10 minutes, adjusting for altitude.
- Cool and check: Turn off the heat and let jars cool for 5 minutes, then remove from the canner. Cool 12 to 24 hours. Check the lids for a seal; reprocess any jars that didn't seal or place in the fridge to enjoy right away.