Homemade Hummus
Homemade hummus is so much better than store-bought and only takes minutes to whip up!
My hummus recipe has a secret ingredient and technique that really does make for the best homemade hummus. It has been my go-to recipe for the past 15 years, and it is the only hummus recipe you’ll need.
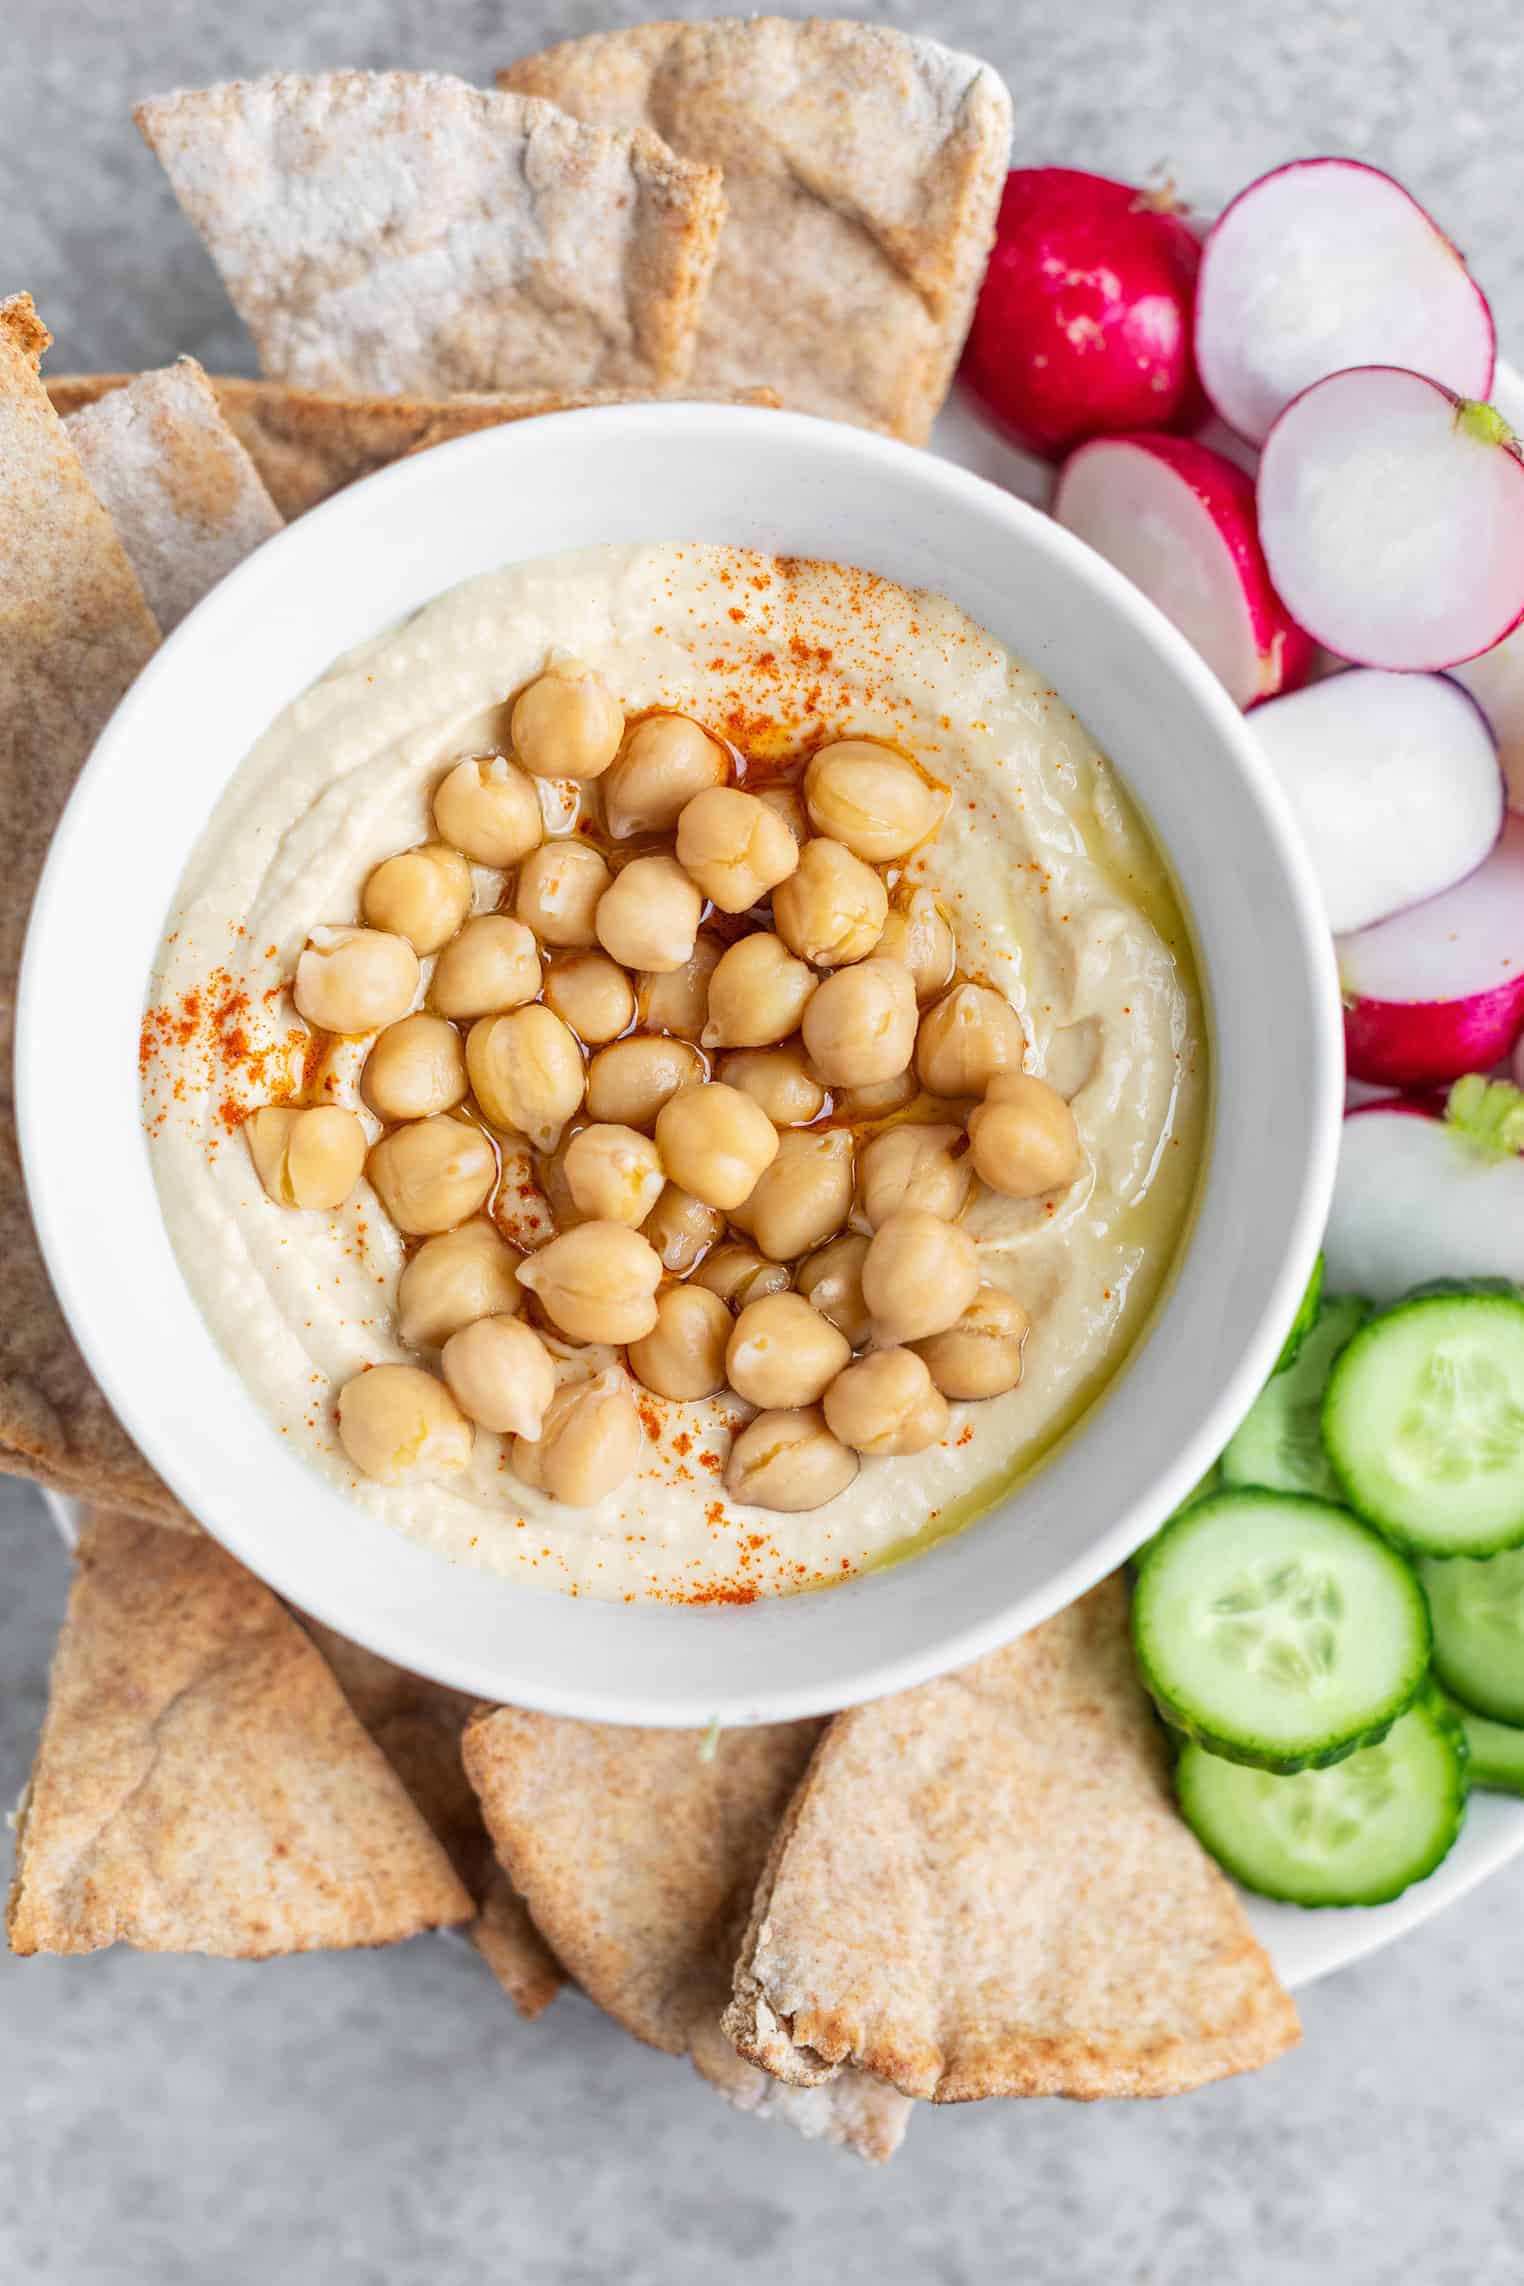
Homemade hummus is so much easier than you think.
While there are many good store-bought brands out there, once you learn how easy it is to whip up a homemade batch, you won’t want to go back!
See below for more tips on how to make this easy homemade hummus recipe, or scroll down for the full recipe.
Why I love this recipe
I love hummus and eat it often. It’s great on its own, obviously, but it’s also fantastic loaded onto my homemade falafel sandwiches, grain bowls, or thinned with olive oil and lemon juice for a quick salad dressing.
In fact, it’s one of the big reasons I started making my own hummus. Those $4 tubs quickly add up in my weekly habit.
Canned chickpeas are readily available and require no soaking or long cooking times, unlike dried chickpeas, which is why I prefer using canned.
This makes this hummus a quick and easy dish to prepare. It’s a pantry-friendly recipe, so I can whip it up whenever the craving strikes!
Ingredient Notes
A few key ingredients are essential in making creamy, smooth hummus—and they may surprise you!
Many homemade hummus recipes call for cooked from dry chickpeas as they tend to be softer than canned chickpeas. While this may be true, when I want homemade hummus, I really don’t have time to cook chickpeas from scratch. That’s why I call for canned chickpeas in this recipe.
You can cook them in a little baking soda to soften them if you’d prefer, but I don’t find this necessary, and it takes too much time. Instead, you’ll puree the hummus with a few ice cubes to aerate the dip and make it smoother!
The type of tahini you use can make or break a hummus recipe. Soom is my favorite brand, followed very closely by Krinos. I don’t recommend Whole Foods or Trader Joe’s store brands. They are too chalky; you’ll want a creamy, drippy tahini for this.
If you want to make this hummus recipe oil-free, then you can! I like to drizzle olive oil at the end for presentation and added flavor, but if you want a lower-calorie dip, then you can skip that part.
I know the hot sauce sounds weird, but it really does make this hummus so delicious! It doesn’t add heat; you are just adding a few drops, but it adds in saltiness and funk that’s really delicious. I use Tabasco; I don’t recommend other hot sauces.
Equipment Notes
You will need a food processor for this homemade hummus recipe. I’ve had my Cuisinart food processor for almost 20 years, and it really is one of the best investments I’ve made. I use it almost daily, and if I could only have one piece of equipment, it would be that.
If you don’t have a food processor, you can use a blender, but you’ll likely need to stop and scrape down the sides as you go.
How to Make
Over the years, I’ve made a million variations of hummus adding and tweaking ingredients here and there, but this is hands down my favorite hummus recipe. I adapted it from the Barefoot Contessa.
At first glance, you might think that three cups of hummus is too much to have around, but once you taste it, you’ll be glad you have that much. Maybe next time, you’ll even consider doubling it. It really is delicious on everything: roasted vegetables, salads, tossed with hot pasta, sandwiches, or just eaten by the spoonful.
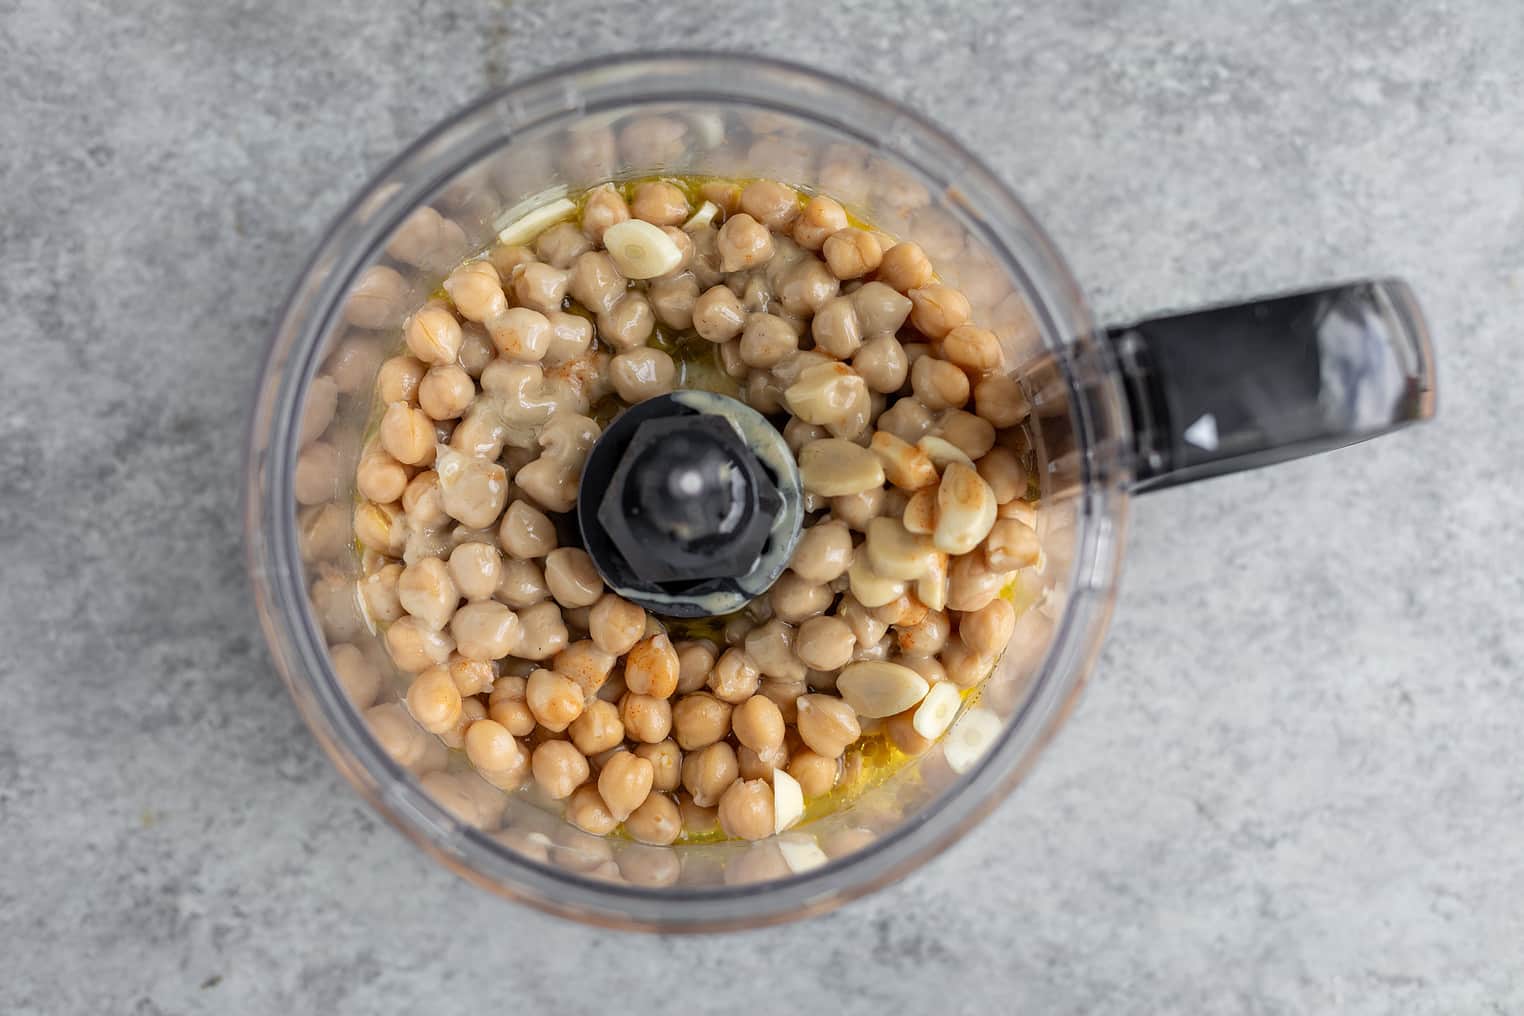
Place Ingredients in a Food Processor
Add the garlic, chickpeas, salt, tahini, lemon juice, reserved canned chickpea liquid (or olive oil), and hot sauce. I use the reserved chickpea liquid, but olive oil will also work. I don’t recommend using water.
Puree
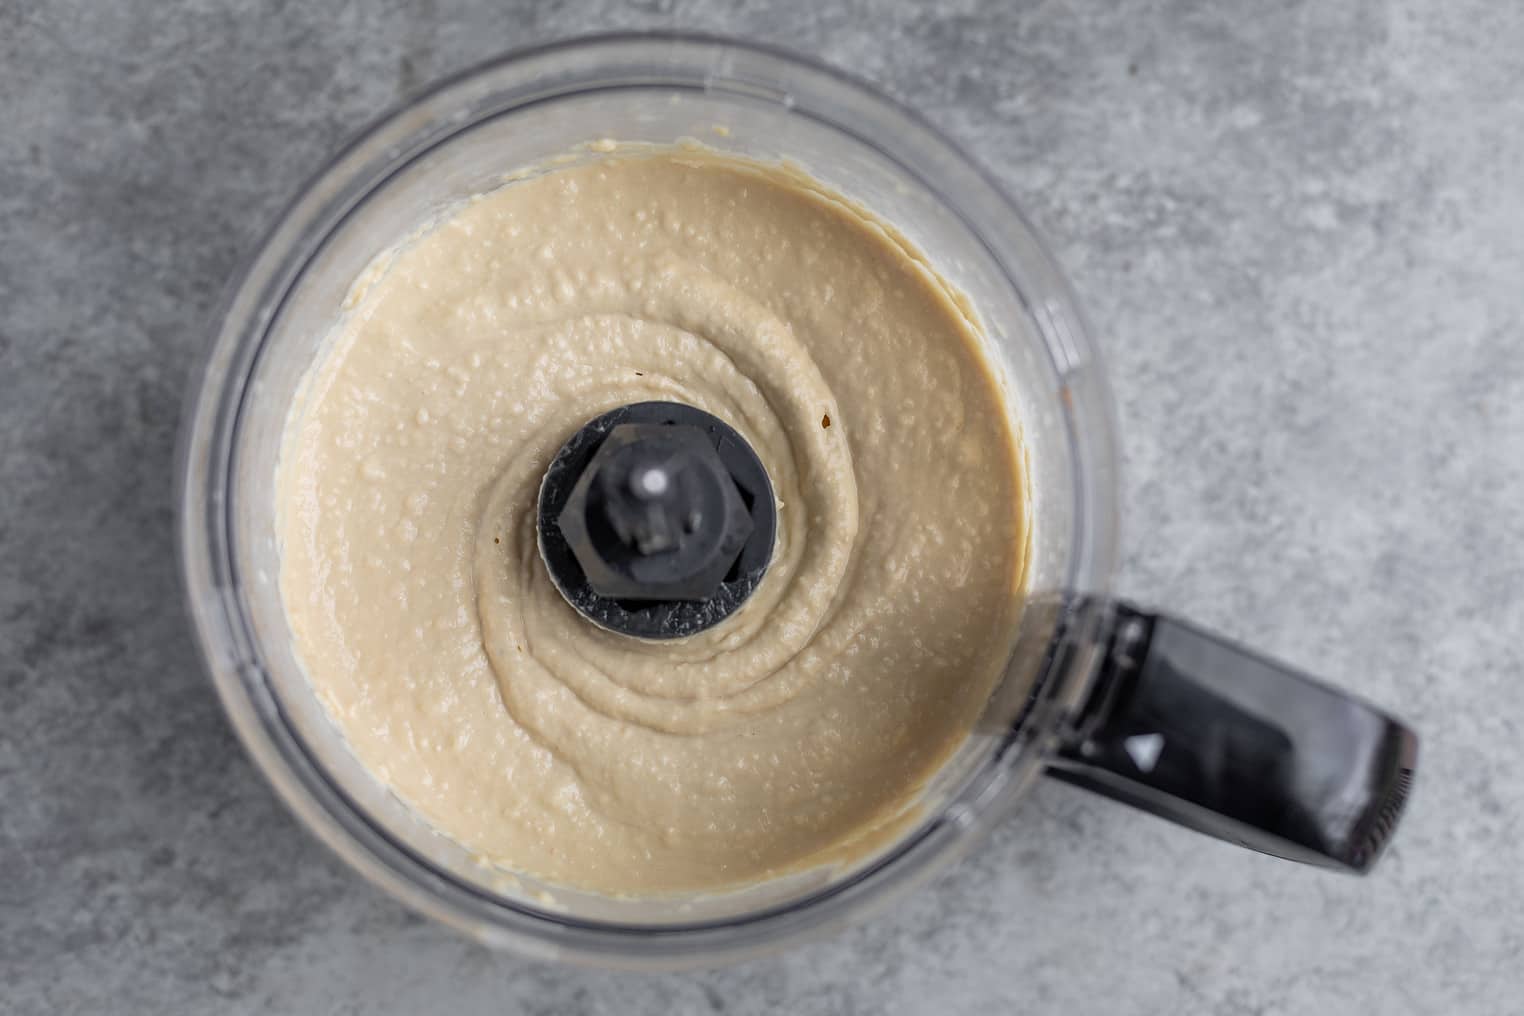
Turn the food processor on and puree until creamy and smooth, about 2 minutes. You may need to stop and scrape down the sides so that it’s all incorporated.
When the hummus is creamy and smooth, add in the ice cubes and puree again until fully incorporated.
Garnish
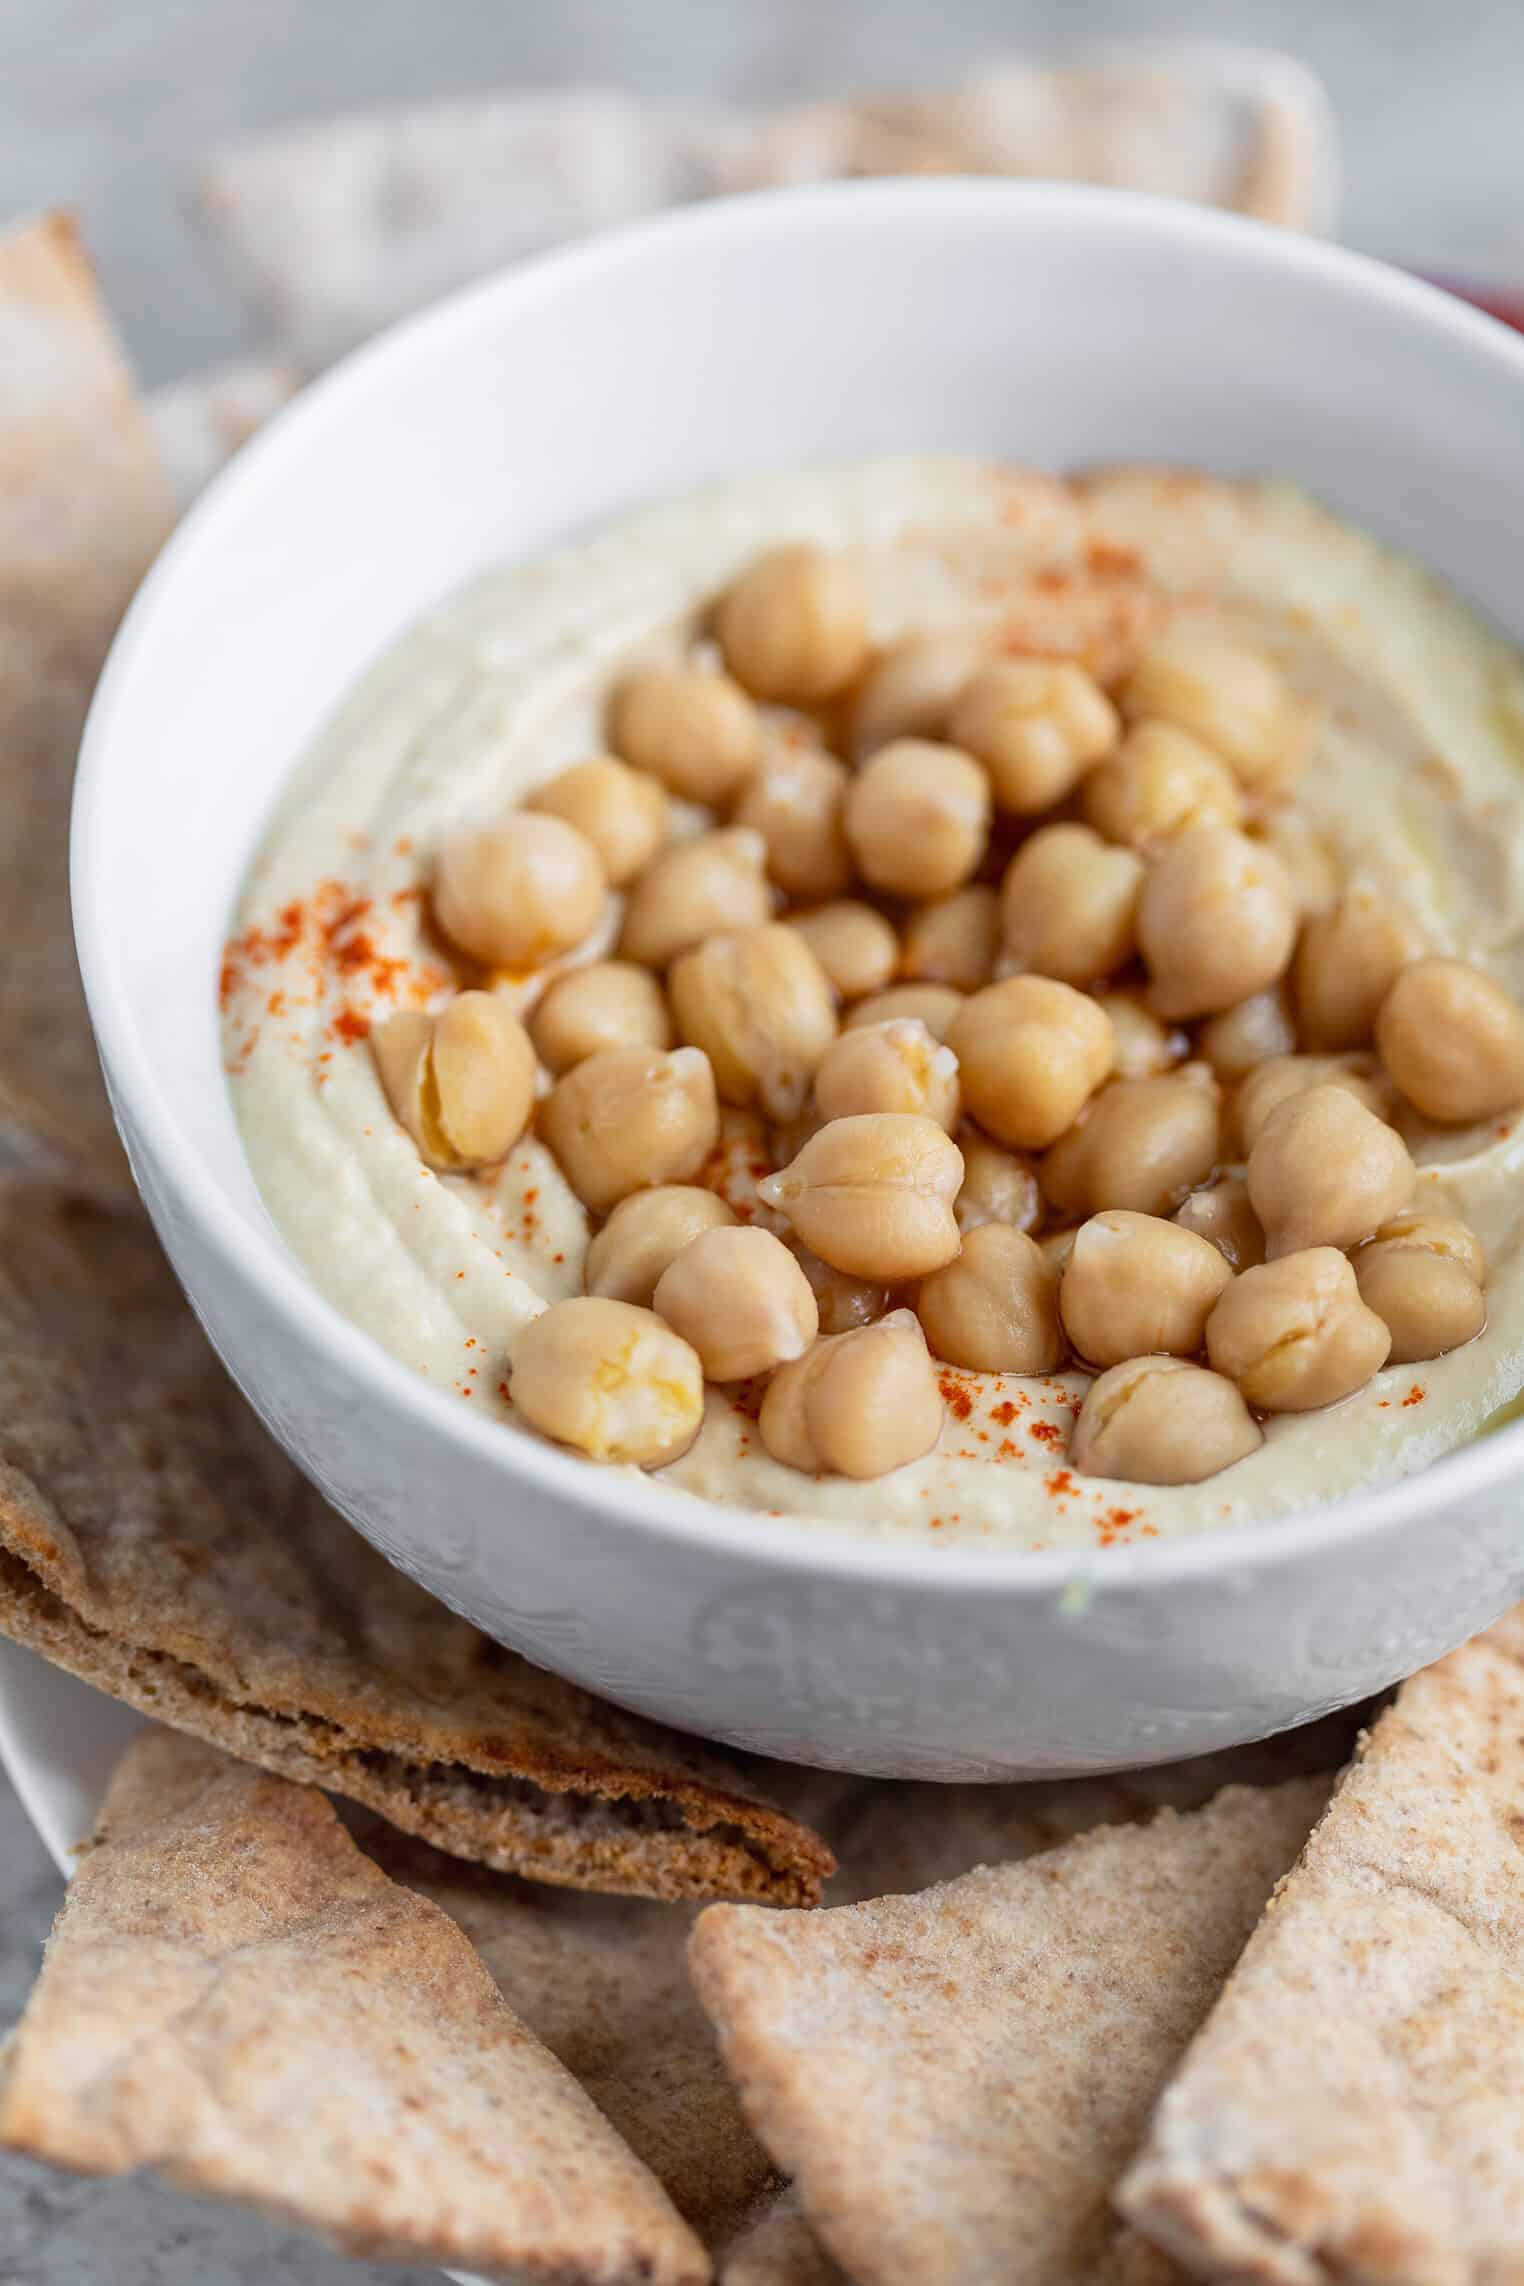
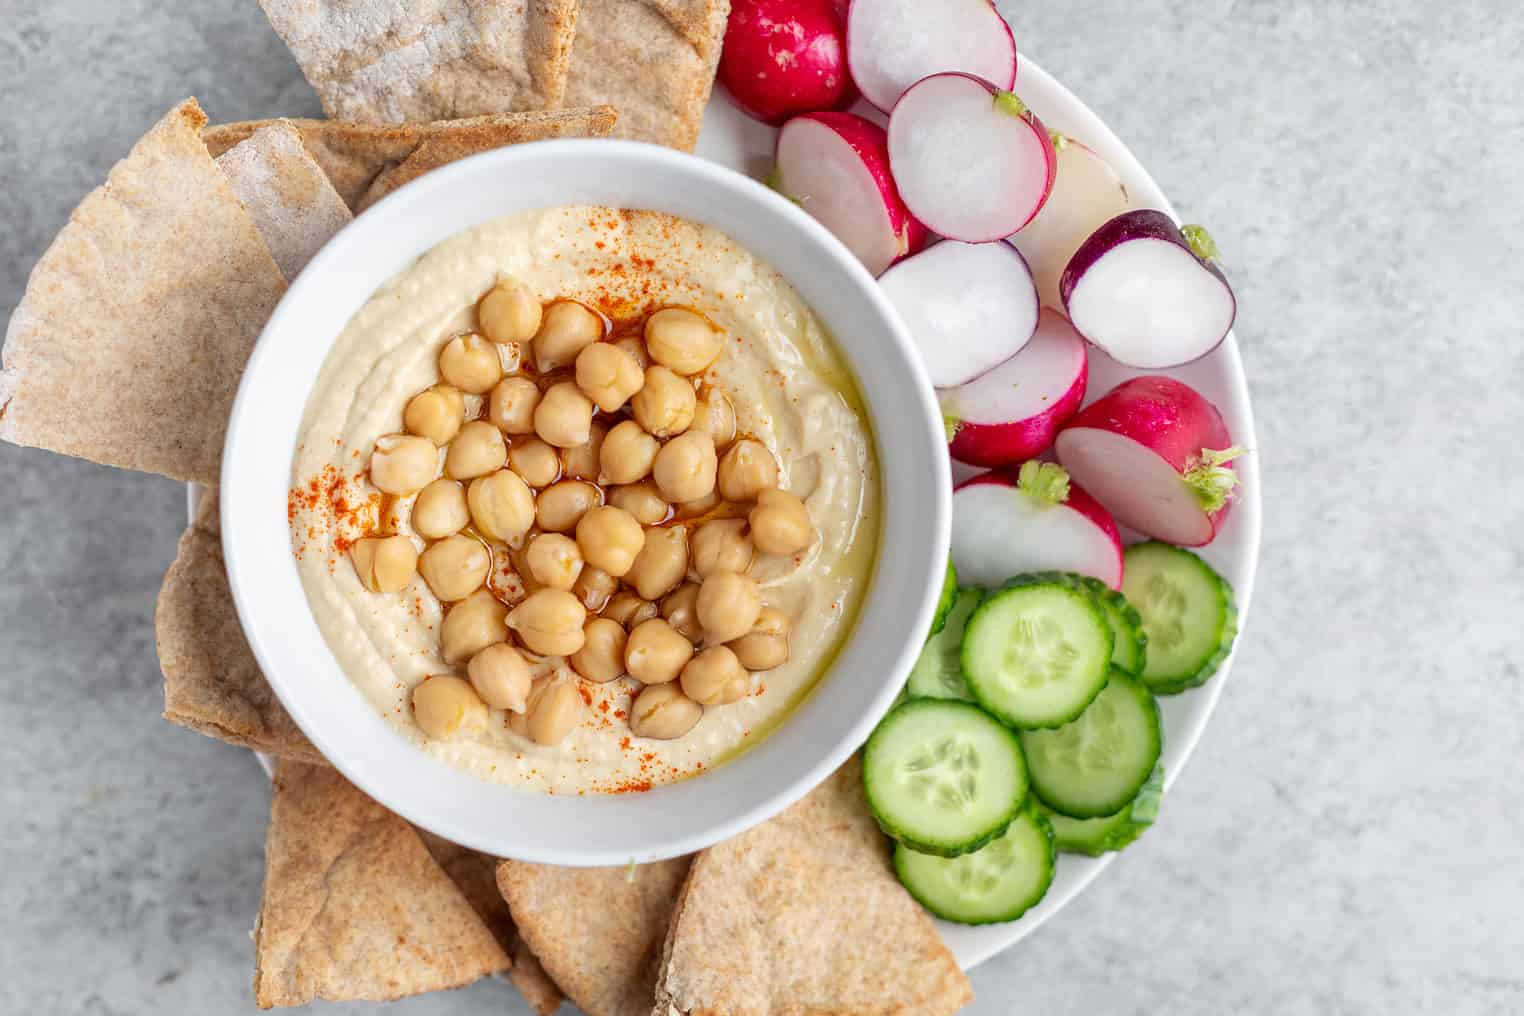
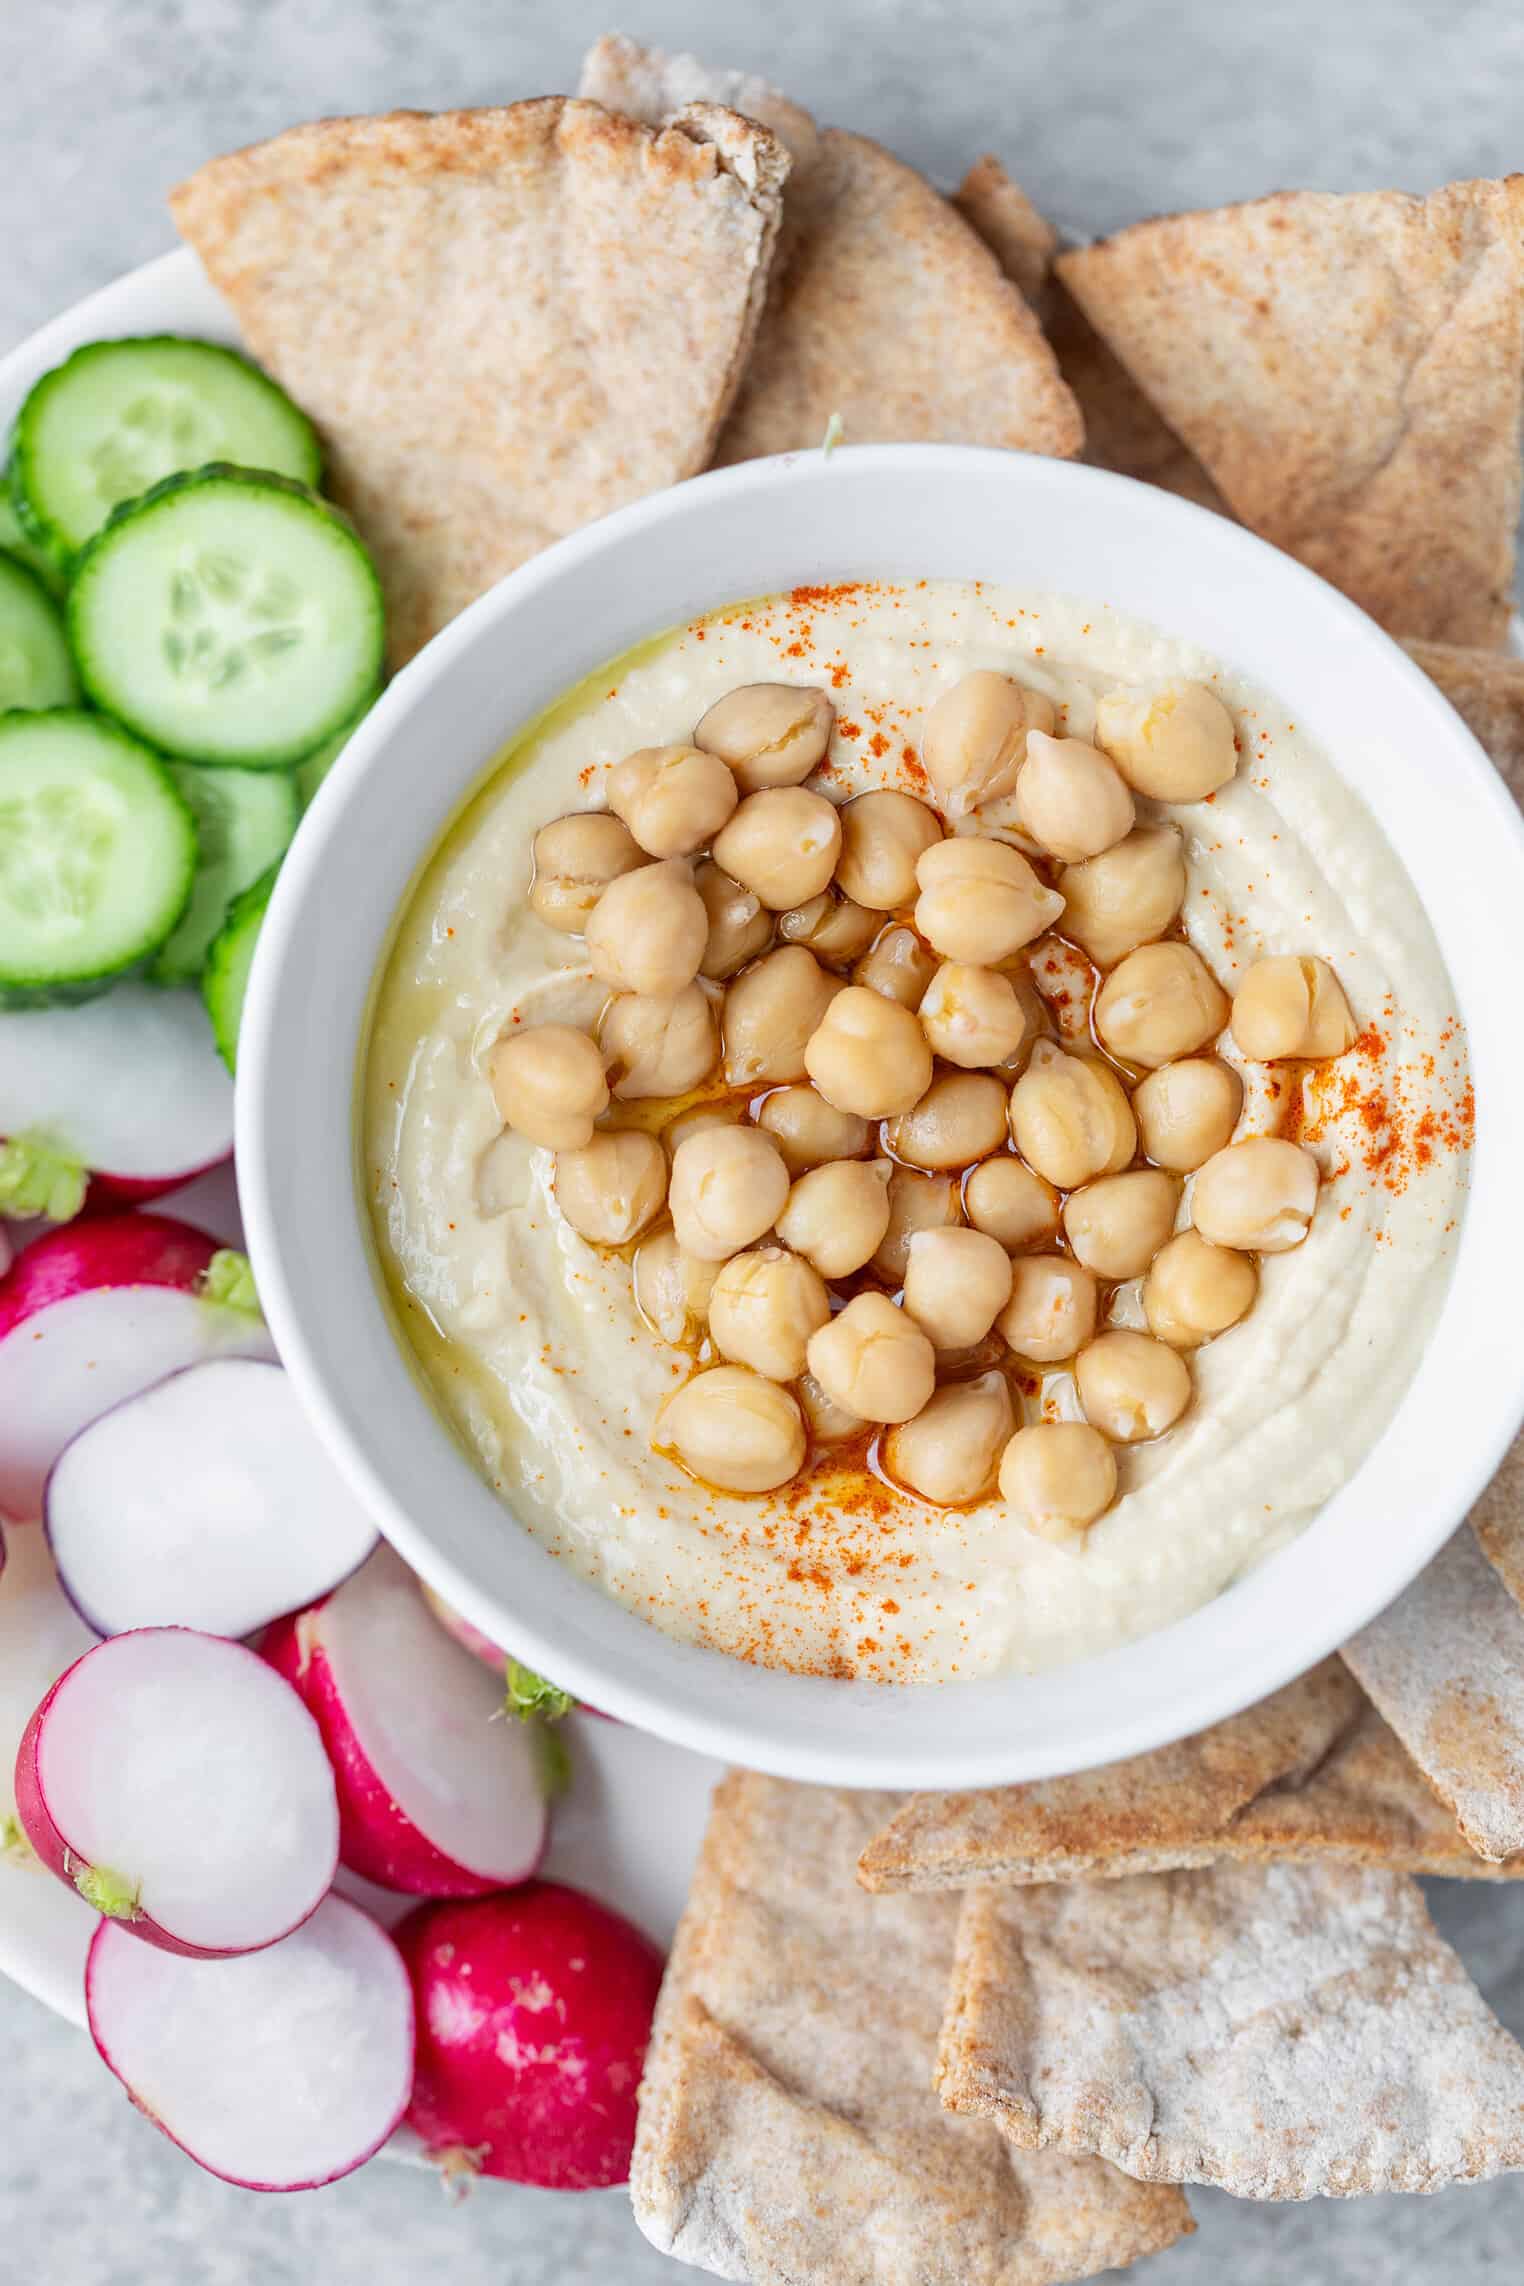
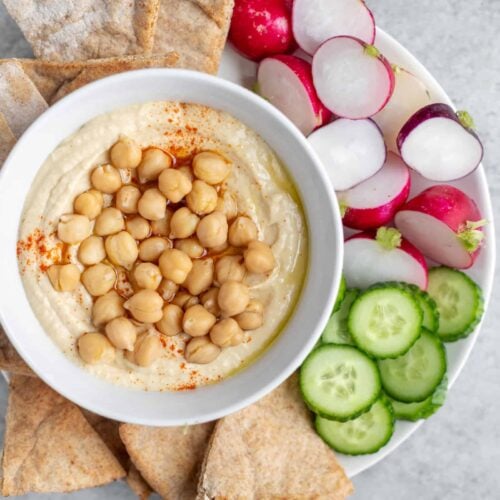
Place in a bowl and drizzle with olive oil and ground paprika, if you’d like! For garnish, I will often add top with extra chickpeas and a drizzle of good olive oil (this one is my favorite, it’s so luscious I could drink it!)
Expert Tips for Success
Do you see how creamy and, dare I say, fluffy this hummus is? That’s because of a secret ingredient (ice cubes!) My brother-in-law taught me this trick after he learned it from an Israeli chef, and it really does make for a better texture. Don’t skip it.
If you have cooked from dried chickpeas, then you can use those in the same way here. I know some people only use dried chickpeas, but I don’t always have those on hand! However, I always have canned chickpeas in my pantry and love that this recipe uses those and it tastes just as delicious.
Homemade Hummus Variations
You can take this base recipe and create endless variations.
- Roasted Beet Hummus: Roast beets with garlic and olive oil, then blend them into your hummus for a beautiful pink color and earthy sweetness. I’ve got a recipe for beet hummus!
- Roasted Red Pepper Hummus: Fire-roasted red peppers add a smoky depth and vibrant red hue to your hummus.
- Roasted Garlic Hummus: Roast garlic cloves until soft and caramelized, then add them to your hummus for an intense garlic flavor.
- Harissa and Mint Hummus: Harissa paste adds a spicy kick, balanced by the cooling freshness of mint.
- Za’atar Hummus: Za’atar, a Middle Eastern spice blend with thyme, oregano, and sumac, brings a complex and savory flavor.
What to serve with
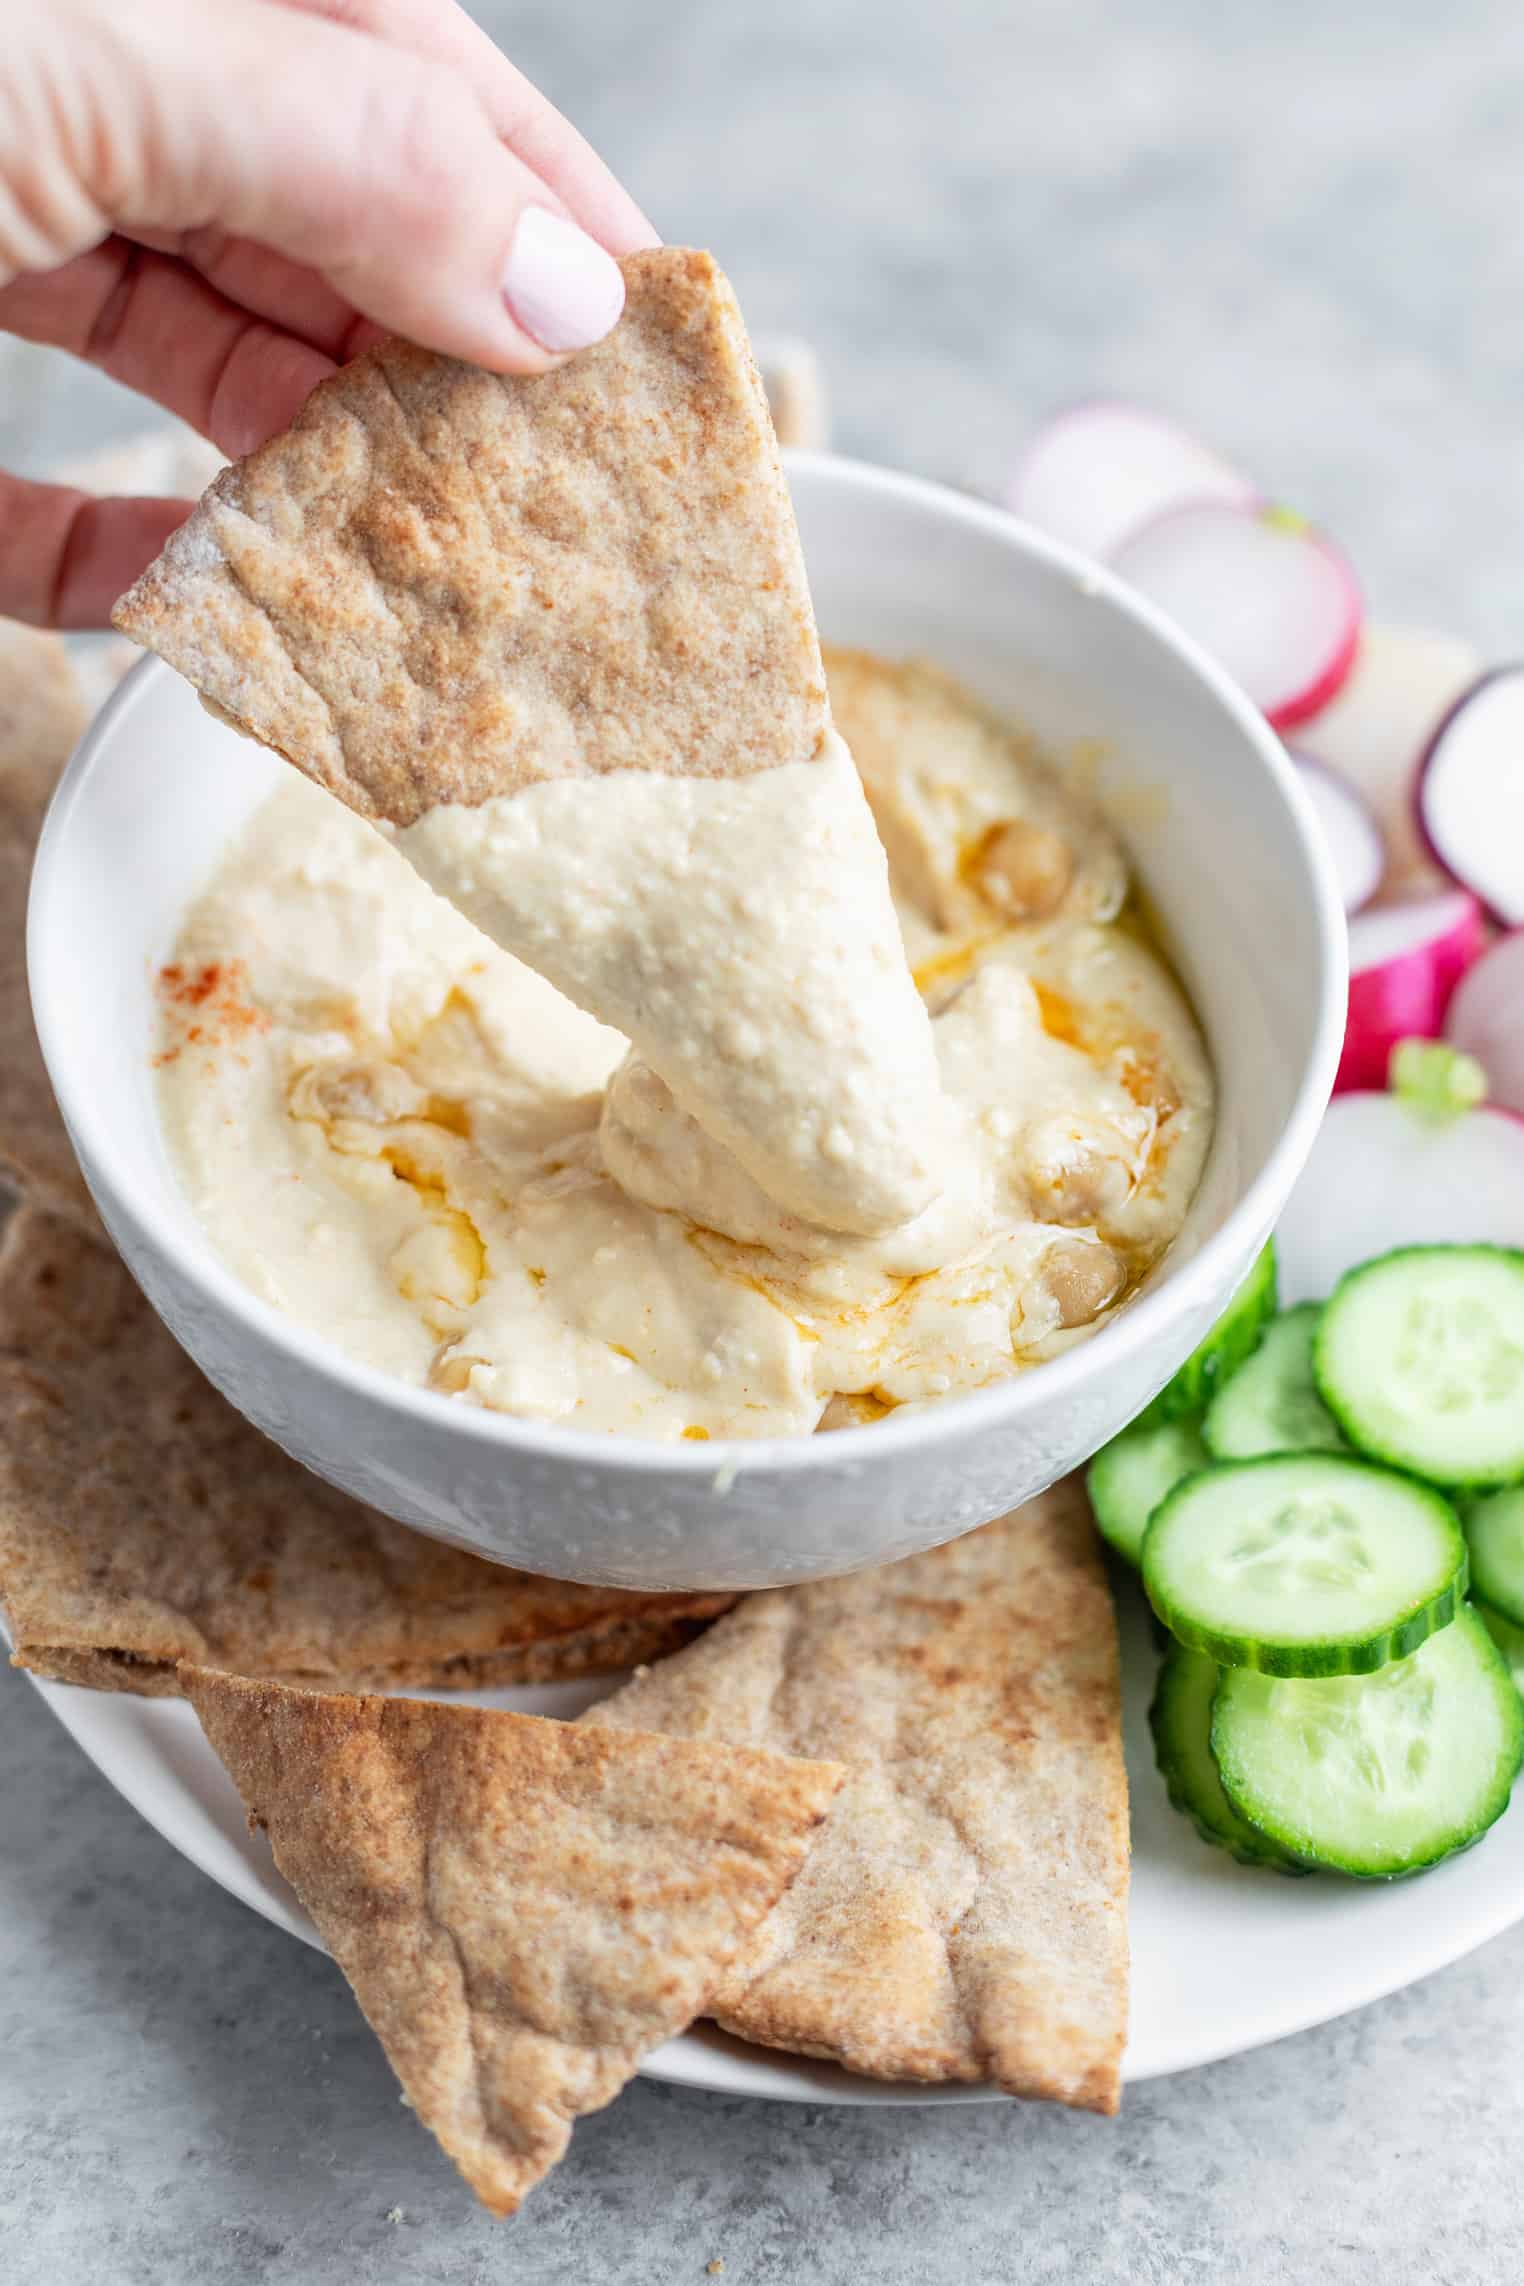
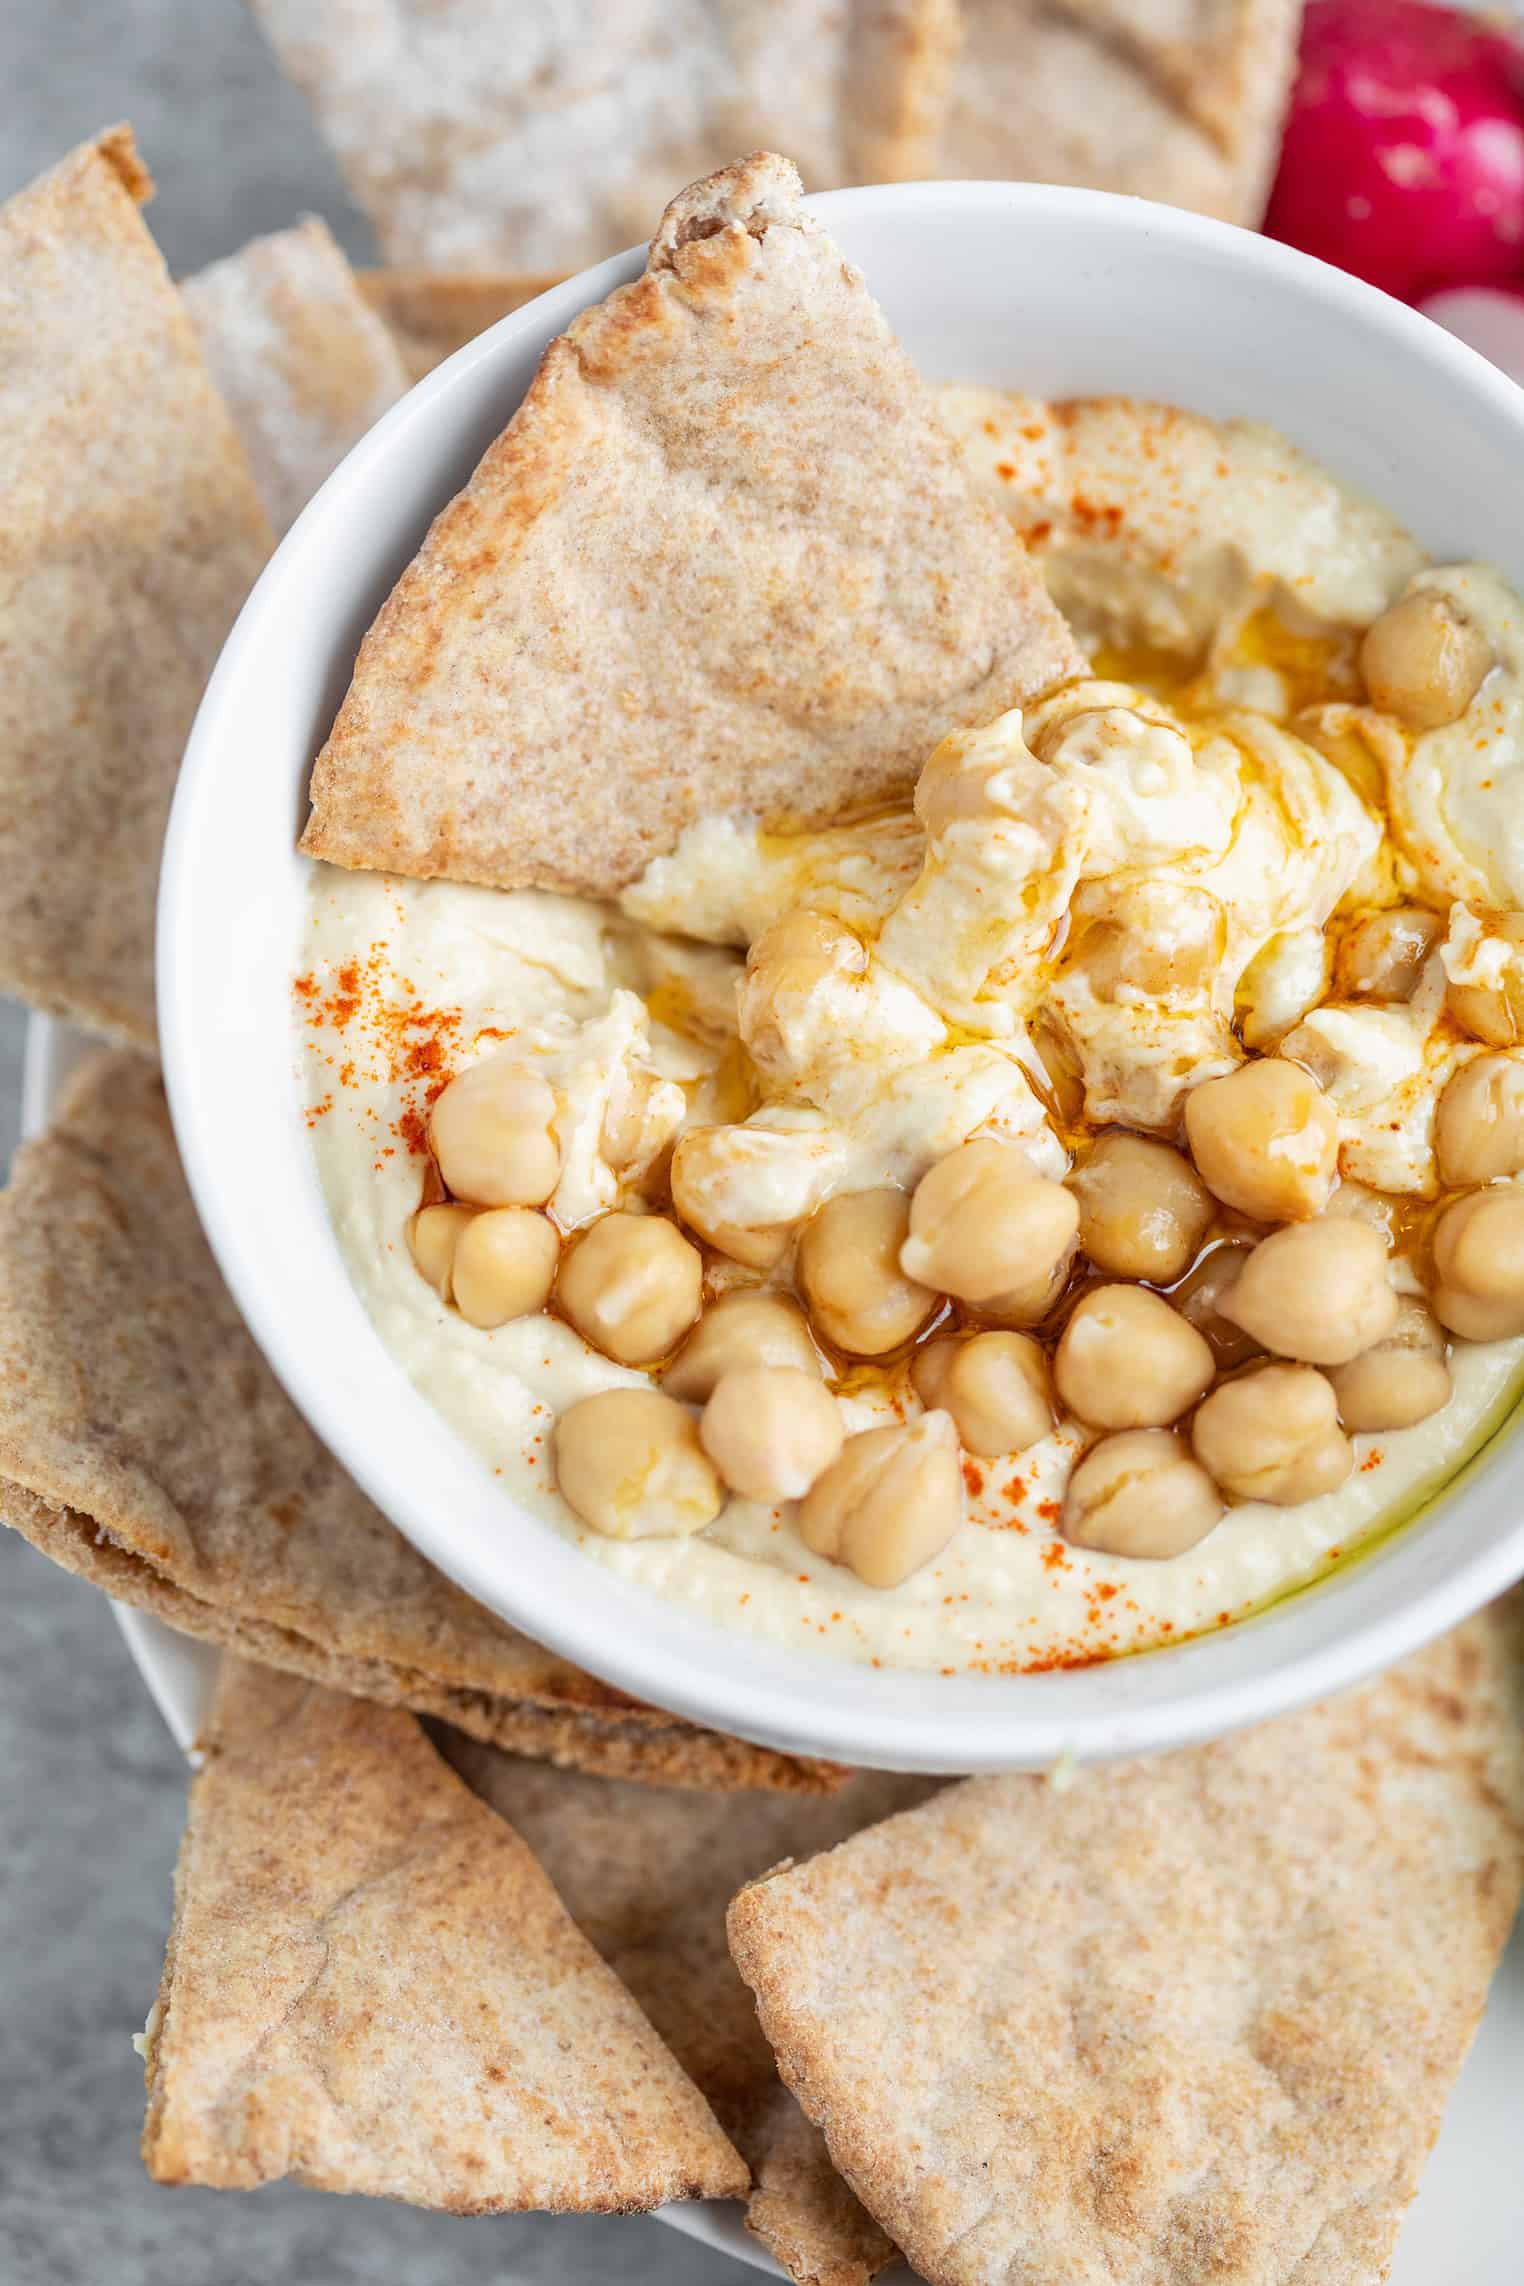
I love serving this hummus with vegetables and my homemade pita chip recipe below.
How to Make Homemade Pita Chips
Making pita chips at home is a breeze. Depending on your preference, you can use the oven or air fryer. For both methods, you’ll need pita bread, olive oil, and salt.
To make the oven, preheat your own to 400 degrees F. Line a baking sheet with parchment paper for easy cleanup. Cut the pita bread into triangles or wedges, then lightly brush with olive oil.
Sprinkle with salt and place in a single layer on a prepared baking sheet, making sure they don’t overlap. Bake for 7-10 minutes, flipping halfway through.
To make the pita chips in the air fryer, prepare as directed, and then air fry for 3-5 minutes at 375 degrees F. The exact cooking time may vary depending on your air fryer model.
Frequently Asked Questions
Do I have to add the hot sauce?
I know the hot sauce sounds odd but if you have Tabasco then I really recommend it! I really doesn’t make the hummus spicy, but adds some nice umami flavor.
Why do you add ice cubes?
Ice cubes contain tiny air bubbles, so when you blend the hummus with ice cubes, the blades of the blender or food processor break down the ice, releasing those air bubbles. These air bubbles get incorporated into the hummus as it blends, creating a lighter and airier texture.
Do you have to add the paprika on top?
The paprika sprinkle on top is for both color and flavor. You don’t have to add it if you don’t want to, see below for variations!
More Hummus Recipes
- Snickerdoodle Dessert Hummus
- Instant Pot Hummus
- Sweet Potato Hummus Quesadilla
- Pizza Hummus
- Spinach Hummus Wrap
If you make this homemade hummus recipe, make sure to come back to leave a rating and a comment. Your feedback helps other readers, and seeing you make my recipes makes my day!

How-to: The BEST hummus!
Equipment
Ingredients
- 2 garlic cloves, minced
- 1 15 ounce can chickpeas, drained, liquid reserved
- 1/2 teaspoon salt
- 1/3 cup tahini
- 6 tablespoons freshly squeezed lemon juice
- 2 tablespoons reserved chickpea liquid, or water, or olive oil
- 5 dashes hot sauce*
- 3 ice cubes
- 2 tablespoons extra-virgin olive oil, for garnish
- Paprika, for garnish
Instructions
- Add the garlic, chickpeas, salt, tahini, lemon juice, reserved chickpea liquid, and hot sauce in a food processor or high-powered blender.
- Process until very smooth, about 3 minutes. Taste, adding more salt, as desired.
- Add in the ice cubes and process until incorporated.
- Transfer to a serving bowl and drizzle with olive oil and paprika on top.


Yum!!! Easy peasy and super good!
This IS the best hummus. Quick, easy and delicious.
This is really delicious and very easy to make. I will definitely make it again.
So glad to hear, thanks Robin!
This is the best hummus! Do you know how many servings?
Wow !! delicious .. Mouth watering decoration….
Thanks Emily! It’s so easy… you won’t go back to store bought hummus again! 🙂
I think I could challenge you on a hummus-eating competition. 😉 I’m crazy about the stuff too! For at least a full year when I was on campus, my lunch every day was a full container of hummus with raw vegetables. It just never got old, and there was never anything else nearly as delicious.
The recipe is from a now-deceased Lebanese friend of mine. It has always been a winner for the 40 years I have been making it! Never buy store bought! Don’t forget to heat the falafel or pita bread!
I use a complete compound garlic bulb, peeled, 1 can of chickpeas (400g or 14oz) the juice of 2 medium lemons, 5 tablespoons of Algerian Tahini, 1/2 teaspoon regular table salt, 1/2 cup Italian virgin olive oil, 1 teaspoon sugar (or liquid clover honey), I use a Braun-type hand wand blender until creamy smooth. Then top with the thinnest layer of olive oil for 2 reasons… it 1. adds flavour, but 2. stops the hummus from drying, which allows it to be kept up to about 10 days in a 4°C (39°F) fridge. It does not deteriorate.
Health is wealth……….. Keep distance from Addiction…..