


Pickled Red Onions
Pickled red onions make just about everything taste better! We love them on tacos, grain bowls, smash burgers, avocado toast– they are one of the most high-impact condiments in my fridge. This recipe includes directions for making them both refrigerated and canned, so you can enjoy them now or all year long.
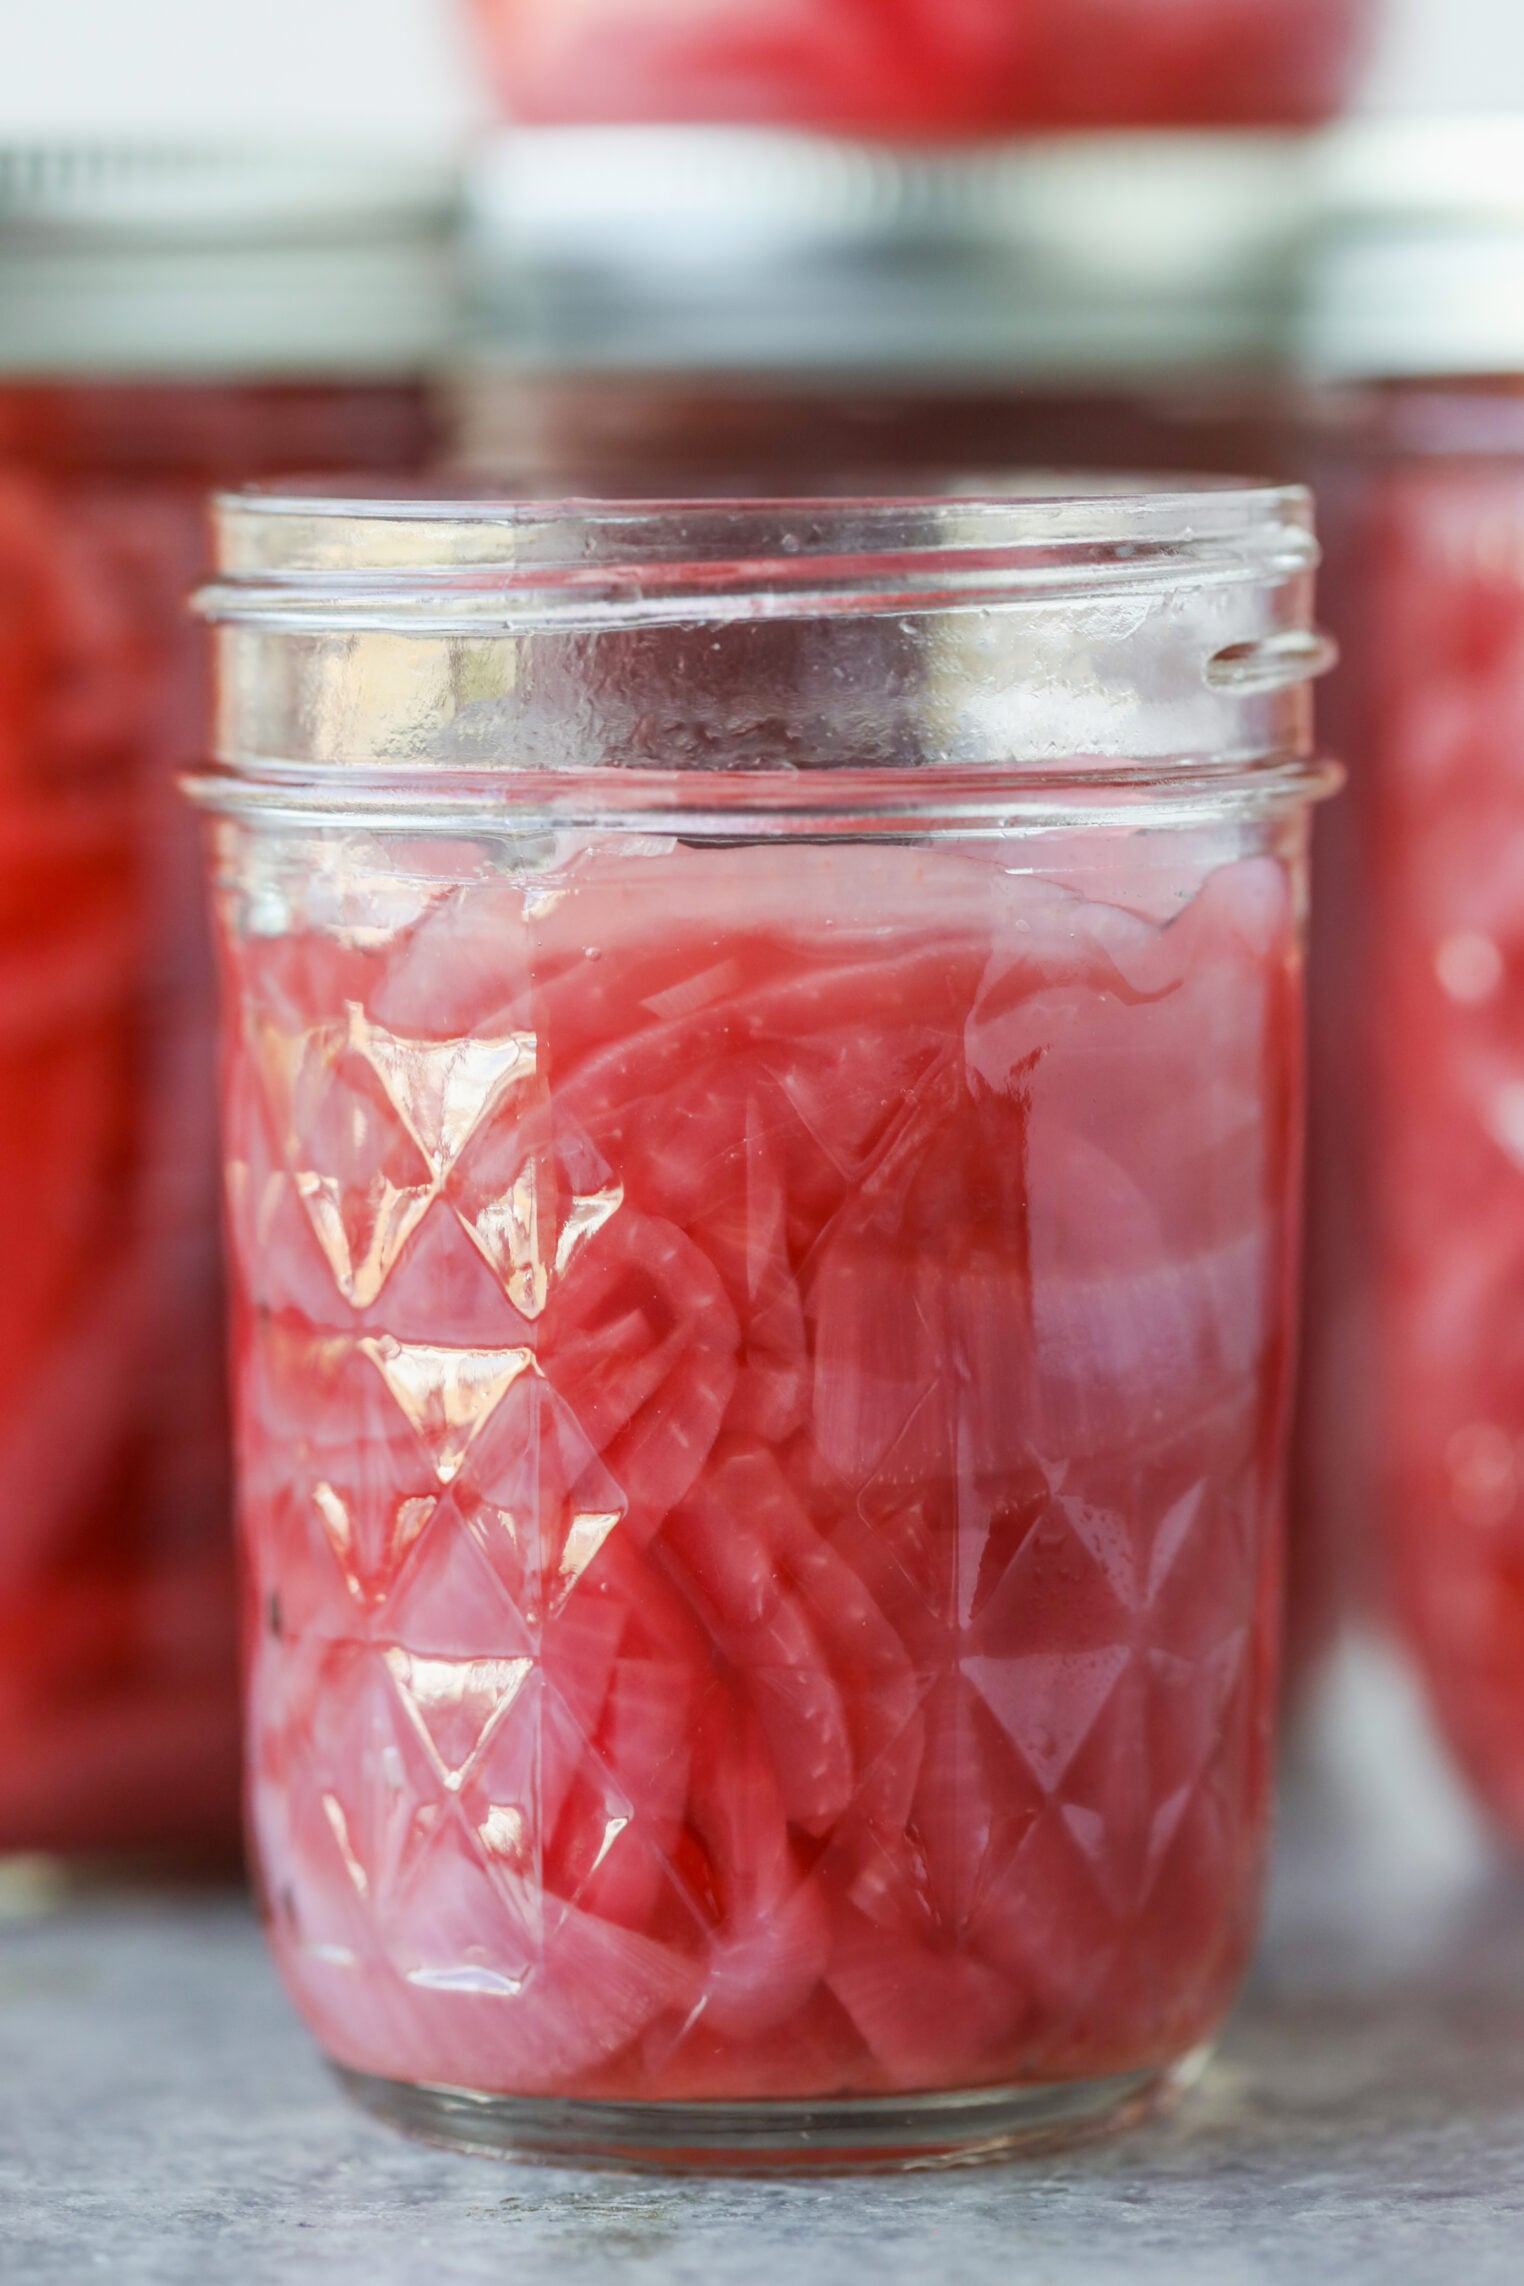
These pickled red onions are based on the Ball Blue Book’s tested recipe for Vinegared Red Onions, with a spice bag added for flavor.
Most pickled red onion recipes are refrigerator pickles that last about a week, but this version includes water bath canning instructions, so they are shelf-stable for at least a year, and you can make a big batch when red onions are cheap.
See below for step-by-step tips and how to water bath can them, or head to the full recipe below.
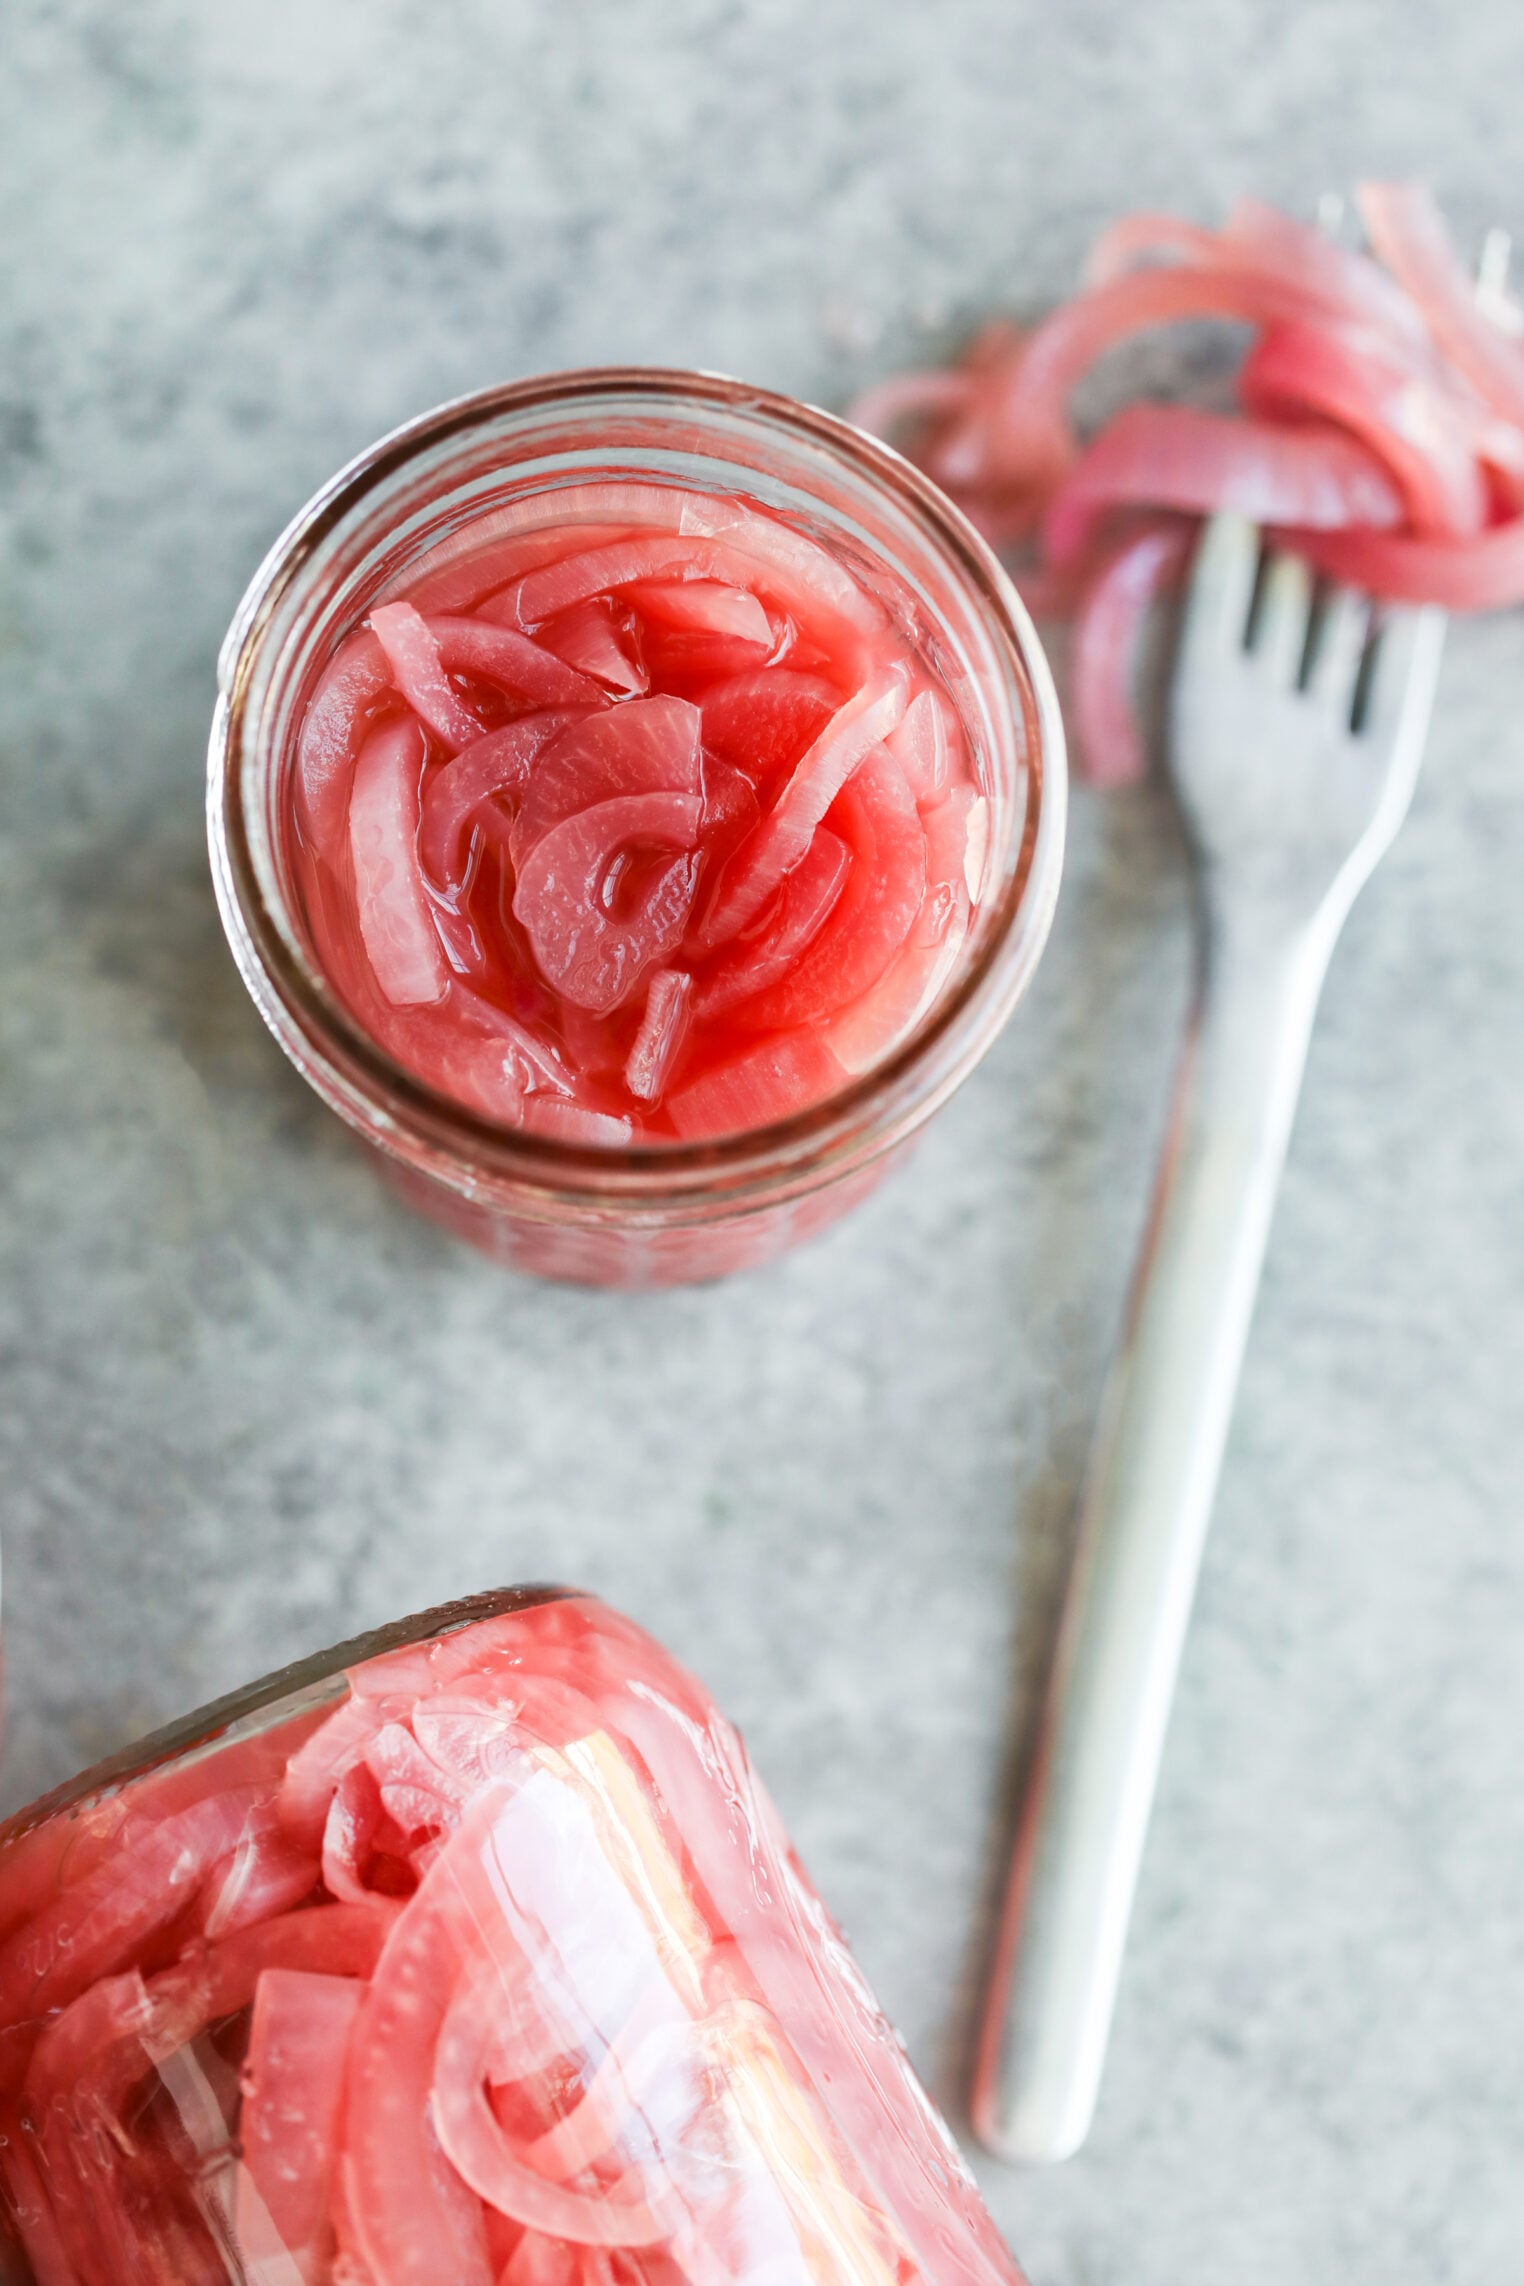
Why I love this recipe
This is one of the easiest canning recipes on my website, as there’s no overnight salting, no ice bath, no peeling, no waiting. You just slice the onions, make a quick brine, fill the jars and process in boiling water for 10 minutes. The whole process takes less than an hour and is great for making jars and jars of pickled red onions.
The other great thing about this recipe is that the brine is 100% vinegar, which means you’re giving the onions (low-acid) a lot of acid, making them a reassuring recipe for a first-time canner.
The Blue Book canning recipe is just onions, red wine vinegar, and a clove of garlic, which is great but also very plain. I add a spice bag with pickling spice, mustard seed, and black peppercorn to give the red onions additional flavor and bite.
An open jar will go with just about everything– tacos, burrito bowls, black bean burgers, big salads. I almost always have a jar in the fridge ready to go.
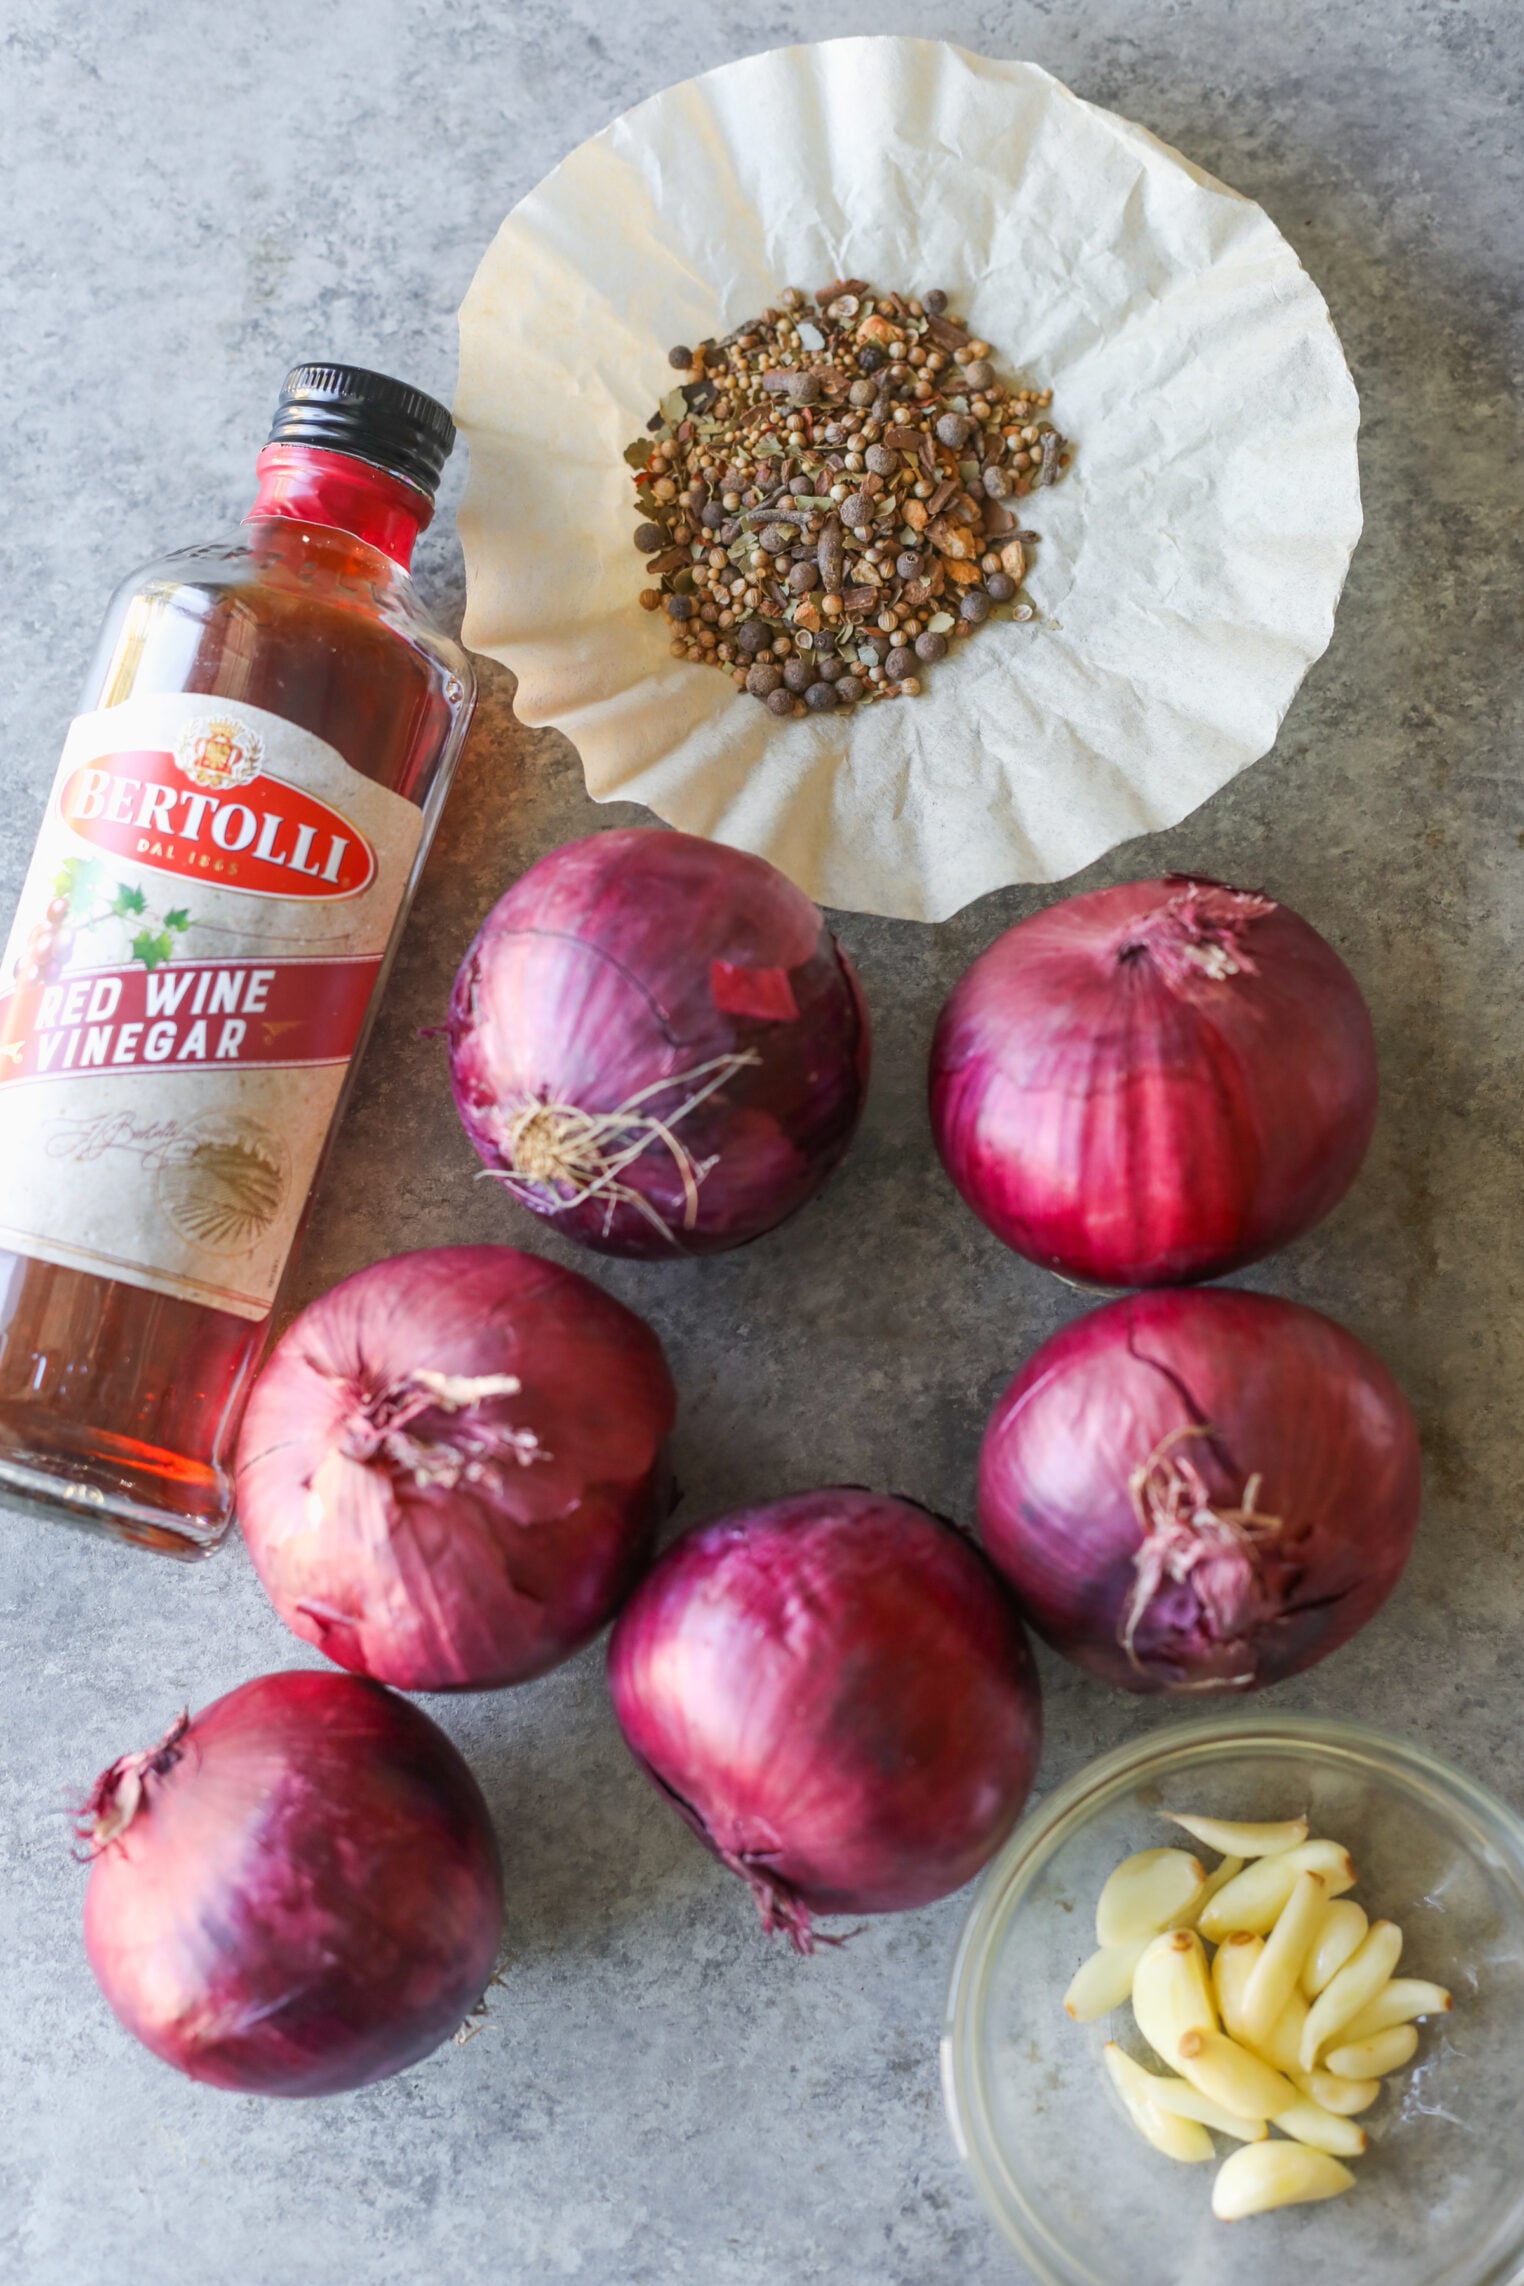
Ingredient Notes
- Red onions: You’ll need about 6 onions; choose firm ones with tight skins.
- Red wine vinegar: Any vinegar at 5% acidity will work. I like red wine vinegar because it keeps the gorgeous pink color of the pickled onions, but white distilled vinegar or even apple cider vinegar will work.
- Garlic: the crushed cloves help to flavor the brine, then they’re removed before adding to the onions.
- Mustard seed: I like a little more mustard flavor in my pickled red onions, in addition to what’s already in your pickling spice. Same thing with the black peppercorns; a little more helps to heighten the pickling flavor.
- Pickle Crisp (optional): This is optional if you want your red onions a little crisper; use any leftovers in my bread-and-butter pickles and pickled jalapeños.
How to Make Pickled Red Onions (Step-by-Step Photos)
Step 1: Prep the jars
Wash your jars, lids, bands, and tools in hot soapy water and rinse thoroughly. Bring your water bath canner (or large pot with a rack in the bottom) to a boil. Keep the jars hot until you fill them.
Step 2: Slice the onions
Peel the onions and trim the root and stem ends. Cut into ¼-inch slices and break them apart into rings. A mandoline makes this fast, and even slices pickle evenly, but you can use a sharp knife as well.
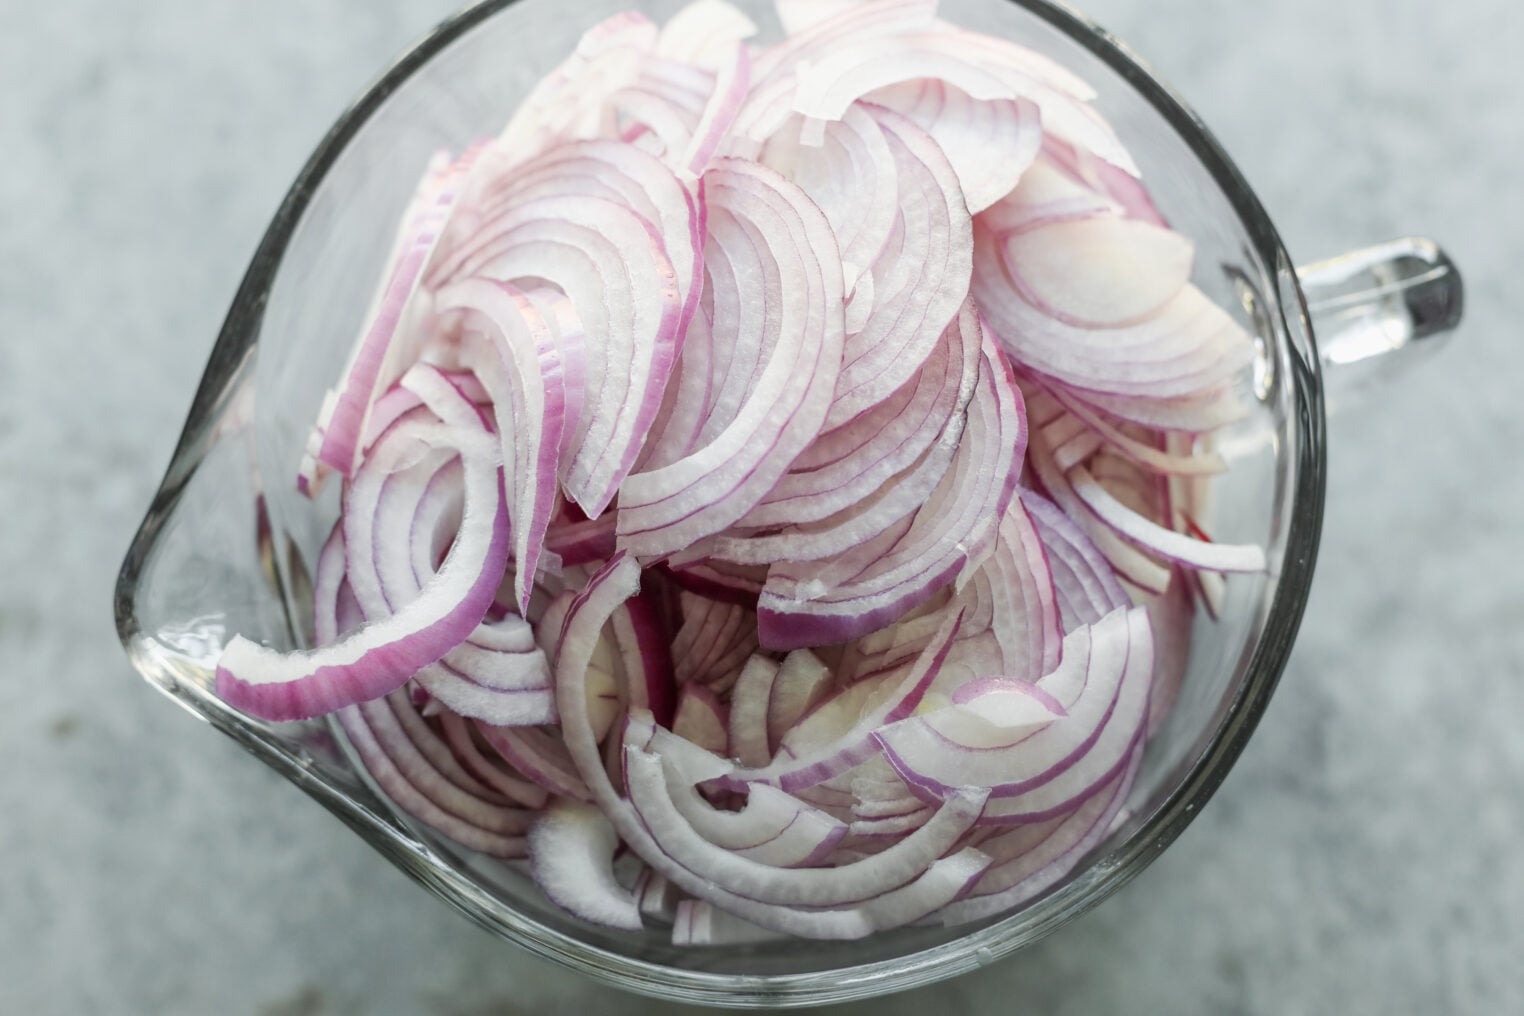
Step 3: Make the spice bag
Combine the pickling spice, extra mustard seed, and extra black peppercorns, then place in a cheesecloth, spice bag, or coffee filter. Tie with kitchen string.
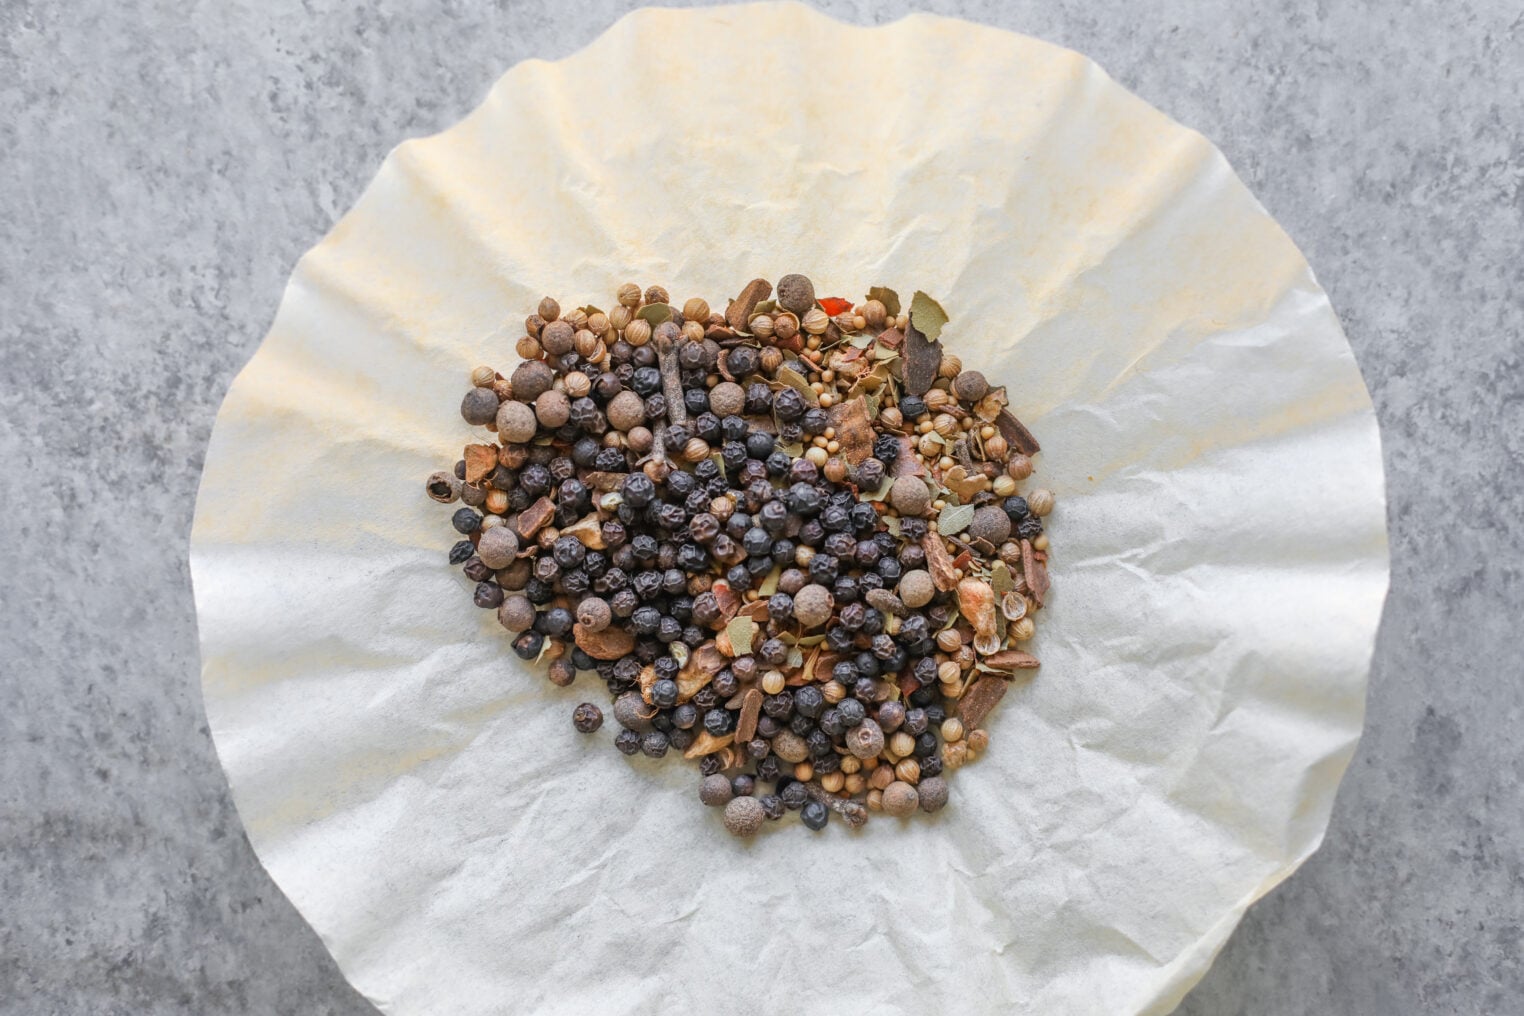
Step 4: Heat the brine
Add the vinegar, crushed garlic, and spice bag to a medium stainless steel or enameled saucepan. Bring to a boil over medium-high heat, then reduce and simmer for 5 minutes. Remove and discard the garlic and the spice bag. Add the onions, cover, and simmer for 5 more minutes.
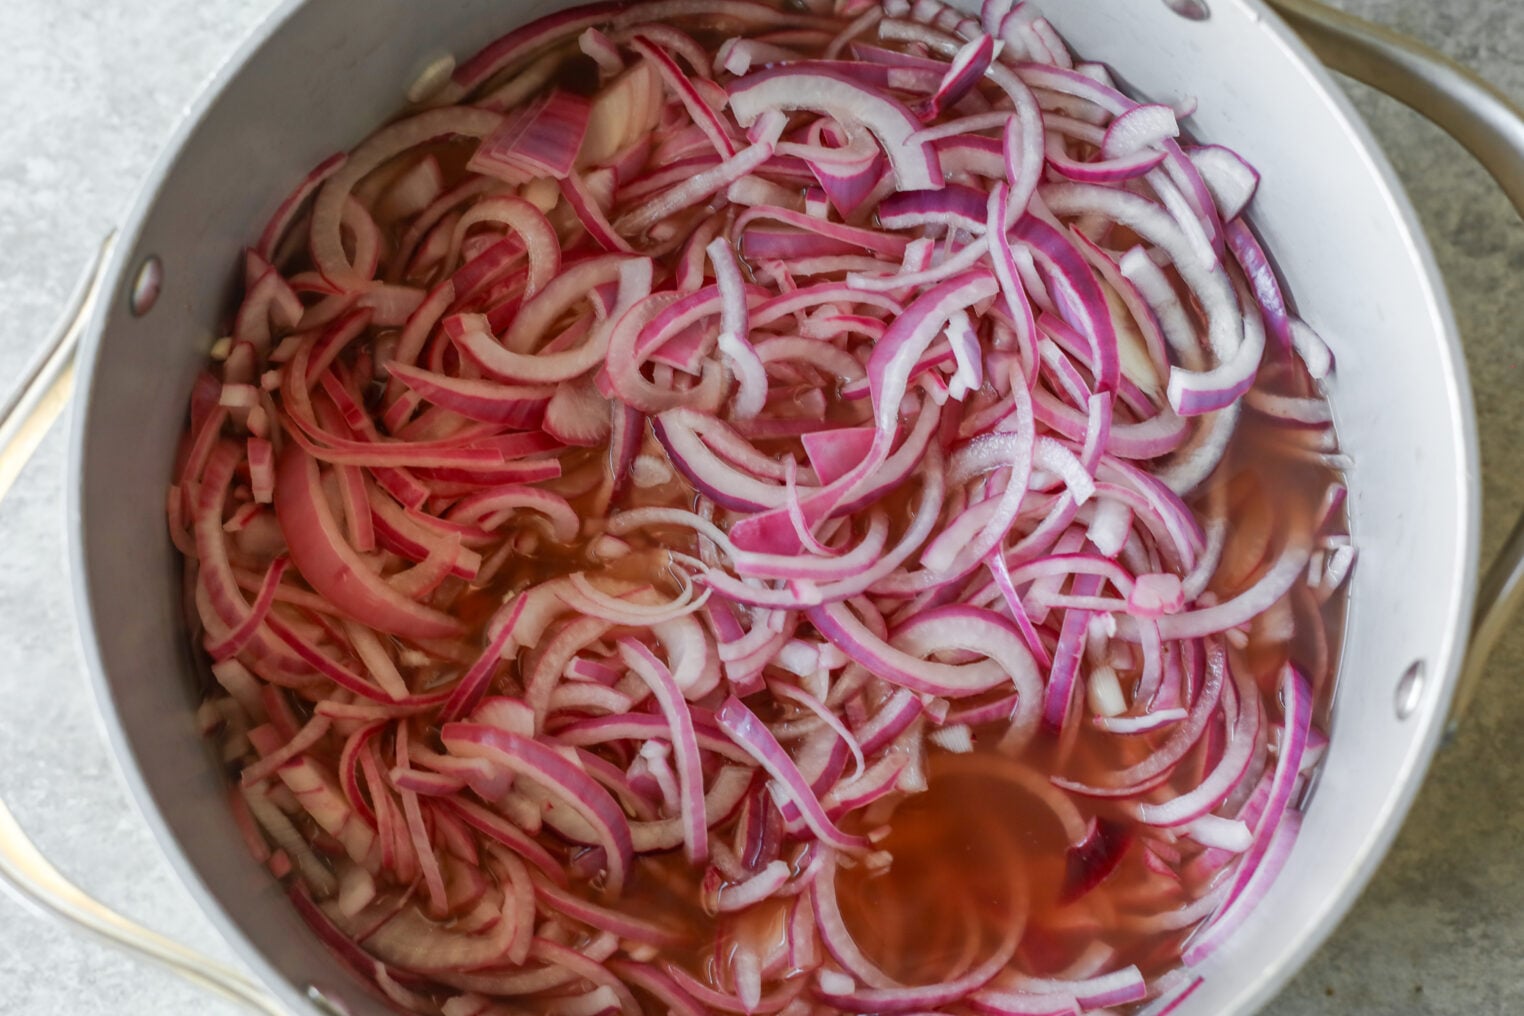
Step 5: Fill the jars
Working one jar at a time, remove a jar from the canner with the jar lifter, drain the water back into the canner, and set it on a towel. Keep the rest hot.
Use tongs to pack the onions into the jar, then ladle hot brine over them leaving ½-inch headspace. Add 1/16 teaspoon Pickle Crisp if using. Run a bubble remover through the jar, wipe the rim, center a lid, and screw on a band to fingertip tight. Return the jar to the canner and repeat.
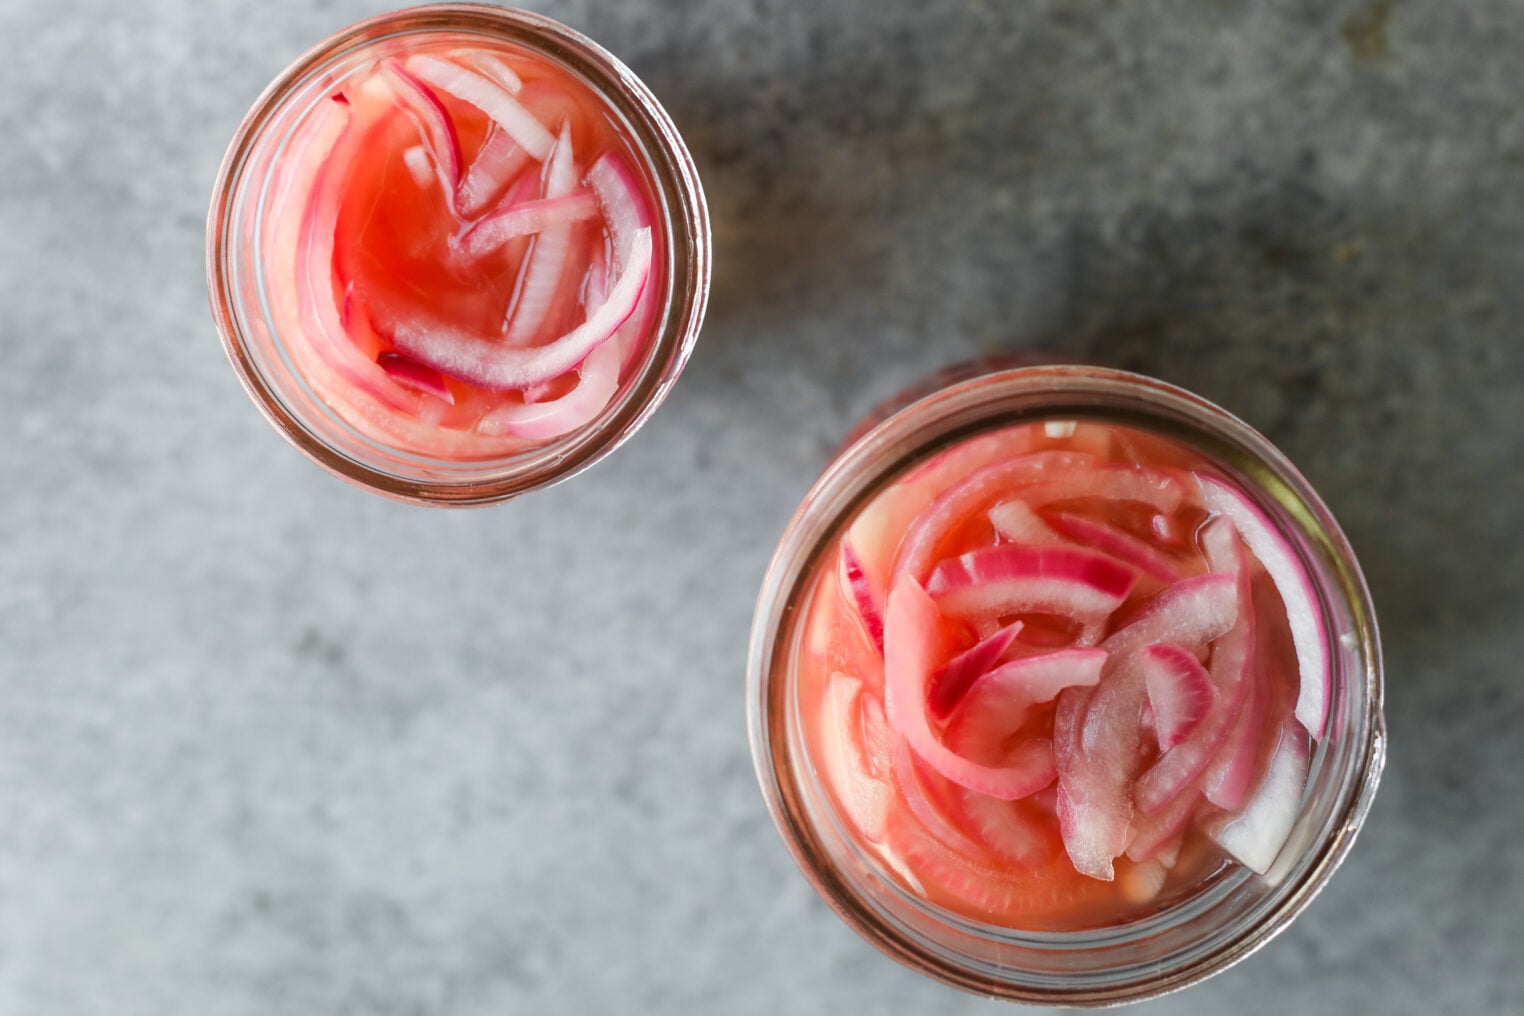
How to Can Using a Water Bath Canner
Once all the jars are in the canner, make sure that the water is at least two inches above the jar tops. Cover and bring to a boil over high heat, then process for 10 minutes, adjusting for altitude (below).
When done, turn off the heat, let sit for 5 minutes, then lift the jars out with the jar lifter and place them on a dry towel. Leave them undisturbed for 12 to 24 hours, then check the seal. I do this by pressing the center of each lid; if its sealed correctly, then it won’t pop or flex. If you have any jars that didn’t seal, then just place them in the fridge and use them within a week.
For your sealed jars, remove the bands, then label and date them and place in a cool dark place.
Altitude Adjustments
| Altitude | Process time (half-pints) |
|---|---|
| 0-1,000 feet | 10 minutes |
| 1,001-3,000 feet | 15 minutes |
| 3,001-6,000 feet | 20 minutes |
| 6,001-8,000 feet | 25 minutes |
| 8,001-10,000 feet | 30 minutes |
Chef Tips for Success
- Slice evenly: You can use a sharp knife or a mandoline to slice the onions at ¼ inch-thick.
- Pack the rings, but don’t cram them: The brine needs room to circulate, so use a bubble remover or a chopstick to help remove any bubbles, then add more brine as needed.
- Save the brine: When the onions are gone, the leftover pink vinegar is excellent in dressings and vinaigrettes.
Safe Substitutions
For the full framework across every kind of canning, see my guide to safe substitutions in canning.
Safe to change
- The spice bag: Dried spices and herbs can be changed freely in a tested recipe. You can consider coriander seed, bay leaves, juniper berries, fennel seed, allspice, dried chile, star anise, cumin, ect.
- More vinegar: You can always add more acid to a tested recipe. The five cups will ensure you have plenty of brine, and you may have some leftover.
- Smaller jars. Quarter-pints or half-pints work too, just process them for the same half-pint time.
Not safe to change
- Don’t dilute the vinegar. Don’t add in water, juice, or any other liquid to stretch the vinegar.
- Don’t use a vinegar below 5% acidity, or one that doesn’t state its acidity.
- Don’t add more onions: Onions are a low-acid vegetable, so you cannot add more than three pounds.
- Don’t use bigger jars: You need to use half-pint jars, quarter-pints or pint jars.
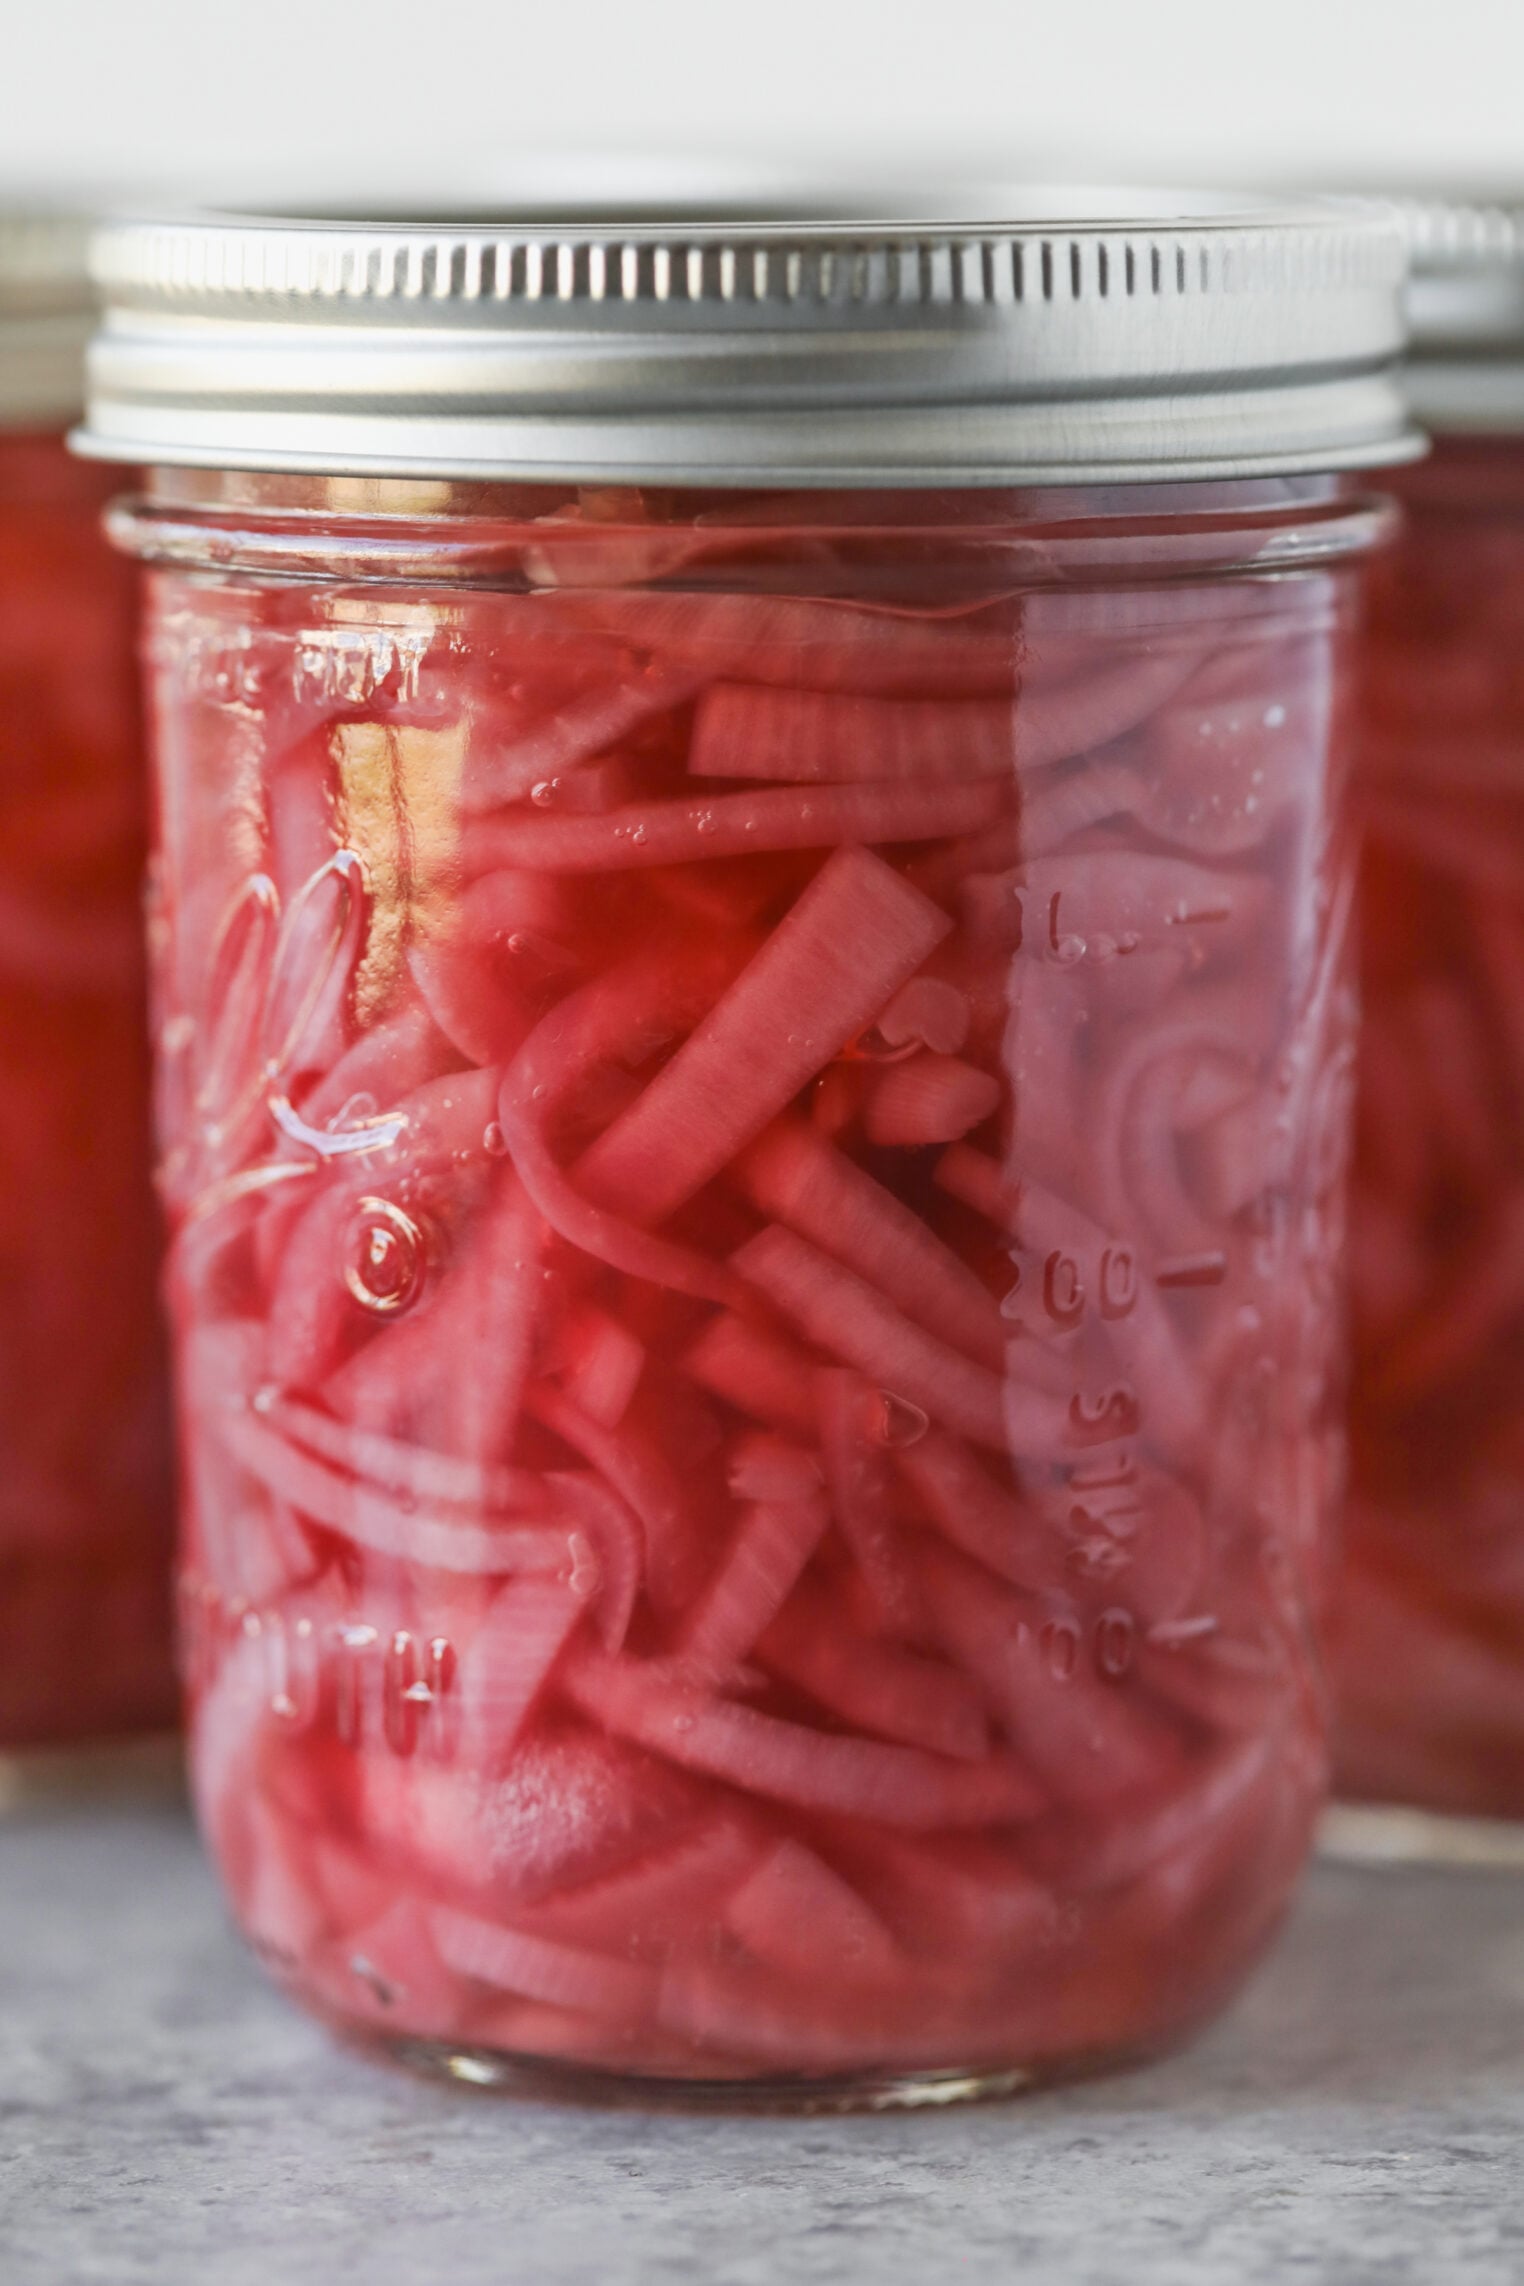
Want quick refrigerator pickled onions instead?
If you only need one jar of pickled red onions and want them quickly, then skip the water canner altogether, and you can also adjust the ratio of onion to vinegar, as the safe canning steps don’t matter.
Just pack the sliced onions into a clean jar, pour hot vinegar brine over them, cool, and refrigerate. They’ll be pink and ready in a few hours and keep about a week in the fridge.
Ways to Enjoy Pickled Red Onions
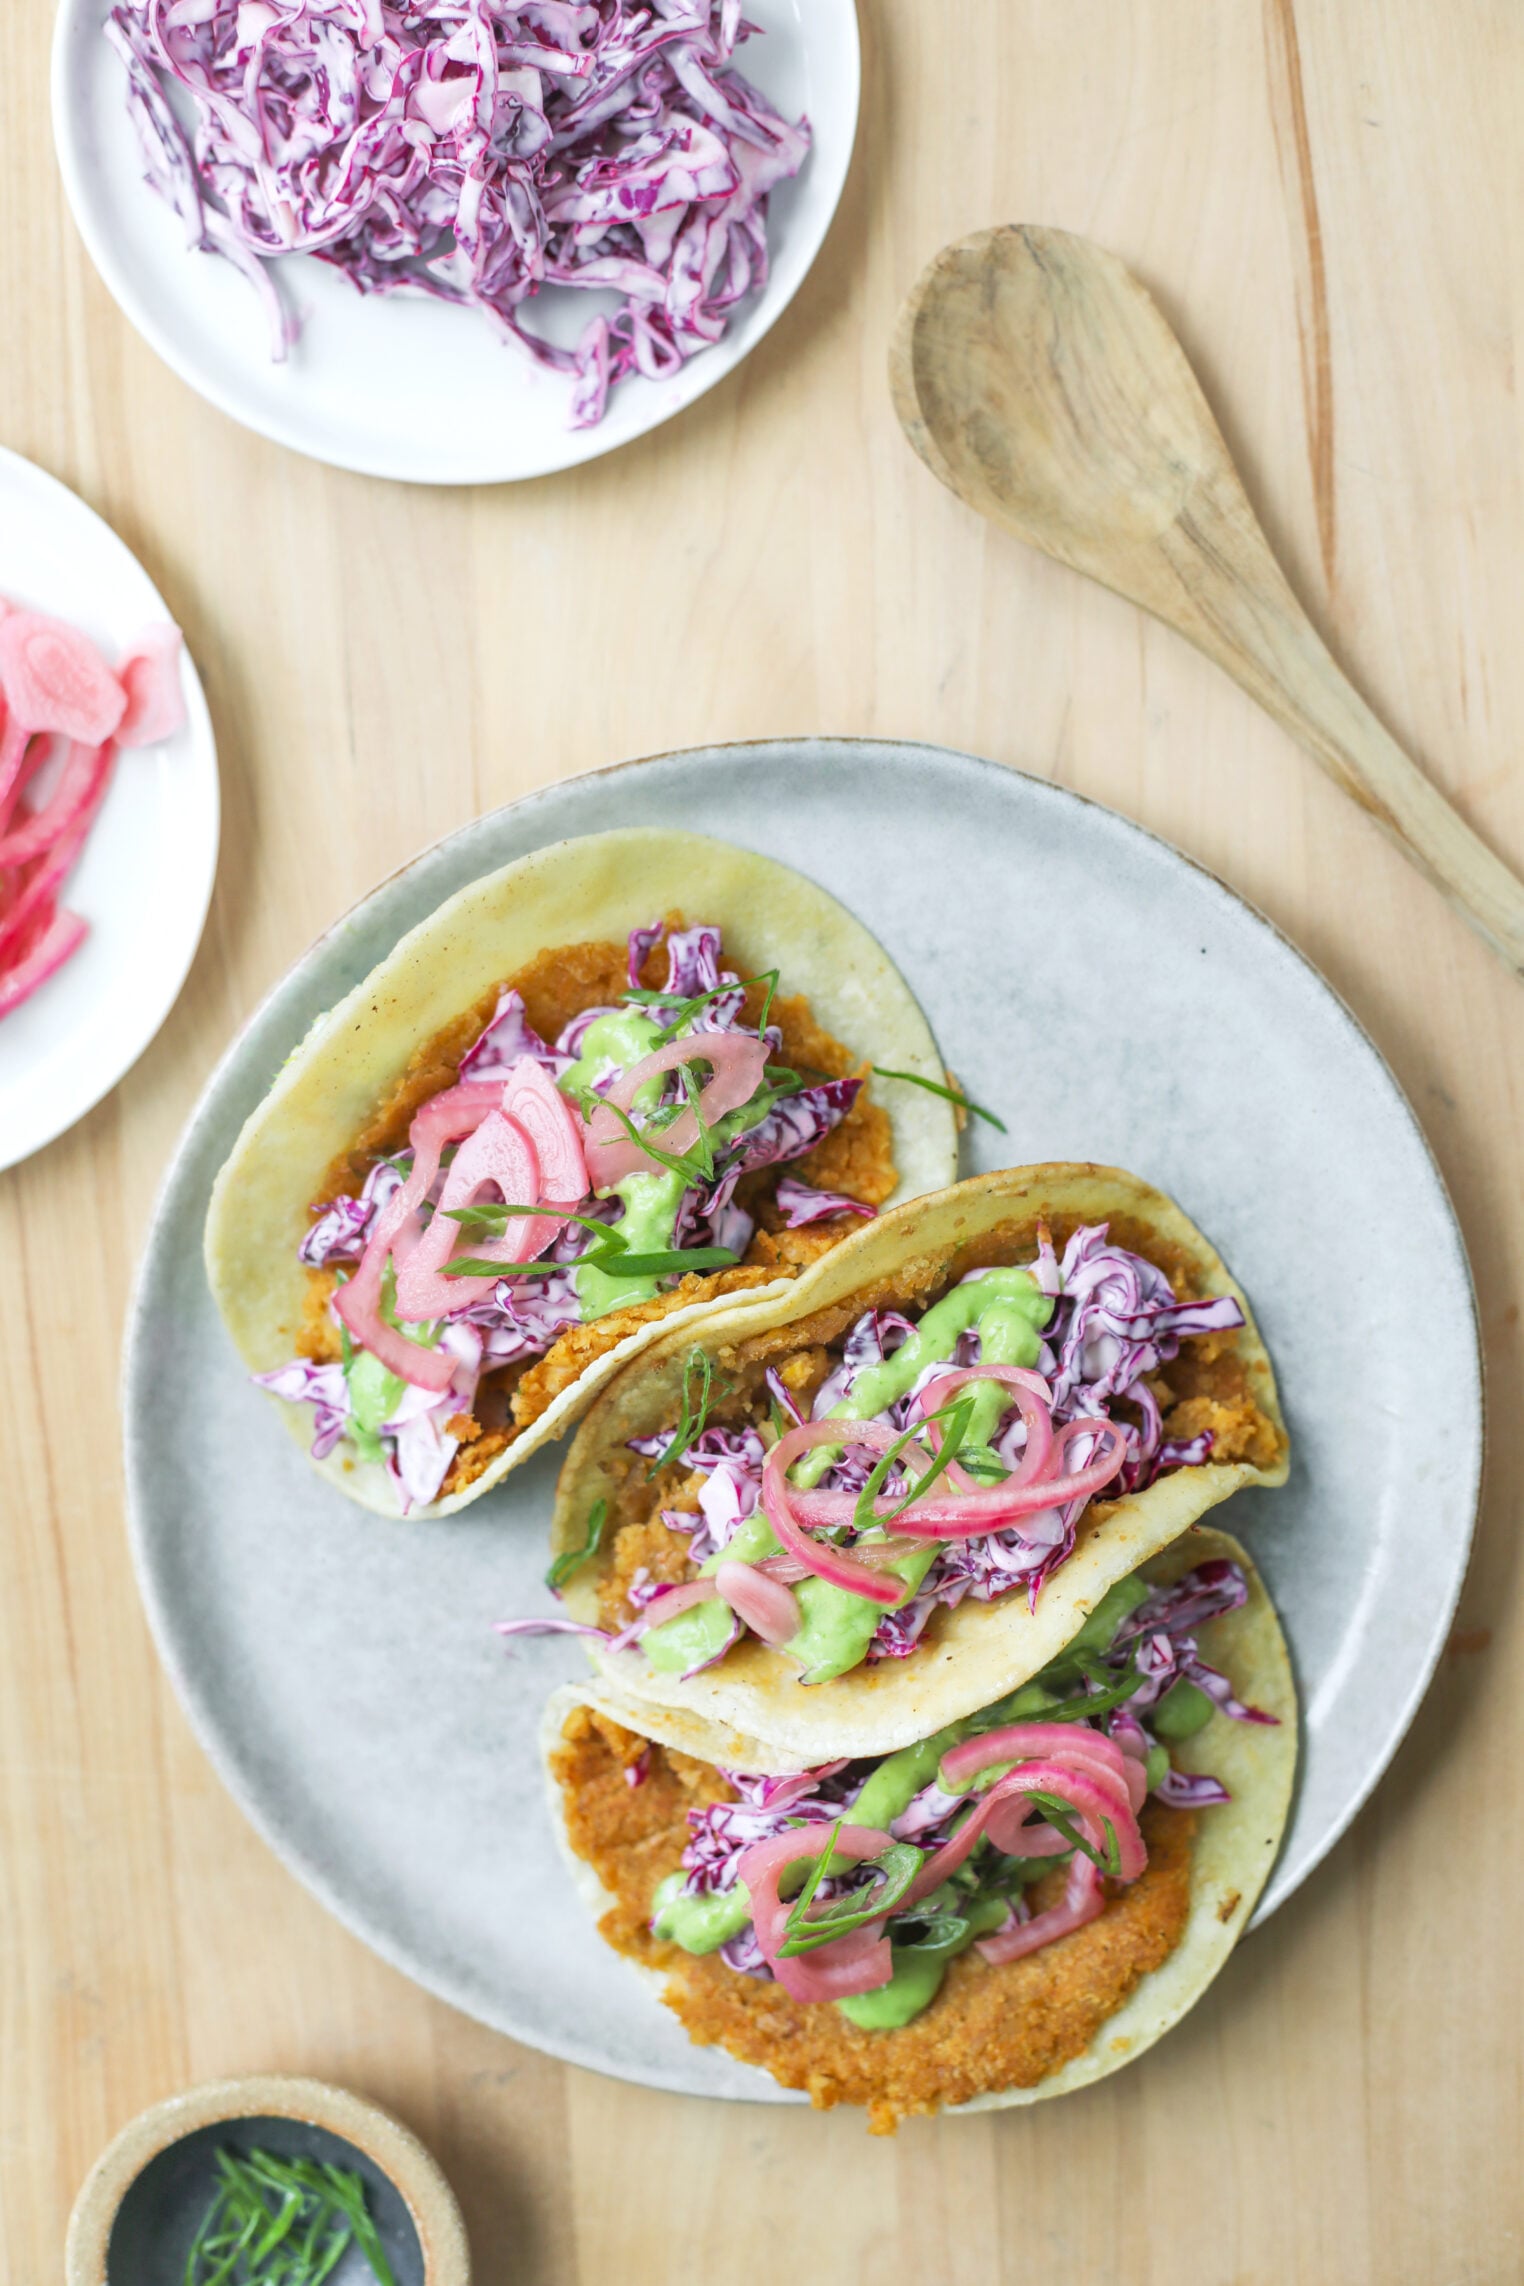
There are very few savory recipes that these pickled red onions don’t work on. Try them on tacos, tostadas, and burrito bowls. They are also great on sandwiches, like avocado toast or my Impossible smash burgers.
They also work well with almost any bean recipe, egg salad, or cheese board.
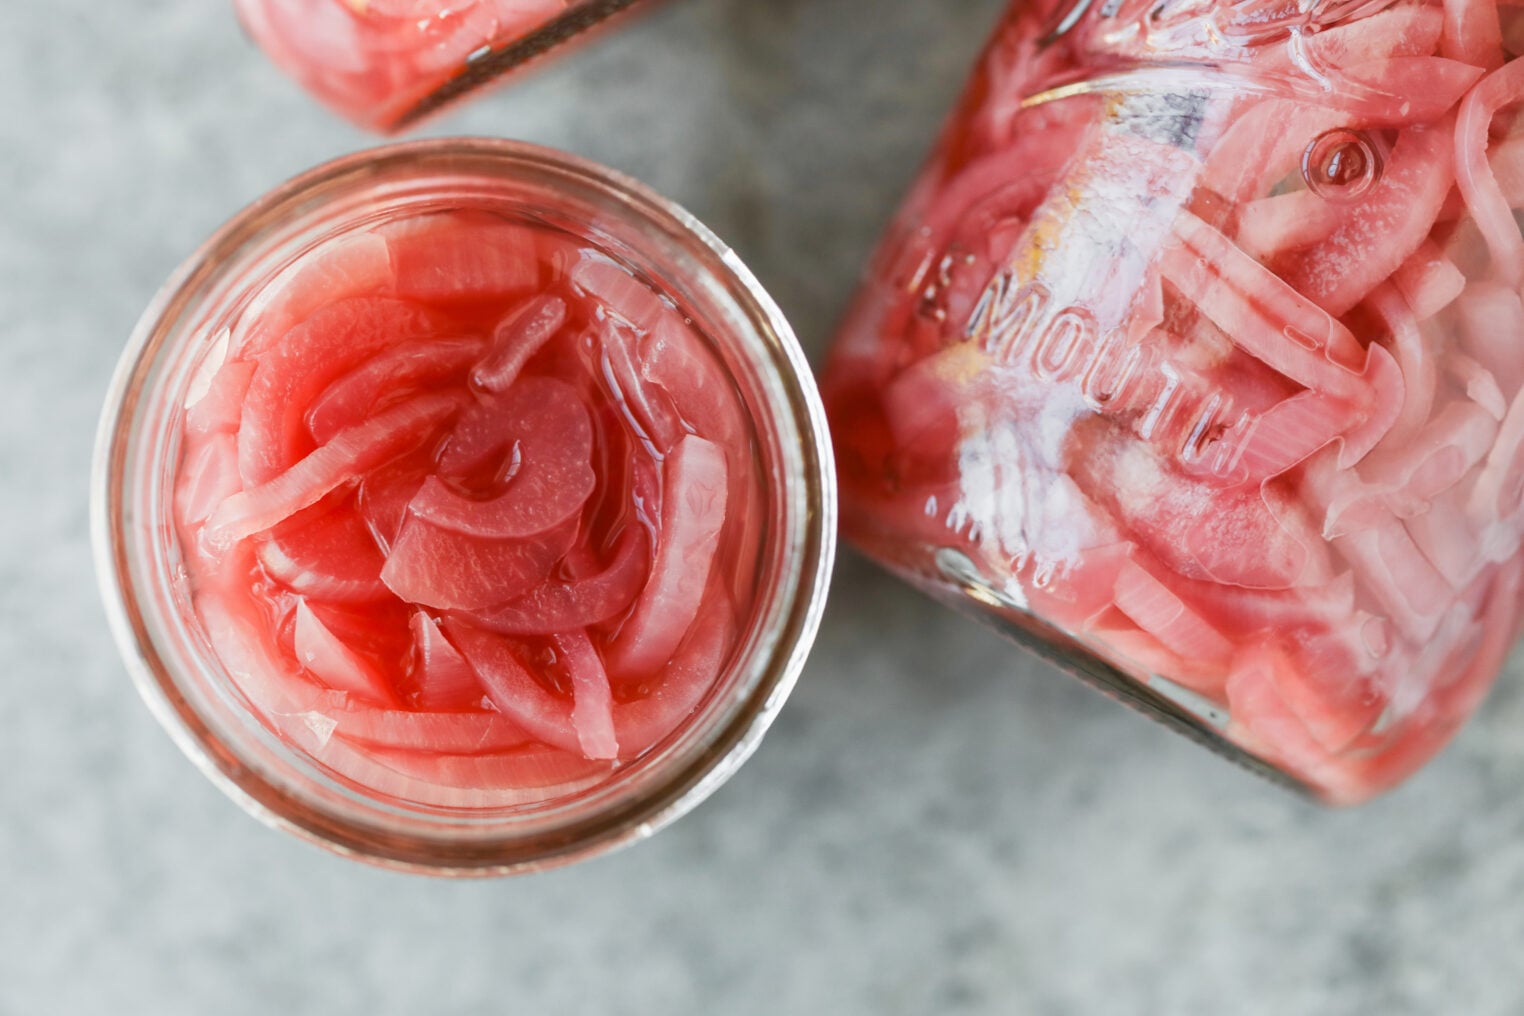
Equipment Needed
To can these pickled red onions, you’ll need a water bath canner or large stockpot with a rack, six or seven half-pint jars with new lids and bands, a jar lifter, a funnel, a bubble remover, and tongs.
A stainless steel or enameled saucepan for the brine. I don’t recommend aluminum or copper pots because they’re reactive metals, and vinegar doesn’t mix well. I use a coffee filter tied with string to make my spice bag, but you can also simmer the spices, then drain them through a fine-mesh sieve if you don’t have a spice bag.
A mandoline is optional but useful for slicing three pounds of onions!
More Canning Recipes:
- The Best Pickled Jalapeños
- Bread and Butter Pickles
- Simple Canning Recipe for Dill Pickles
- Best Homemade Salsa for Canning
If you try this recipe, let me know! Leave a comment, rate it, and tag your Instagram photos with #delishknowledge. I absolutely love seeing your creations. Happy cooking!

Pickled Red Onions
Equipment
- Spice Bag, Cheesecloth or Fine Mesh Sieve
Ingredients
- 3 lbs red onions, about 6 medium
- 5 cups red wine vinegar, 5% acidity
- 1 garlic clove, crushed
- 3 tablespoons pickling spice
- 1 teaspoon mustard seed
- 1 teaspoon black peppercorns
- Ball Pickle Crisp Granules, optional, 1/16 teaspoon per jar
Instructions
- Prepare the jars: Wash jars, lids, bands, and tools in hot soapy water and rinse. Place the rack in your water bath canner, add jars, cover with water, and bring to a simmer while you make the onions. This will keep the jars hot until ready to fill.
- Slice the onions: Peel the onions and remove the root and stem ends. Cut into ¼-inch slices and break apart into rings.
- Make the spice bag: Combine the pickling spice, mustard seed, and black peppercorns in a spice bag or coffee filter and tie with kitchen string.
- Heat the brine: Add the vinegar, crushed garlic, and spice bag to a medium stainless steel. Bring to a boil over medium-high heat, reduce, and simmer for 5 minutes. Remove and discard the garlic and spice bag.
- Simmer the onions: Add the onions, cover, and simmer 5 minutes.
- Fill the jars: Remove the hot jars from the canner and use tongs to pack the onions in, then ladle the hot brine over them leaving ½-inch headspace. Add Pickle Crisp if using. Remove air bubbles, wipe the rim, center a lid, and apply the band fingertip tight. Return the jar to the canner and repeat with the rest of the jars
- Process: Adjust the water to two inches above the jar tops. Cover and bring to a boil and process for 10 minutes, adjusting for altitude. Turn off the heat and let the jars sit for 5 minutes.
- Remove jars to a dry towel, keeping them upright. Don't tighten bands or check seals. Let the jars sit undisturbed 12 to 24 hours, then press the center of each lid, it should not flex or else it didn't seal correctly. Refrigerate any unsealed jar and use within a week.
- Store: Remove the bands, label and date. Store in a cool dark place and use within 12 to 18 months.